
Using Tracing Paper
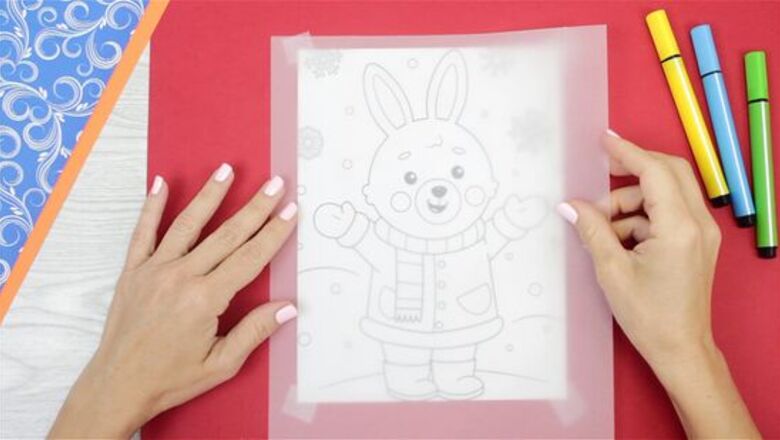
Tape a piece of tracing paper over your image. Tracing paper is very thin—almost like tissue paper—and as a result, it’s easy to see through. Place the image you would like to trace on your tabletop, and tape the corners down. Put your tracing paper over the top of it. You can also secure the corners of the paper with tape, or leave it free so you can make adjustments as you draw.
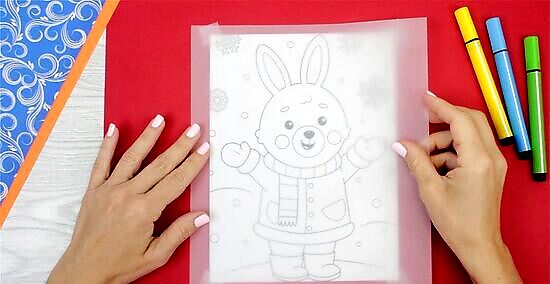
Outline your image on the tracing paper. To use tracing paper, carefully draw the outlines of all the figures in your image with a pencil. Don’t worry about adding any shading just yet, but instead focus only on drawing the outlines. Be sure to include any small details that you want to include in the image.
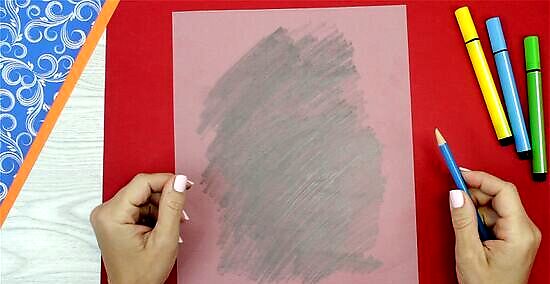
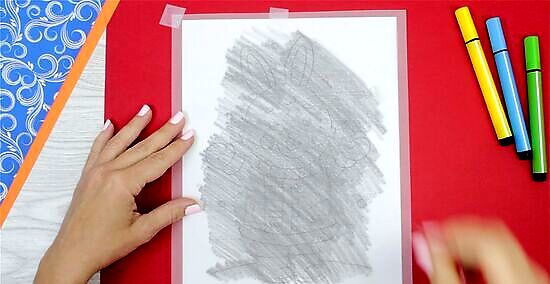
Coat the back of your tracing paper with graphite. When you’ve finished tracing your picture, remove the tape and flip your tracing paper over. Using a soft graphite pencil (such as 6B or 8B), shade over all the areas where you’ve drawn lines on the other side of the paper. Use a relatively thick layer of pencil so that it has a solid, consistent shade. Kelly Medford, a professional artist, says that if you’re transferring the drawing to a canvas, coat the backside of the tracing paper with vine charcoal instead.
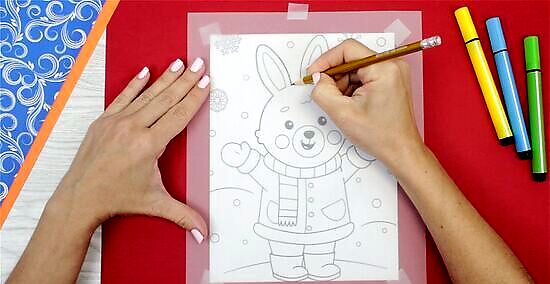
Lay your tracing paper over your final drawing paper. Take the paper that you want to transfer your image to, and tape it to your tabletop. Then, flip your tracing back so that it is right-side up, and tape it in place on top of the drawing paper. Be careful not to rub the tracing paper too much because you could smear the graphite onto your final drawing.
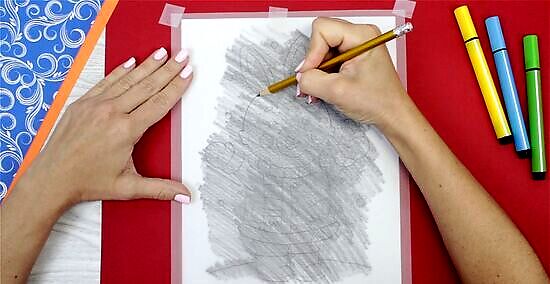
Go over the image’s outline with a hard pencil or pen. Take a very sharp pencil or pen, and draw over all of your outlines again applying medium to heavy pressure. As you do this, the graphite you shaded on the underside of the tracing paper will transfer onto your drawing paper. Work around your picture until you’ve completed all of the outlines. Lift up your tracing paper every so often to check the outline on your final piece of drawing paper. If you notice any areas where the outline is light, go over that section of tracing paper again with a little more pressure.
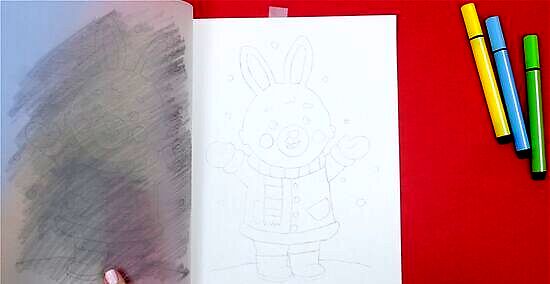
Add details and shading to finish your drawing. After going over your outline a second time, you can remove the top sheet of tracing paper to reveal your final drawing on the drawing paper below. At this point, fill in any missing lines that there might be, and add any shading or details from the original image.
Using Transfer Paper
Lay the transfer paper in between the image and your drawing paper. Put the drawing paper that you’re transferring the image to on a flat surface and tape it in place. Then, lay down a sheet of transfer paper with the darker graphite side face-down. Then, secure your image on top. Using transfer paper also works great for tracing an image onto canvas or any other medium.
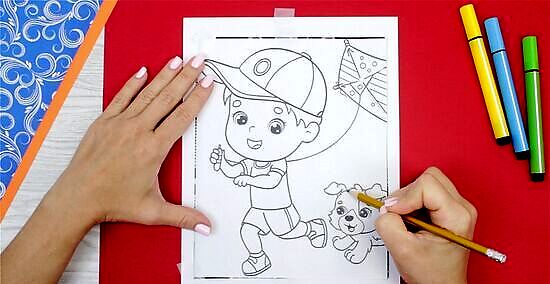
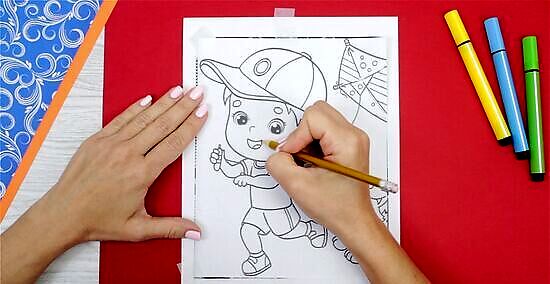
Go over the image’s outlines with a sharp pencil or pen. Carefully work around the outline of each figure and object that’s in your image. As you apply pressure to the outline, the graphite on the transfer paper below will go onto the drawing paper on the bottom. Make sure to go over any smaller details you want from the image so they appear in your final drawing. Avoid adding any shading to your drawing yet because it could make the drawing paper messy or smeared with graphite.
Add details, shading, or colors to finish your drawing. When you’re sure you’ve traced all the major components in your image, remove the image and transfer paper from your drawing paper on the bottom. Now, just go in and make any changes or enhancements to the outline that you’ve traced, such as shading or coloring in your image. Save the transfer paper for another drawing since it can be reused 2-3 times.
Using a Light Box
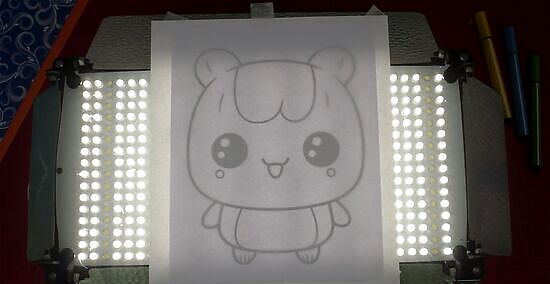
Set your image and drawing paper onto a light box. Place your lightbox on a tabletop or flat surface, and put your image over the top. Tape the corners of your image down, and layer your drawing paper on top of the image. Secure the drawing paper with tape as well, and turn the light on. As long as your drawing paper isn’t too thick, it will look translucent so you can see the image below. If you don’t have a light box, then try taping your image onto a sunny window or a tablet screen with a bright background. If you’re using thicker drawing paper, then try turning off the other lights in the room to see if the image is visible. If not, then use a thinner piece of paper or another method to trace.
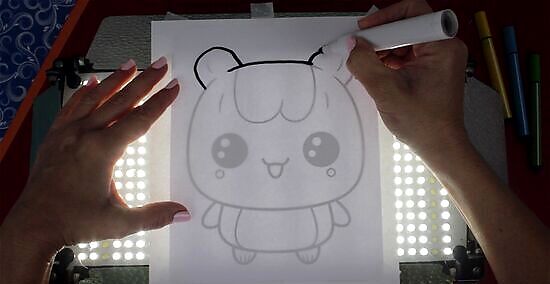
Trace the outline of your image. Carefully work around your image, outlining all the major objects and figures with your pencil. Since your drawing paper is on top of your image, you can also add some shadows in addition to the outlines, if you want. Press the paper down flat to ensure that your traced outline and the image line up perfectly.
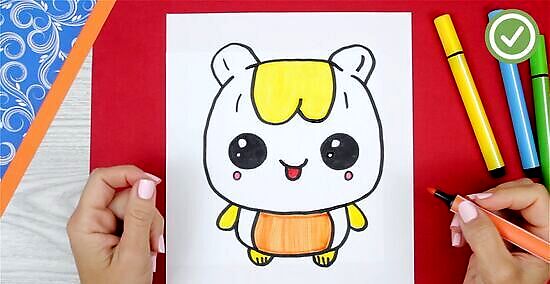
Shade or color your drawing to add finishing details. Turn off the light on the lightbox to check if you’ve missed any spots on your drawing. If you have, turn the light back on, fill them in, and finish up your outline. When you’ve finished tracing the image, move on and add color, more shading, and other details you want to include.


Comments
0 comment