
views
Choosing a Subpanel and Location

Consult with an inspector so you don’t overload your system. A licensed inspector can confirm that it is safe for you to install a subpanel and won’t put too much strain on your electrical system. They can also issue a permit to add a subpanel if your area requires one and they can inspect your subpanel after you install it to verify that it is up to code. The inspector can also advise what amperage your subpanel should be. Typical panels in the US have 100 or 200 amps, but older homes, or homes in other locations may only be able to support a 60-amp panel. An inspection and permit for your subpanel will ensure that you don’t have any insurance or liability issues.Tip: Check your local building codes to see if you need to submit special paperwork or if you need to acquire a permit to add a subpanel.
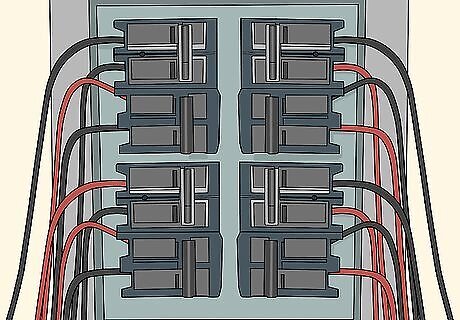
Purchase a subpanel with all of the connections. When you’re choosing a subpanel to install, get one that has all of the connectors, cables, and breakers that you need to install it. It’s also important that you use a new panel and attachments so you can install it safely. Avoid purchasing used panels or cables or you could damage your electrical system and potentially cause a fire. You can find subpanels and attachments at hardware stores. You’ll need a subpanel, 4-wire feeder cable, feeder breaker, and connectors to complete the job.
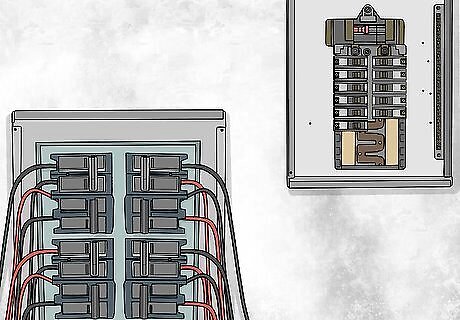
Place a subpanel near the main panel to add additional circuits. If you need more circuits to power your electrical devices, install a subpanel adjacent to your main circuit breaker. This will allow you to extend your circuitry if you need to use more, while also allowing you to shut off power to the subpanel when you aren’t using it. Place the subpanel about 1 foot (0.30 m) away from your main panel.
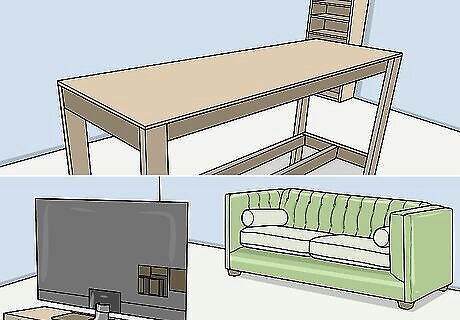
Install a subpanel to power an additional room. A finished basement or a garage full of electrical devices needs a subpanel to fully power the room and any electrical devices you plan to use. Although the subpanel feeds off of the main breaker system, installing a new one also allows the room to have its own breaker box to control output in the room. A newly furnished shed could use an additional subpanel inside of it so the main system isn’t overloaded. If you build an additional room as an add-on to your home, you may need a subpanel in it so your system can power it.
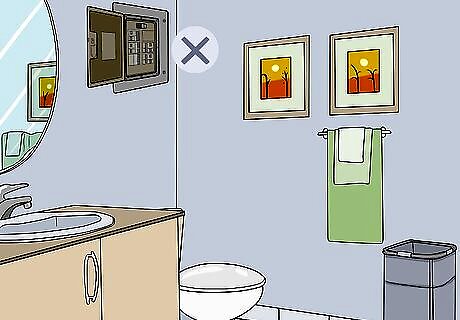
Don’t install subpanels in a bathroom or closet. Subpanels have an electrical current running through them, so it’s important that they don’t get wet or overheat. The steam and humidity of a bathroom can cause a subpanel to short out and a full closet could potentially cause the circuitry to overheat. You also needs to be able to access the subpanel easily and maneuvering inside a small closet may be difficult.
Mounting
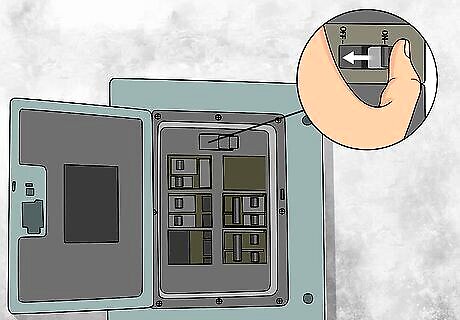
Turn off the power to the main panel. Before you begin any work on an electrical panel, shut off all of the power running through it. That way you can’t accidentally shock or electrocute yourself. Look for the main power switch and push it. All of the lights and electrical devices should then turn off. Use a flashlight or portable lamp so you can see while you’re working. Make sure that the system is turned off and there is no power running through the breakers by testing the lights in the room.
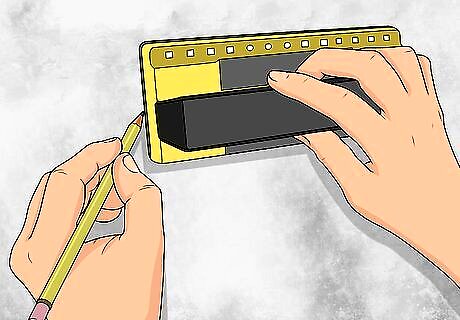
Locate a wall stud where you want to install the panel. Use a stud finder and run it across the wall until it tells you you’ve located a stud. If you don’t have a stud finder, you can try knocking lightly on the wall to see if you can hear a solid sound that would indicate a stud behind the wall. Check the electrical outlets on the wall if there are any. Most electrical outlet boxes are mounted on the side of a stud, so they can help tell you where one is located.

Mark the location where the screws need to be added. Place the subpanel against the wall where you identified a stud. Use a pencil or marker to mark the wall where the 4 mounting screws need to be installed in order to hang the subpanel. Mark where the screws need to be drilled into the wall with a pencil or marker. Place the panel at a height of about 5 feet (1.5 m) so you can easily access it but children or pets cannot reach it. Check local building codes to see if you have to mount a subpanel at a specific height.
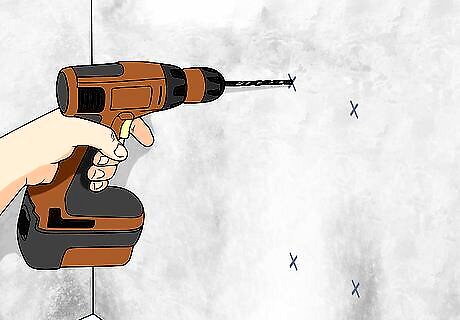
Drill mounting screws into the stud leaving a ⁄4 inch (0.64 cm) gap. Once you’ve located a stud, use a power drill to install mounting screws into it so you can install your subpanel. But don’t drive the screws all the way into the stud. Leave a small gap between the mounting screw and the wall so the subpanel can fit onto it.Tip: If you don’t have a power drill, use a screwdriver to drive the mounting screws into the stud.
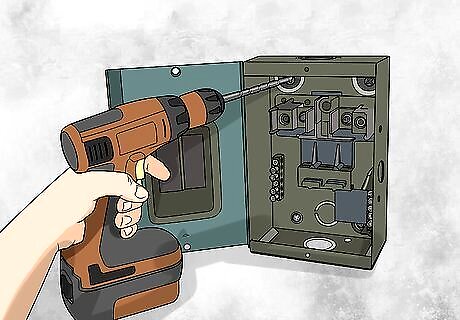
Place the subpanel onto the mounting screws and tighten them. Slide the panel onto the mount so all of the screws are in the correct slots. Then, take a drill or screwdriver and tighten the screws so the panel is securely fastened against the wall. Give the panel a gentle shake to make sure it isn’t loose and won’t fall off of the wall.
Connecting the Wires
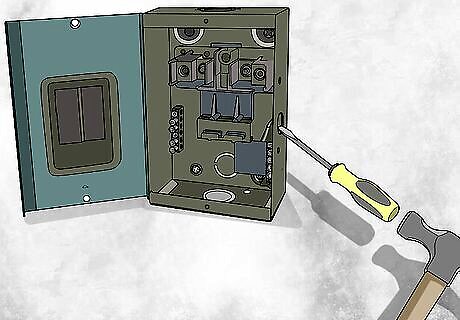
Remove the knockout slug on the side of the panel with a hammer. Look for a perforated circle on the side, top, or bottom of the panel. You can use a hammer and screwdriver to knock out the slug so you can insert wiring into the subpanel. Use a pair of pliers to remove the knockout slug if you’re having trouble taking it out.
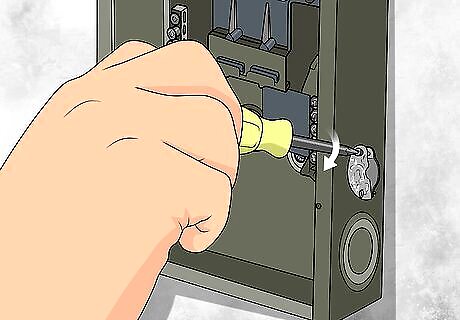
Place the connector into the slot and secure it in place. With the knockout slug removed, insert the metal connector into the hole so you can insert your 4-wire feeder cable through it. Use a drill or screwdriver to tighten the screws on top of the connector to keep it held in place. The screws do not need to be installed in a wall stud. Screw on the retaining nut to the bottom of the connector inside of the subpanel.
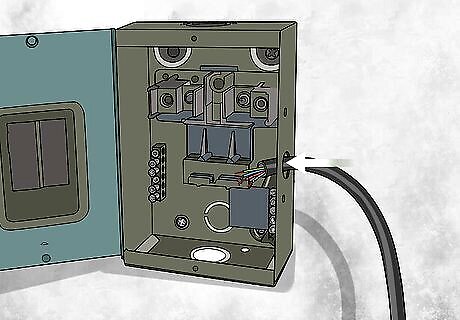
Run the feeder cable from the main panel to the subpanel. The 4-wire feeder cable should be included with your subpanel and is a large black cable with 4 wires inside of it. With the main panel door open, insert the cable and slide it through the knockout opening. Then feed it into through the knockout opening on the subpanel. Unwrap the insulation surrounding it with your fingers to expose the 4 wires inside. You may need to remove a knockout slug to insert the wires into the main panel. There should be a black wire, red wire, white wire, and bare metal wire. If you’re installing a subpanel in a separate room from the main panel, use a longer feeder cable to reach it.
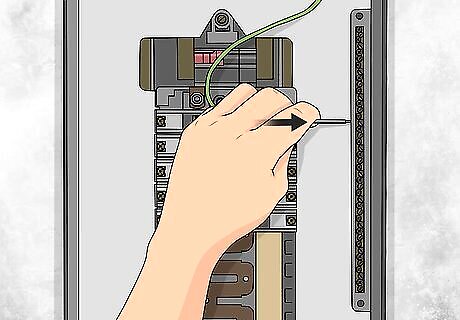
Connect the neutral and ground wires to their bus bars. Take the white neutral wire, insert it beneath the screw at the top of the neutral bus bar in the main panel, and tighten the screw to secure it. Connect the other end of the wire in the subpanel in the same fashion. Then, connect the ground wire to the ground bus bar, tighten the screw to secure it, and connect the other end of the wire to the neutral bus bar in the subpanel. A bus bar is a metal strip or bar used to connect wires to power the panels. Check the inside of the door of the main and subpanel for a diagram showing the location of the bus bars and neutral bars. If the end of the wire is covered by sheathing, use a wire stripper or a utility knife to remove about 1 inch (2.5 cm) of the sheathing to fit the exposed wire into the bus bar. Use a longer cable to reach a subpanel installed in a separate room.Tip: If there is no diagram on the panel, look up the make and model of the panel online to identify the bus bars.
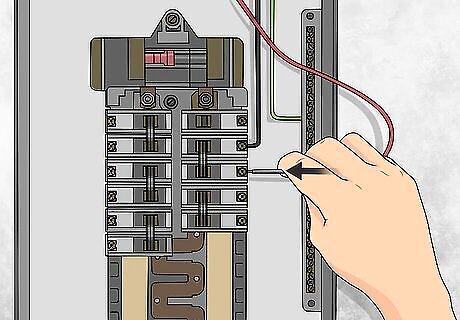
Insert the red and black wires into the feeder breaker. The feeder breaker is a black cube with switches on it that is added to the main panel to run power to the subpanel. Strip the very ends of the red and black wires to expose the metal wire beneath. Insert the wires into the slots on the feeder breaker beneath the 2 screws at the top. Tighten the screws on the connections so the wires are secure. Use a wire stripper or a utility knife to remove the sheathing at the end of the wire so the exposed wire can be inserted into the breaker. You may need to loosen the screws on the feeder breaker first to insert the wires. If you’re adding a subpanel in a room away from the main panel, make sure the cable is long enough to reach from the subpanel to the main panel.
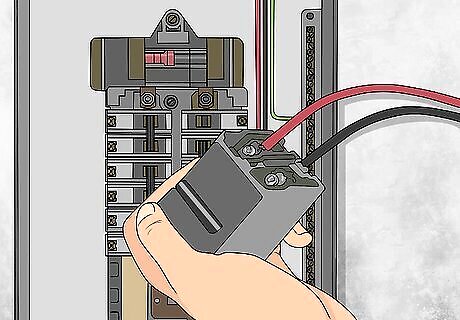
Snap the feeder breaker into an empty slot in the main panel. With the feeder breaker connected to the red and black wires, connect it to an empty slot on your main panel by aligning the connections and pressing it into the slot. It will click into place if it’s fitted correctly. Don’t try to force or jam the feeder breaker or you could damage it. You can put the feeder breaker into any empty slot in your main panel.
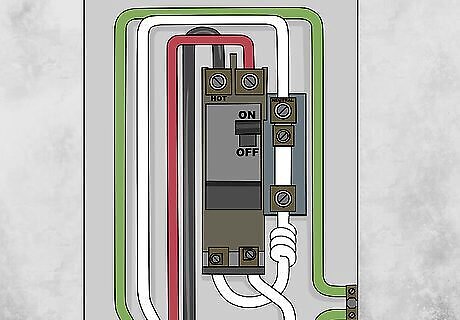
Attach the red and black wires to the terminals in the subpanel. The 2 “hot” bus bars are the bus bars that do not have a ground or neutral wire connected to them. Strip the end of the red and black wires, insert them beneath the screw at the top of the hot bus bars, then tighten the screws to connect and secure them. Give the wires a gentle tug to make sure they’re fastened securely.
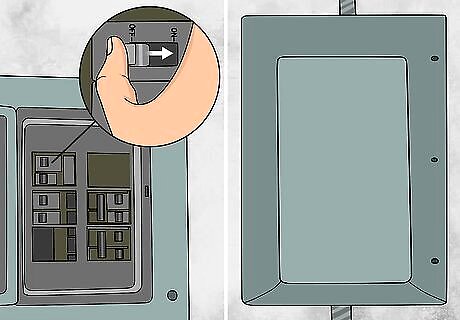
Turn on the breaker and close the panels. After all of the wires and connections are secure, restore power to the main panel. Then turn on the feeder breaker that you added by flipping the switch. Your subpanel should now be functioning. If the subpanel isn’t working or you're concerned it wasn’t installed correctly, call a licensed electrician to come inspect the subpanel.


Comments
0 comment