
views
Using Windows
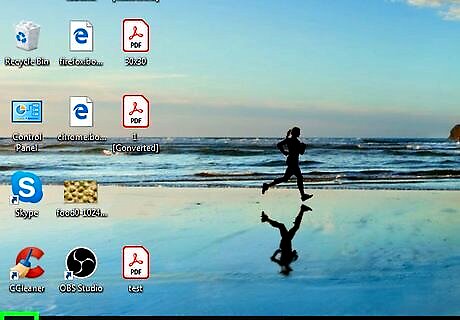
Open your computer's Start menu. Click the Windows icon in the lower-left corner of your screen to open the Start menu.
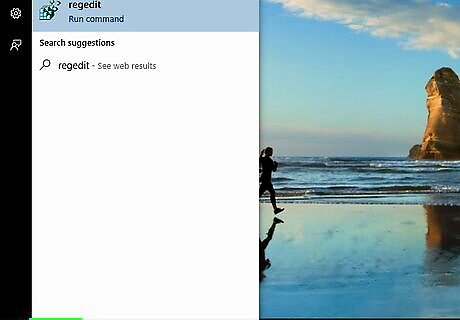
Type and search regedit on the Start menu. "Regedit Run command" should show up as the best match. Alternatively, you can click the Android 7 Search icon next to the Start menu icon on the bottom-left, and do your search here.
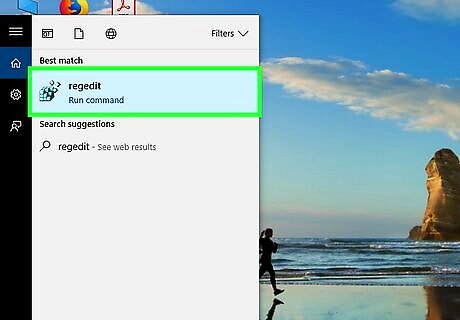
Click regedit in the search results. The regedit icon looks like blue building blocks. It will open your Registry Editor in a new window.
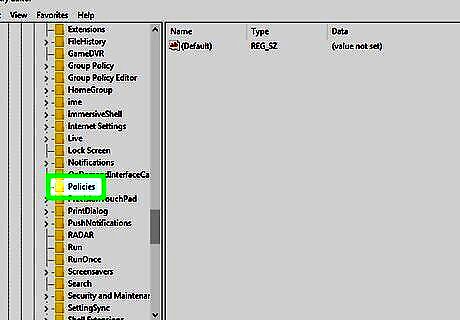
Navigate to "Policies" on the sidebar. Find the main folder named "Computer" on the left sidebar, and open "Policies" under it. In order to find Policies under Computer, you'll have to click HKEY_CURRENT_USER, Software, Microsoft, Windows, and CurrentVersion, respectively. Alternatively, you can click the address bar at the top, and enter Computer\HKEY_CURRENT_USER\Software\Microsoft\Windows\CurrentVersion\Policies.
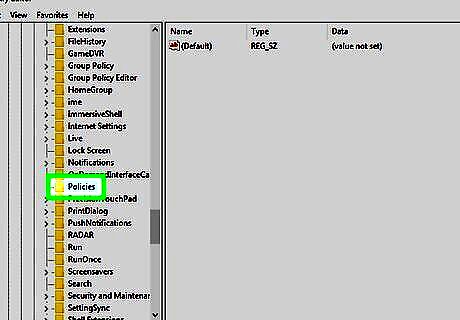
Right-click Policies on the sidebar. This will show your options on a pop-up menu.
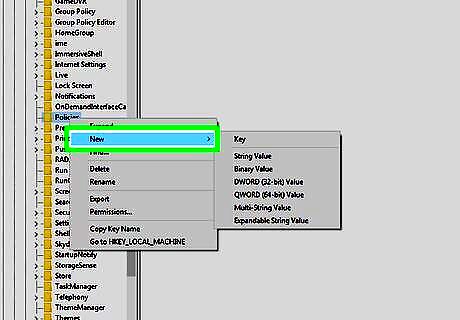
Hover over New on the pop-up menu.
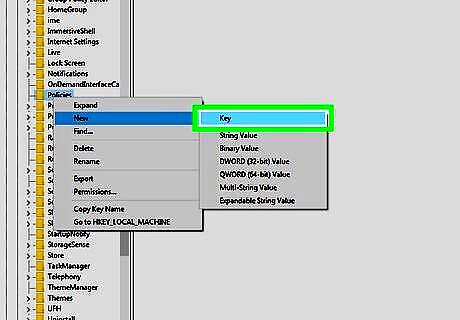
Select Key on the New menu. This will create a new key under Policies, and prompt you to name it.
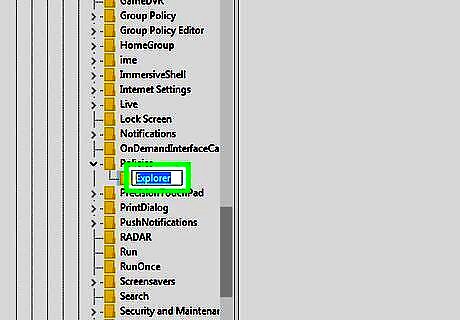
Name your new key Explorer. Type this name and hit ↵ Enter or ⏎ Return on your keyboard to save it.
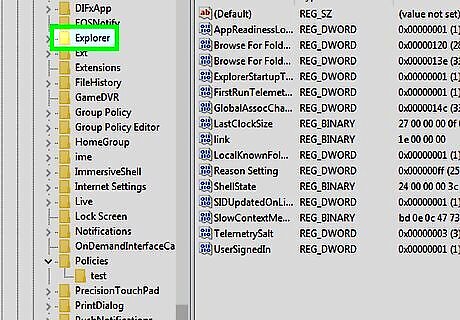
Right-click the Explorer key on the sidebar. This will open your right-click options.
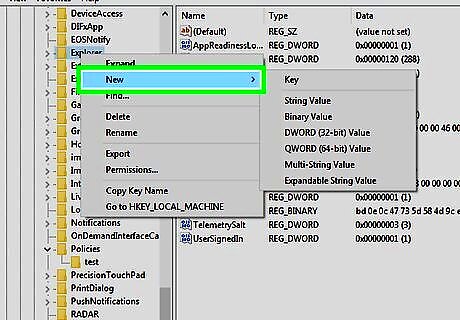
Hover over New on the right-click menu.
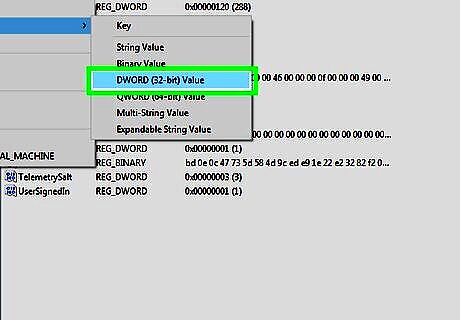
Select DWORD (32-bit) Value on New menu. This will create a new value inside the Explorer key, and prompt you to name it.
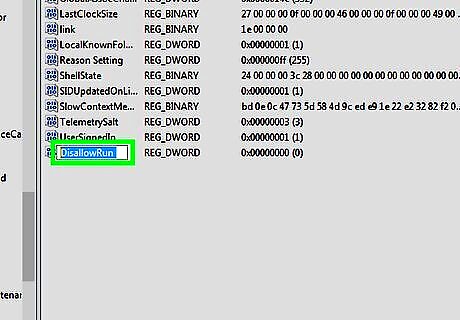
Name your new value DisallowRun. Type this name and hit ↵ Enter or ⏎ Return on your keyboard to save it.
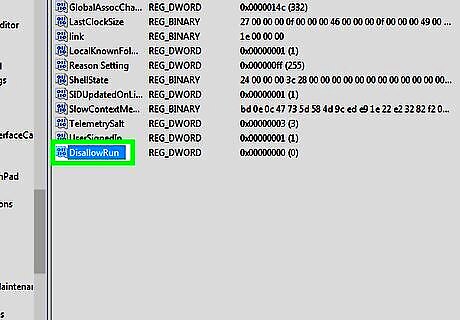
Double-click the DisallowRun value. This will allow you to edit the value in a new pop-up window.
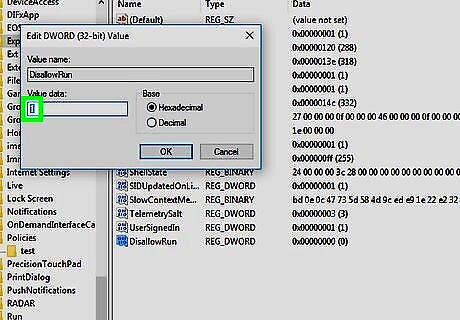
Change the Value data from "0" to "1." Replace the "0" under Value data with "1" and click OK.
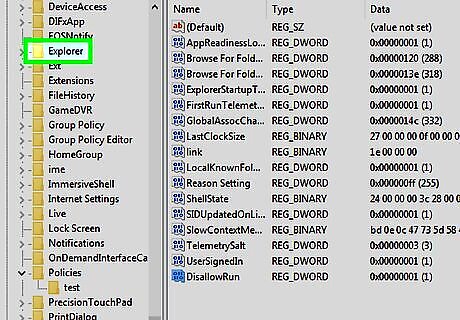
Right-click the Explorer key on the sidebar. This will open your options on a pop-up menu.
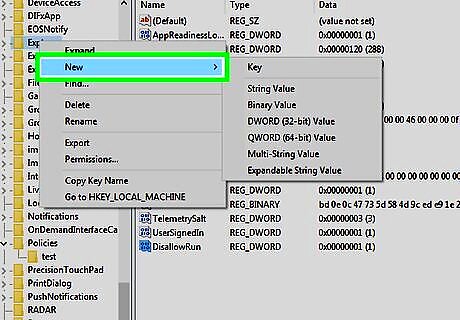
Hover over New on the right-click menu.
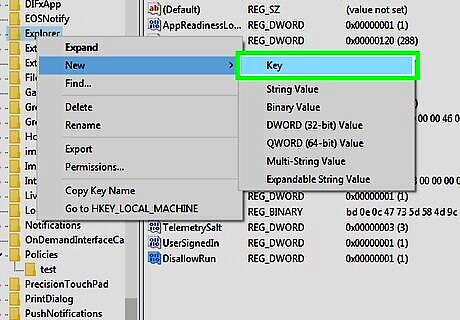
Select Key on the New menu. This will create a new key under Explorer, and allow you to name your new key.
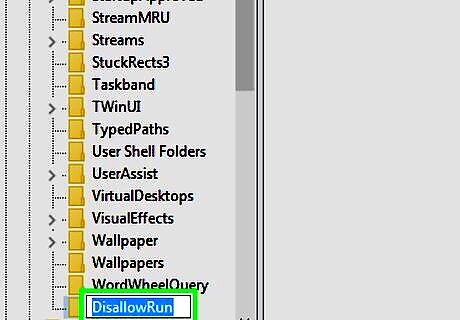
Name your new key DisallowRun. This key will show up below "Explorer" on the left sidebar.
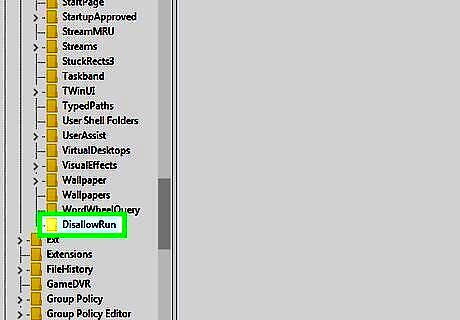
Right-click the DisallowRun key. You will have to create new string values inside the DisallowRun key in order to block apps from running.
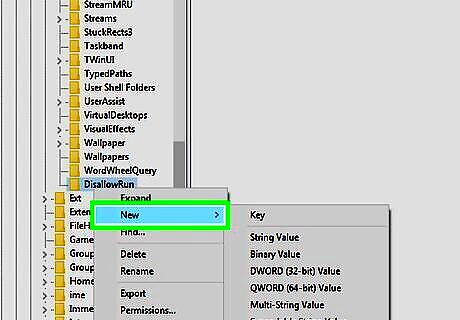
Hover over New on the right-click menu.
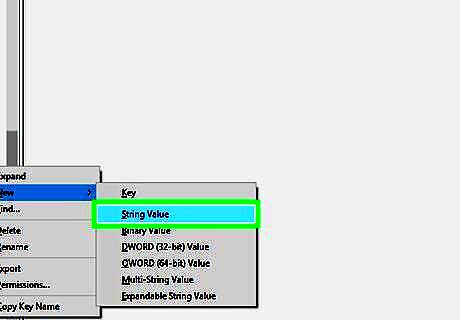
Select String Value on the New menu. This will create a new string value in the DisallowRun key.
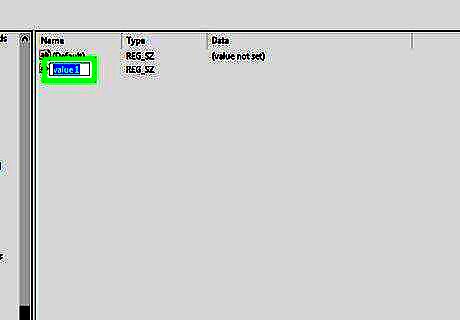
Name your new string value 1. Type this name and hit ↵ Enter or ⏎ Return to save it. If you want to block another app later, you'll have to add a new string value here. In this case, you can name your other string values 2, 3, 4, and so forth.
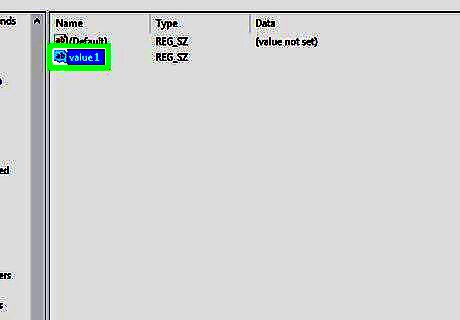
Double-click your new string value. This will allow you to edit the string in a new pop-up window.
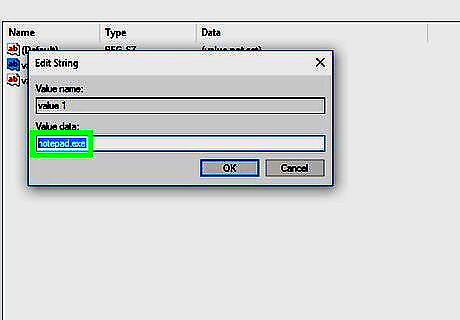
Enter the name of the app you want to block into Value data. Click the text field under the Value data heading, and type the name of the app you want to block from running. Make sure to enter the full name of the executable file here, and include the file extension. For example, if you want to block Notepad, enter notepad.exe.
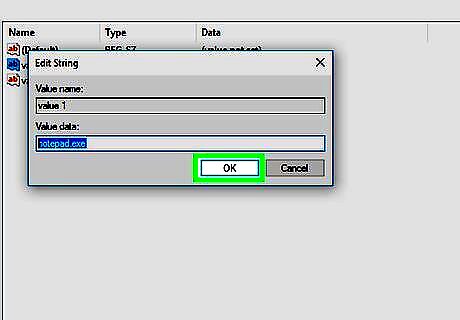
Click OK. This will save your new string value, and block the specified app from running on your computer.
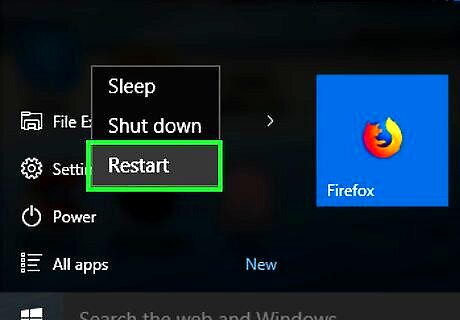
Restart your computer. Some changes will only take effect after restarting.
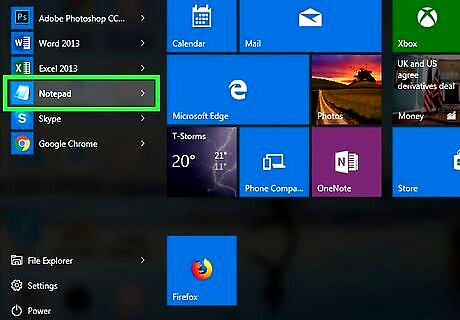
Try running the blocked app on your computer. You'll see a Restrictions pop-up letting you know the app is blocked.
Using Mac
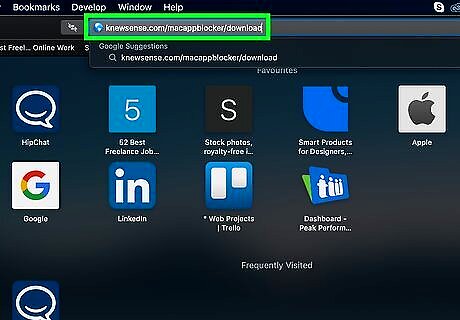
Open knewsense.com/macappblocker/download in a browser. Type or paste this link into your internet browser's address, and hit ↵ Enter or ⏎ Return on your keyboard. If the download doesn't start, click the click here button next to the shield icon near the top of the page. Mac App Blocker gives you a 15-day free trial period. After 15 days, you can purchase the full app, or try a different blocker app.
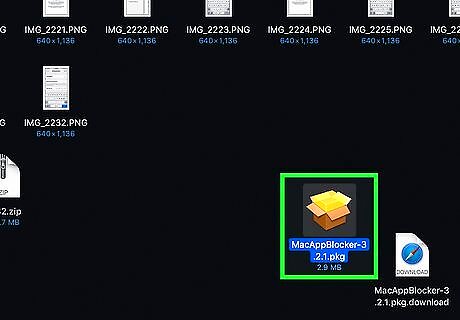
Run the installer file. Find the Mac App Blocker installer in your Downloads folder, and double-click on its icon to begin the installation.
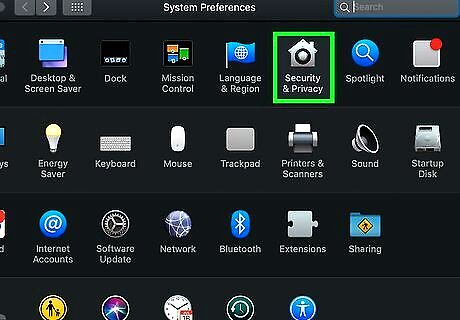
Verify the installation. You may need to first allow the installer in order to begin installation. In this case: Click the Apple icon on the top-left. Click System Preferences. Click Security & Privacy. Click the Lock icon on the bottom-left, and enter your password. Click Allow next to MacAppBlocker.
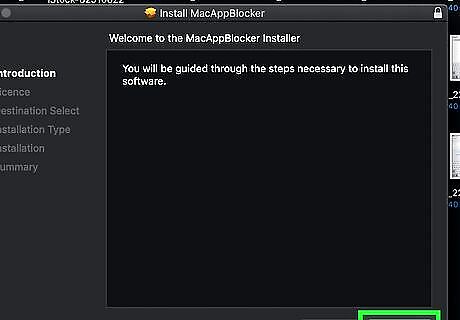
Click Continue in the installer window. This will take you to the License Agreement page.
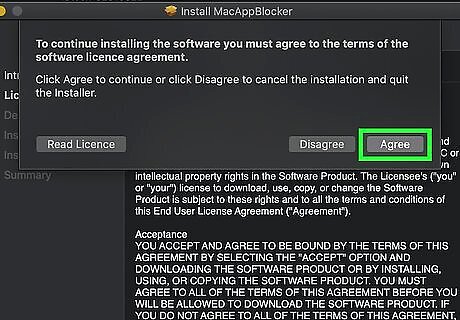
Agree with the License agreement. Click Continue, and then Agree when you're prompted. Mac App Blocker is a third-party app. Make sure you've read and understood the license agreement here.
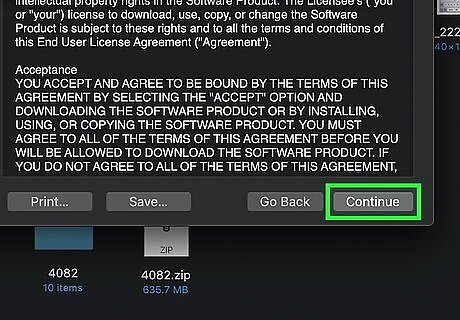
Select your computer's main drive. Click the drive you want to install the app on, and click Continue.
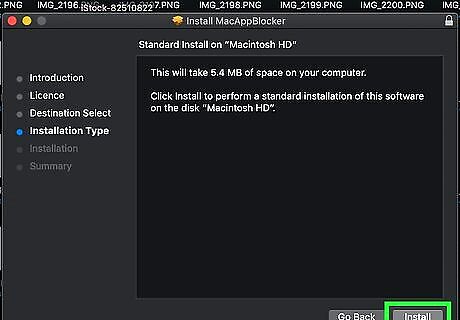
Click the Install button. This will install the Mac App Blocker app on your computer. If you're prompted, enter your account password to confirm installation.
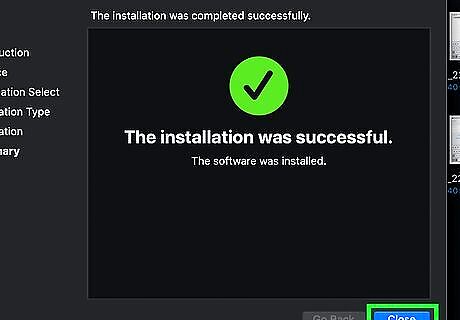
Click Close. This will close the installer window. If you're prompted, you can choose to keep the installer file, or move it to your trash bin.
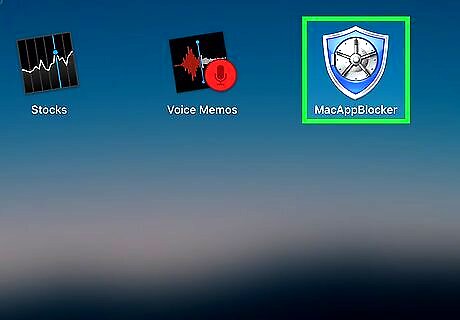
Open the Mac App Blocker app. Mac App Blocker icon looks like a blue shield. You can find it in your Applications folder.
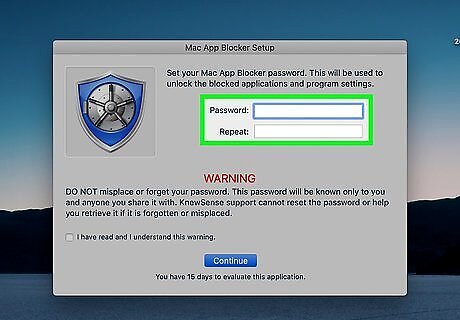
Set up your Mac App Blocker password. Enter a secure password into the "Password" field, reenter into the "Repeat" field below, and click Continue. Make sure the box next to "I have read and I understand this warning" is checked.
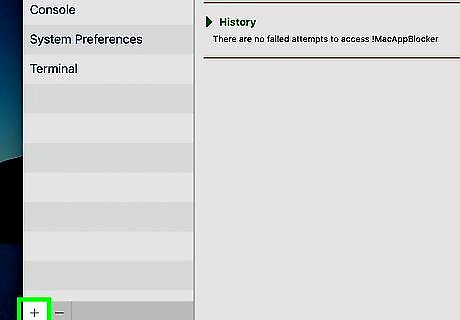
Click the + icon on the bottom-left. This button is in the bottom-left corner of the Mac App Blocker window. It will open a list of all your apps.
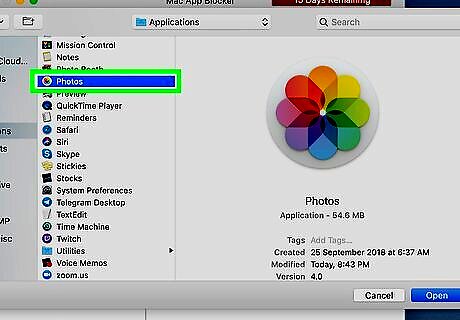
Select the app you want to block. Find the app you want to block in your Applications folder, and click on its name.
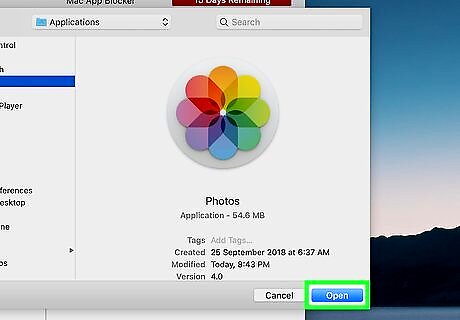
Click the Open button. This will add the selected app to the list of blocked apps. When you try to run one of your blocked apps, you'll be prompted to enter your Mac App Blocker password.


Comments
0 comment