
views
Removing Your Old Jewelry

Wait for your piercing to heal fully before changing it. For most new piercings, you'll want to wait until the opening has plenty of time to heal before removing your jewelry. Changing your jewelry too early can be painful and potentially lead to irritation and infection. On top of this, it's likely to extend the healing time of your piercing even longer. While every piercing is different, most new nose piercings will need at least a month to heal to the point that you can safely remove the jewelry. However, longer waiting periods (up to two months or longer) are usually preferable. As a general rule, if your piercing is painful to remove, it may need more time to heal. Note that, if your piercing becomes infected, your doctor may direct you to remove your piercing early. See our article on infected piercings for more information.
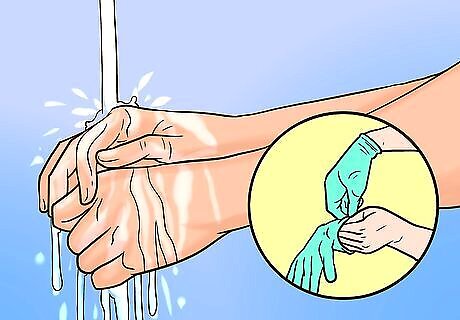
Wash your hands or put on sterile gloves. Clean hands are crucial when removing your piercings. Human hands can potentially carry millions of bacteria, especially if they've just come into contact with a bacteria-rich object like a doorknob or a piece of uncooked food. To protect your piercing, which is vulnerable to infection even if it's well-healed, be sure to wash your hands thoroughly with soap and water or sanitizer. Another good option is to put on a fresh pair of sterile latex gloves (unless you have a latex allergy, in which case, you should steer clear.) Gloves can have the added benefit of making it easier to grasp the slippery ends of jewelry pieces that rest inside your nose.
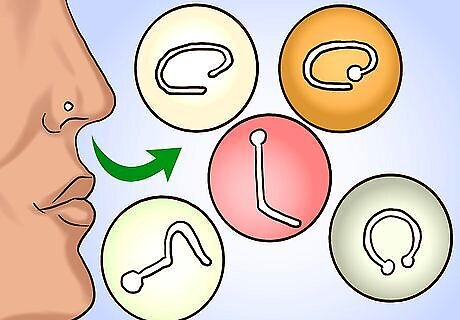
Remove the bead or fastener. You're now ready to begin! To start, you'll want to remove or undo the mechanism holding your piercing in. Depending on the type of piercing you have, the exact mechanism can differ. Most should be fairly self-explanatory, but here are some general guidelines for a few common types of nose jewelry: Seamless hoops: This is a metal hoop or ring with a break in the middle. To prep the hoop for removal, just bend the two ends of the ring in opposite directions to widen the opening. Captive bead hoops: Similar to seamless hoops (see above), but with a bead in the middle to cover the break in the ring. Prep for removal by pulling the ends of the hoop in opposite directions — the bead should eventually fall off the ring.These can be notoriously difficult for first-timers to remove, so if you're struggling, consider getting a professional's help. L-shaped studs: Basic "stud" design with a 90-degree bend in the skinny portion so that the jewelry resembles an "L" shape. To prep for removal, grab onto the decorative portion on the outside of the nose and gently push down until you see the curve of the L come through the outside of your piercing. Note that you may feel a slight pinch as the bend in the stud comes through the piercing hole. Nose Screws: Similar to ordinary studs but with a corkscrew shaped stick portion. These require a little twisting to insert and remove. To prep for removal, gently push outward on the end of the piercing inside your nose. It should begin to slide out. Gently twist it as you push it through your nose, following its curve. Depending on your jewelry, it make take two or three full twists to come through. It may also help to use KY jelly or another gentle lubricant when you do this to keep the stud from getting stuck. Bones or Fishtails: Miniature "sticks" or "poles" with beads or other stoppers at both ends. The central pole may be straight or curved. While some bone may have removable stoppers, the majority do not, which means that these can be some of the most difficult pieces of jewelry to remove. To prep for removal, press a finger or thumb against the end of the jewelry on the inside of your nose and push so that the jewelry sticks out slightly on the outside.
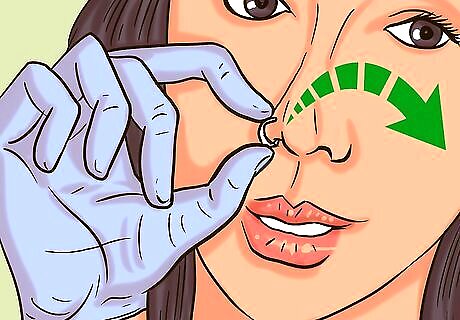
Carefully slide the piercing out. Once you've gotten your piercing ready for removal, taking it out is usually a cinch. Gently pull the jewelry out of the piercing hole at a slow, steady pace. If your jewelry has curves in it, go slowly and be ready to change the angle you pull at to accommodate its curves. For some piercings, you may find that it's helpful to have one finger inside the nose to guide the internal portion of the jewelry out. Don't be shy about this — it may look like you're picking your nose, but if you do it in a private place, it can save you from unnecessary discomfort. For nose bones without removable stoppers, pulling the jewelry through will require more force than with the other types of nose jewelry. Try to remove it in one firm but gentle motion. Be prepared for an uncomfortable pinch as the nub on the inside end of the bone comes through the piercing. Don't be alarmed if you bleed a little bit after it comes out, especially if this is your first time, but be sure to clean it thoroughly if this happens (more details on cleaning below.)
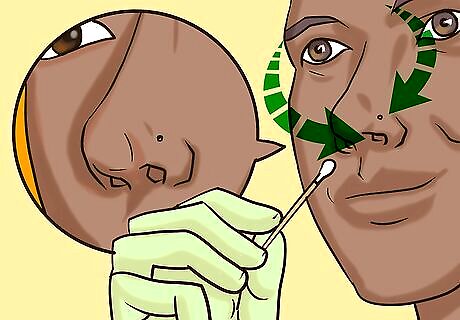
Clean your nose with an antibacterial solution. Once you have your jewelry out, put it in a safe place so that you don't lose any of its smaller pieces. Next, use a cotton swab or Q-tip to gently clean both sides of your piercing with a gentle antibacterial solution. This kills bacteria around the piercing site and reduces the risk of infection. In terms of cleaning solutions you may want to use, you have several options. Below is just a short list of examples — see the section below for more information. Saline (salt and water) solution Rubbing alcohol Bactine Antibacterial ointment (i.e., neosporin, etc.)
Cleaning Your Piercings
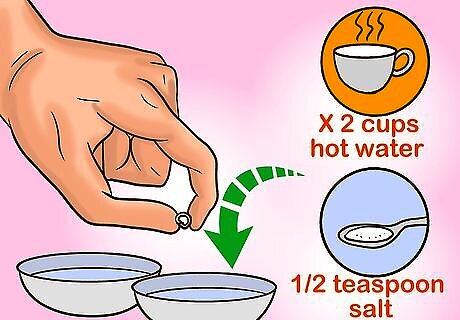
Use a saline solution to clean your jewelry. After you've removed your jewelry, you have two cleaning tasks: to clean the jewelry you just removed, and to clean the new piece of jewelry before you insert it. For convenience's sake, you can use the same cleaning method for both! Your first choice in terms of cleaning options is to use a simple saline solution. The benefit of this option is that it's very cheap and easy to prepare at home — however, it does take some time to prepare. To make a saline solution, heat two cups of water in a small pot. When it starts to boil, add 1/2 teaspoon (not tablespoon) and stir until it dissolves. Continue to boil for five minutes to kill any microorganisms in the water. To sterilize your jewelry, pour your saline solution into two separate clean containers, then drop your old jewelry into one container and your new jewelry into the other. Let both pieces soak for five to ten minutes.
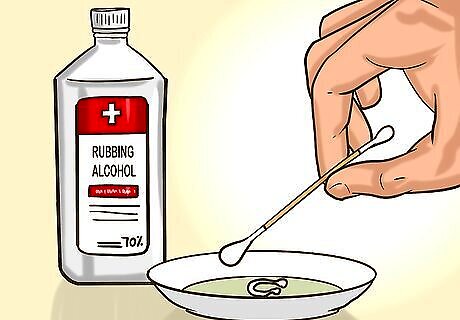
Rub your jewelry with alcohol. Another good option for cleaning your jewelry is to use rubbing (isopropyl) alcohol, which is usually available for cheap at local hardware stores. To clean your jewelry with rubbing alcohol, simply pour a little into a small, clean container and use a cotton swab or Q-tip to thoroughly paint both your old jewelry and the new jewelry you intend to insert. Give your new jewelry a chance to dry on a clean paper towel before inserting it into your piercing. Rubbing alcohol can sting if it's introduced directly into a piercing (though it shouldn't cause serious harm.)
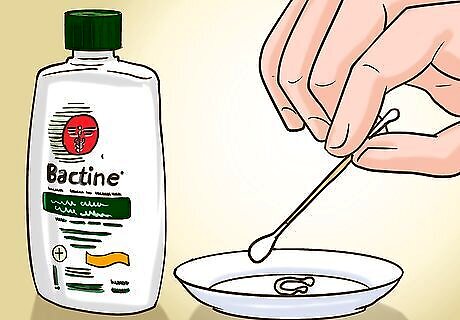
Use Bactine or another liquid antiseptic. Liquid antiseptic solutions (like Bactine or other brands with benzalkonium chloride as an active ingredient) are great for cleaning nose jewelry. Not only do they kill harmful bacteria on contact, but they're also easy to apply — just dampen a clean rag or Q-tip with the solution and rub it onto the jewelry, then set it out to dry before inserting it again. Another great thing about Bactine and similar products is that they can help relieve the pain that can accompany changing your jewelry for the first time, so don't be afraid to gently apply a little to the piercing itself.
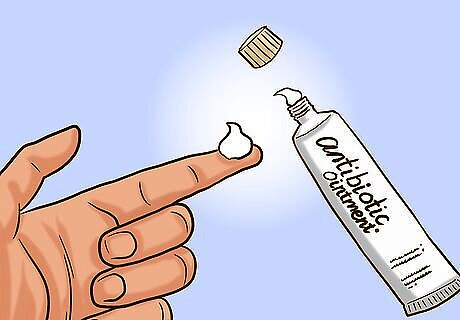
Consider applying an antibiotic ointment. If you have any antibiotic ointment in your bathroom cupboard, you may want to use it in addition to of one of the cleaning solutions above. To do so, simply rub a small amount onto both pieces of jewelry, taking special care to coat the portion that will sit inside the piercing. Suitable ointments include those that contain polymyxin B sulfate or bacitracin as their active ingredient. Note that the use of ointments for piercings is somewhat controversial — while they're good for killing bacteria, there is some evidence that using ointments this way can actually slow the healthy healing process of the piercing. Note also that some people are allergic to common antibiotic ointments. If you experience pain and swelling upon inserting your new jewelry after cleaning it with ointment, remove it and stop using the ointment. Contact a doctor if problems persist.
Inserting Your New Jewelry
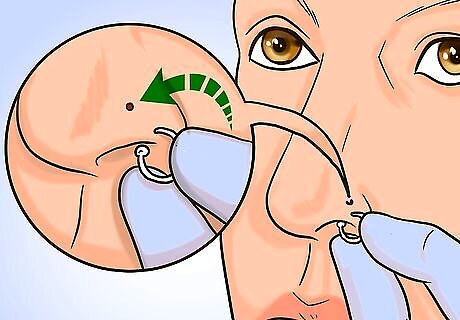
Gently slide the pointed end of your new jewelry through the piercing. When your new piece of jewelry has been sterilized, inserting it into the piercing is usually quite easy. Simply remove any fasteners or beads and gently slide the jewelry's thin portion into the piercing. If your piercing is in your septum (the "middle" section of the nose), you'll need to insert the jewelry into the hole through one nostril. If, however, the piercing is in the side of one of your nostrils, you should insert it from the outside of the nose. As a reminder, be sure to wash your hands or put on gloves before handling your (sterile) new jewelry or touching your piercing.
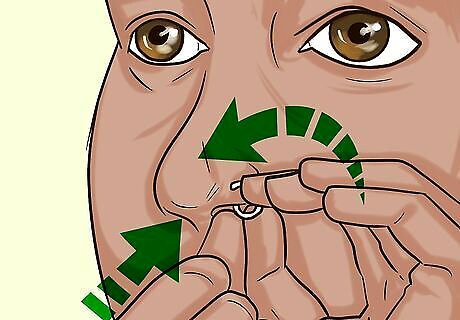
Feel for the metal on the other side of the piercing. To help aid the jewelry through your piercing, try inserting one finger onto the other side of the opening as you push the jewelry in. This can help you get the angle of insertion just right — when you feel the jewelry poke your finger, you'll know you've "cleared" the hole.
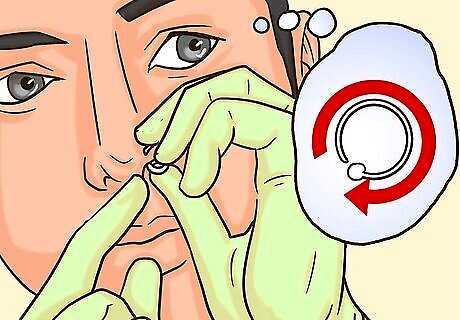
Follow the curves of the jewelry as you feed it through the opening. Continue feeding the jewelry through your piercing, using both hands to guide and adjust it as needed. If your piercing has any curves in it, gently twist or turn the piece of jewelry as you push it in to accommodate the curves and avoid any unnecessary pain.
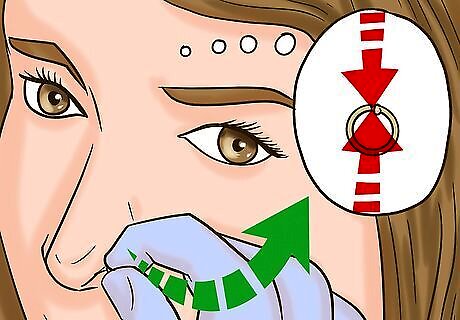
Fasten the jewelry in with its bead, clamp, etc. When your jewelry has been inserted completely, the only task that remains is to seal or fasten it in so that it won't fall out. Depending on the type of jewelry you're using, the exact way to do this will differ — just like with the removal process above. Below are rough instructions for several common types of nose jewelry: Seamless hoops: Simply bend the two ends of the ring so that they line up inside your nose and the ring sits securely in your piercing. Captive bead hoops: Bend both ends of the ring so that they meet inside the fastener bead. As noted above, these pieces can be quite difficult for beginners, so consider enlisting the help of a professional if you're having trouble. L-shaped Studs: Stick the narrow end of the jewelry through your piercing. The decorative end of the stud should be above the piercing if you want the end of the "L" to point up into your nostril and vice versa if you want the end to hang below. Push it through until you reach the bend, then carefully work the angle of the stud through your piercing (pull it down if you started with it above the piercing and push it up if you started with it below the piercing.) Nose Screws: Put the tip of the stud through your piercing. Put your thumb or finger against the hole on the inside of your nose for guidance. Gently push the screw through, twisting clockwise until you feel the tip poke through the inside of your nose. If necessary, keep twisting until the piercing is flat against the outside of your nose Bones or Fishtails: As noted above, while these types of jewelry are comfortable to wear long term, they can be some of the least comfortable to put in and take out. To insert a bone or fishtail, start by placing the nub of the jewelry against the outside of your piercing. Using your thumb or finger inside your nose for support, firmly push the bar through until you feel it come through the other side. Don't be alarmed if you feel an uncomfortable pinch as you are doing this.
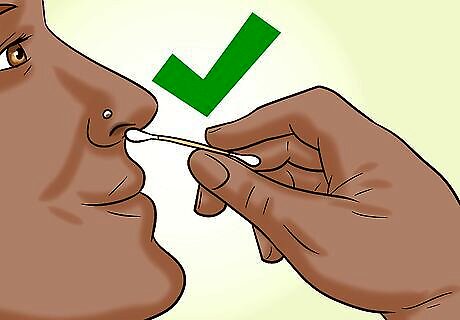
Clean your nose once again. Once your new jewelry is seated comfortably in your nose, congratulations — you've just successfully changed your piercing! At this point, finish up by giving your nose one more thorough cleaning with an antiseptic to discourage infection. Apply a mixture of warm water and soap, an antibacterial sanitizer, or any of the cleaning solutions described in the section above to the area around both sides of your new piercing.
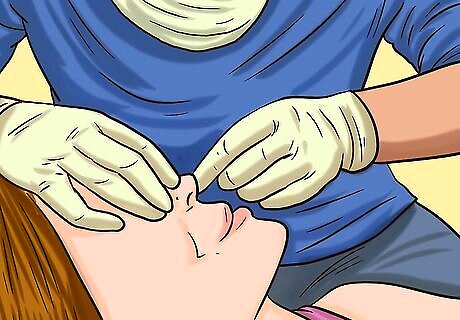
See a professional if you experience serious pain or bleeding. Inserting your new piece of jewelry may be somewhat awkward or uncomfortable, but it should not be outright painful or cause significant bleeding. If you experience either of these symptoms or your piercing becomes red, inflamed, and/or irritated, this may be a sign that your piercing has not had adequate time to heal or that your piercing is infected. In either case, visit a reputable piercing professional to determine the problem. See a doctor if your symptoms don't seem to get better over time.


Comments
0 comment