
views
Using an Online File Corrupter
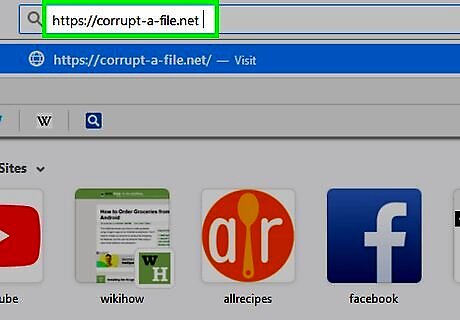
Go to https://corrupt-a-file.net in a web browser. Corrupt-a-File is a free tool that will corrupt any document you upload.
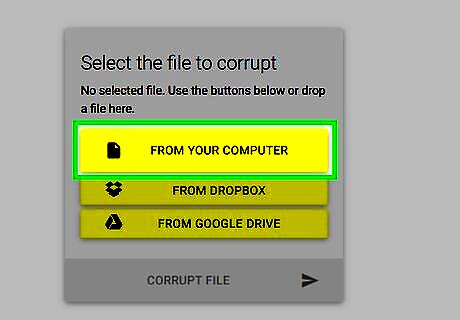
Click FROM YOUR COMPUTER. It's under "Select the file to corrupt." This opens your computer's file browser.
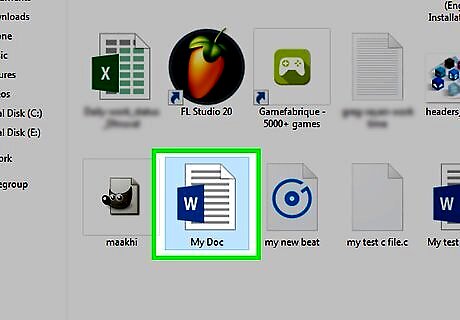
Select the Word document and click Open. The name of the file will appear under "Select the file to corrupt."
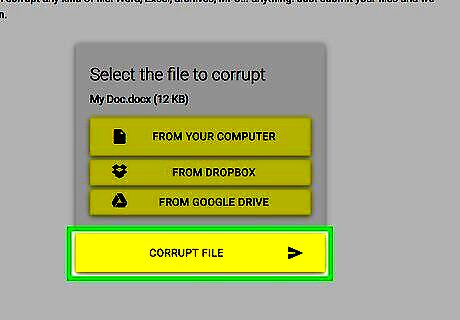
Click CORRUPT FILE. This uploads the file and corrupts it.
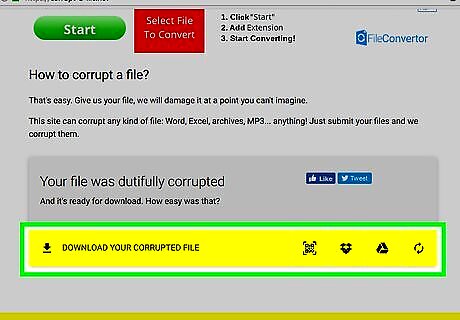
Click DOWNLOAD YOUR CORRUPTED FILE. You'll see this option once the file is ready.
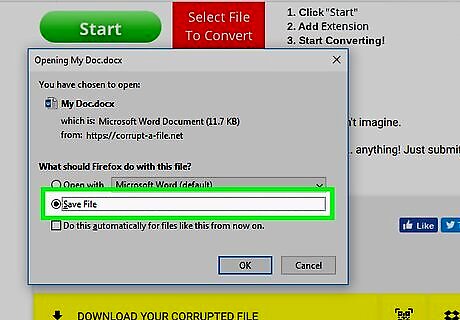
Name the file and click Save. This downloads the corrupted file to your computer.
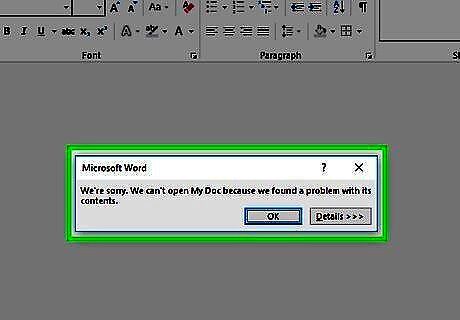
Try opening the file in Word. If you have Word on your computer, double-clicking the file should attempt to open it in that app. You'll see an error saying there's a problem with the content. Click Okay to proceed, and then Word will try (and fail) to repair or recover the content.
Using a Notepad for Windows

Open Notepad for Windows. You'll find it in the Start menu in a menu called Windows Accessories.
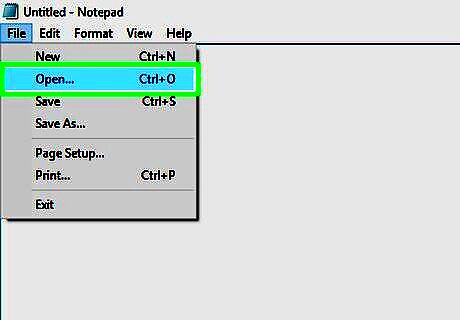
Click the File menu and select Open. The file browser will appear.
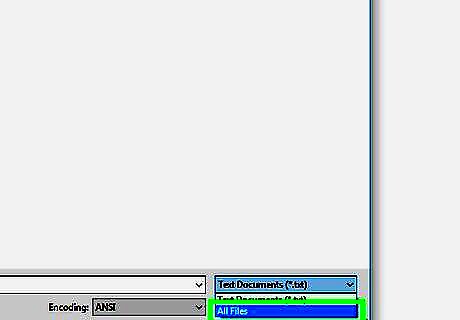
Select All Files from the drop-down menu. It's at the bottom-right corner of the file browser—the one set to Text Documents (*.txt) by default.
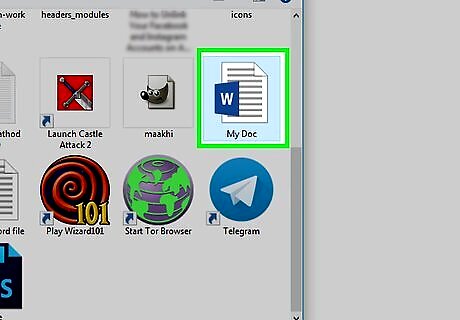
Select the document and click Open. A bunch of gibberish will appear in the Notepad window. You can use any Office document you wish—the content doesn't matter since nobody will be able to open the file.

Delete several lines of text. Seven or eight lines should be enough. However, do not delete all the text as this will prevent the file from being corrupted properly.
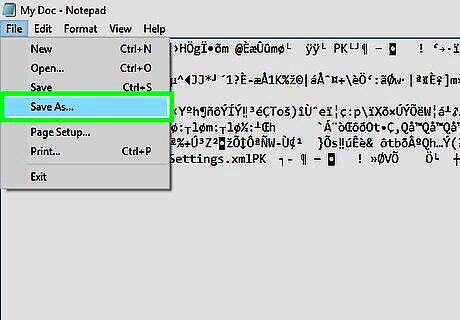
Click the File menu and select Save As. The "Save As" window will appear.
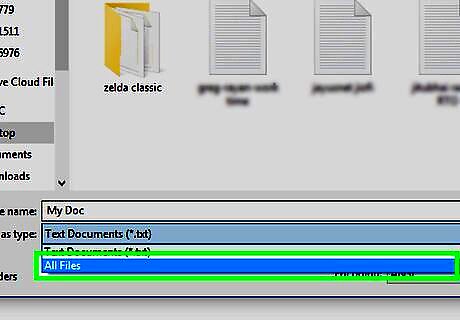
Select All Files from the "Save As Type" menu. It's at the bottom of the window.
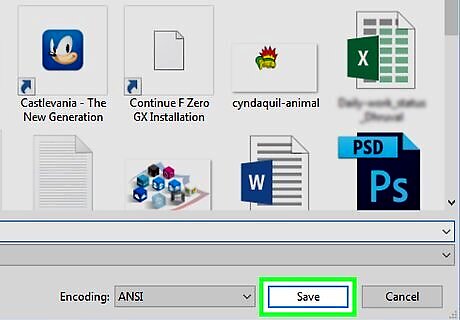
Name the file and click Save. This version of the file is now corrupt.

Try opening the corrupted file in Office. If you have Office on your computer, double-clicking the file should attempt to open it in that app. You should see an error message saying there is a problem with the content. Click Okay to proceed, and then Word will try (and fail) to repair or recover the content.
Changing File Extensions in Windows
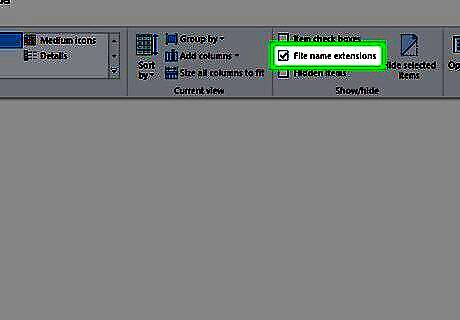
Make sure file extensions are visible. File extensions are not shown by default. Here's how to enable them now: Open the Windows search bar and type file options. Click File Explorer Options in the results list. Click the View tab at the top of the window. Remove the check mark from "Hide extensions for known file types" under "Advanced Settings." Click OK.
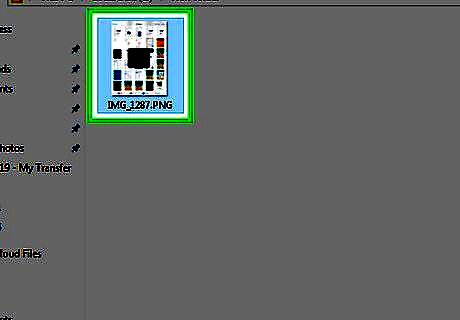
Find a file that isn't a Word or text document. You'll want to start with a file that can't be opened in Word, such as an image file (e.g., .jpeg, .gif, .png) or a sound clip (e.g., .wav, .mp3, .ogg). You'll be using this file to make a fake corrupted Word document. Since you'll be corrupting the file, be sure to choose one you don't care about. You can also make a copy of the file before changing its extension if you wish to preserve it.

Right-click the file and select Rename. This highlights the file name, which means it's now editable.
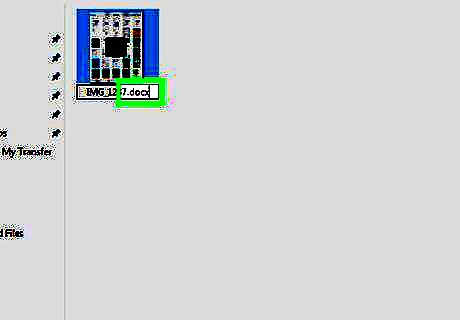
Replace the current extension with .docx or .doc for Word, .xls or xlsx for Excel, and PPT or PPTX for Powerpoint . For example, if you're working with a file called file.jpg, replace ".jpg" with .docx.
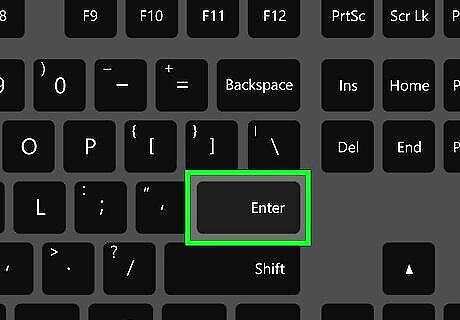
Press ↵ Enter. You'll see a pop-up asking if you're sure you want to rename the file.
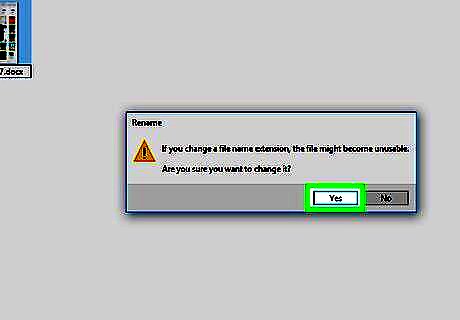
Click Yes. The file is now saved as a .docx file or whatever you saved it as. If you try opening the file in Word, you'll see an error that says it's been corrupted. If you want to hide file extensions again, return to the View tab in File Explorer Options and check the "Hide extensions for known file types" box.
Changing File Extensions on a Mac

Make sure file extensions are visible. File extensions are not shown by default. Here's how to enable them now: Open Finder Mac Finder. Click the Finder menu near the top-left corner of the screen. Click Preferences. Click the Advanced tab (it's the one with the gear). Check the box next to "Show all filename extensions." Click the red circle at the top-left corner of the window to close it.
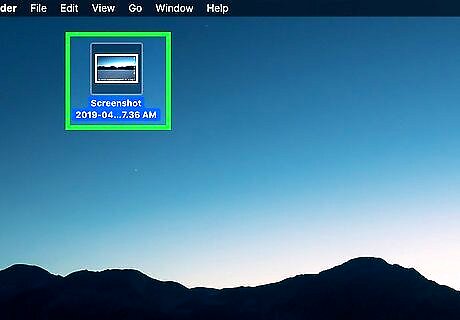
Find a file that isn't an Office or text document. You'll want to start with a file that can't be opened in Word, such as an image file (e.g., .jpeg, .gif, .png) or a sound clip (e.g., .wav, .mp3, .ogg). You'll be using this file to make a fake corrupted Word document. Since you'll be corrupting the file, be sure to choose one you don't care about. You can also make a copy of the file before changing its extension if you wish to preserve it.
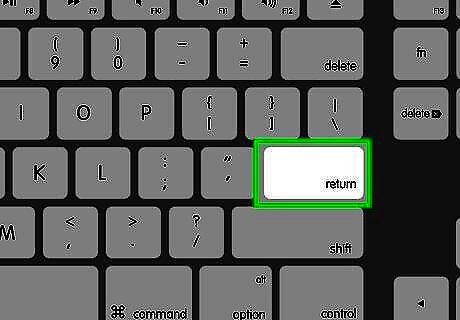
Click the file once to select it and press ⏎ Return. The file name should now be highlighted in blue, which means its' editable.
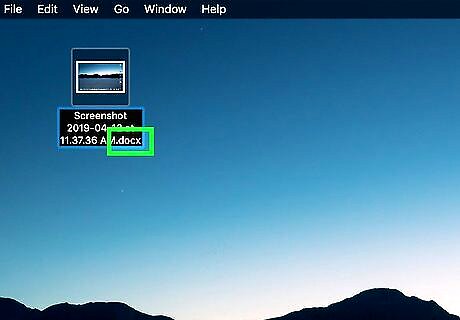
Replace the current extension with .docx. For example, if you're working with a file called file.jpg, replace ".jpg" with .docx.

Press ⏎ Return. You'll see a message asking you if you're sure you want to change the file extension.
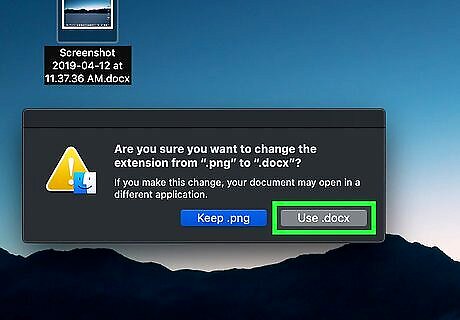
Click Use .docx. The file is now saved as a .docx file. If you try opening the file in Word, you'll see an error that says it's been corrupted. If you want to hide the file extensions in Finder, return to Finder > Preferences > Advanced and remove the check mark from "Show all filename extensions."


Comments
0 comment