views
- Go to https://github.com/join to create a GitHub account.
- You’ll need to verify your email during the signup process.
- You can upgrade to the Pro, Team, or Enterprise plan if needed.
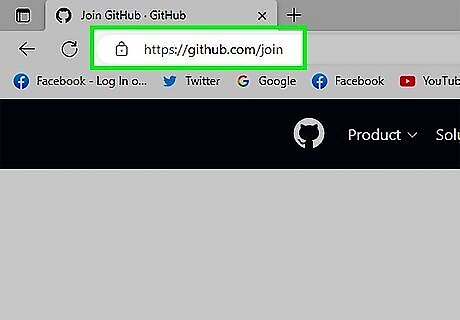
Go to https://github.com/join in a web browser. You can use any web browser on your computer, phone, or tablet to join. Before you can create branches or make any pull requests, you’ll need an account. Some ad blockers, including uBlock Origin, prevent GitHub's verification CAPTCHA puzzle from appearing. For best results, disable your web browser's ad blocker when signing up for GitHub.
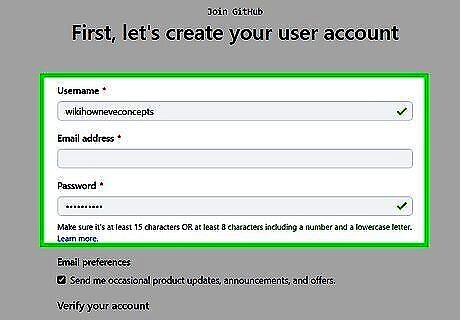
Enter your personal details. In addition to creating a username and entering an email address, you'll also have to create a password. Your password must be at least 15 characters in length or at least 8 characters with at least one number and lowercase letter.
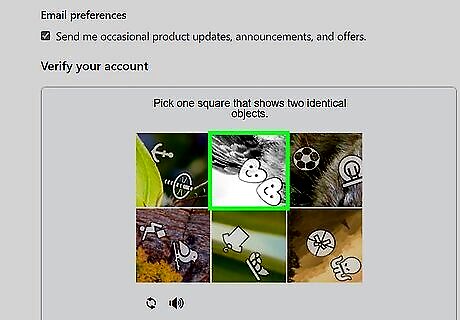
Click Verify to start the verification puzzle. The instructions vary by puzzle, so just follow the on-screen instructions to confirm that you are a human. A green checkmark will appear after completing the puzzle. You can switch to an audio challenge by pressing the speaker button under the Verify button. If you see an error that says "Unable to verify your captcha response," it's because your web browser's ad blocking extension prevented the CAPTCHA puzzle from appearing. Disable all ad-blocking extensions, refresh the page, and then click VERIFY to start the CAPTCHA.
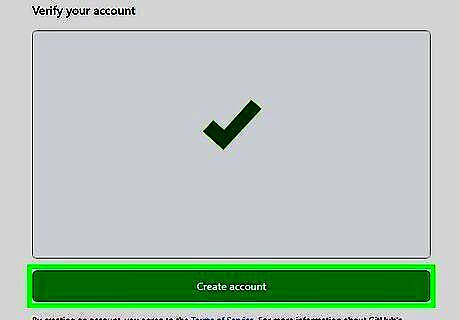
Click the green Create account button. It's below the form, at the bottom of the page. This will take you to an email verification page. Carefully review the Terms of Service at https://help.github.com/en/articles/github-terms-of-service and the Privacy Statement at https://help.github.com/en/articles/github-privacy-statement before you continue. Continuing past the next step confirms that you agree to both documents.

Verify your email by entering the code. After clicking Create account, you’ll receive an email with a code. Enter this code on the verification page. Entering the code will automatically take you to the welcome page.
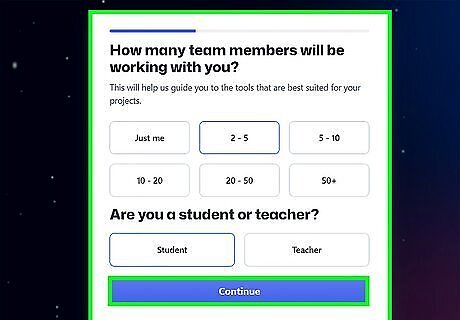
Select your preferences and click Continue. GitHub displays a quick survey that can help you tailor your experience to match what you're looking for. You’ll be sent to the plan selection page after completing the survey. You can skip this survey by clicking Skip personalization at the bottom of the page. Clicking this will take you directly to your GitHub dashboard page with a free account. You can sign up for GitHub Pro at any time.

Note the types of plans offered by GitHub. There are a few different plans to choose from, varying in the amount of features provided. Free: Unlimited public and private repositories, up to 3 collaborators, issues and bug tracking, and project management tools. Pro: Unlimited access to all repositories, unlimited collaborators, GitHub email support, and advanced insight tools. Team: All of the aforementioned features, plus team access controls and user management. Enterprise: All of the features of the Team plan, plus self-hosting or cloud hosting, priority support, single sign-on support, and more.

Select the free plan. On the plan selection page, scroll down to click the button for choosing a free plan. This will immediately take you to your GitHub dashboard. You’re ready to download some directories and repositories, or download a file. If you choose a paid plan, you'll have to enter your payment information as requested before you can continue. If you want to upgrade your Github account in the future, click the menu at the top-right corner, select Settings, and choose Billing and plans to view your options.


Comments
0 comment