views

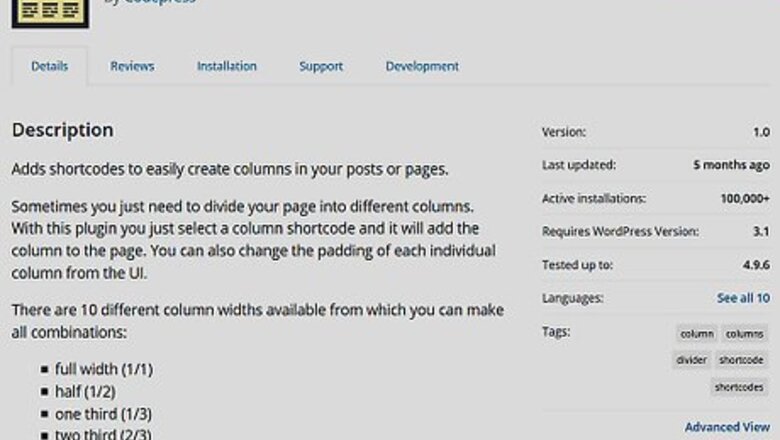
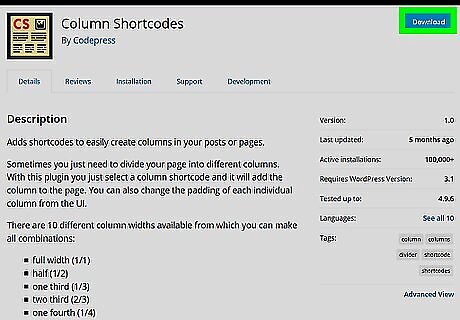
Install the Column Shortcodes plugin to your WordPress installation. This is a free WordPress plugin that allows you to use pre-made shortcodes to quickly add columns to your blog posts. Here’s how to activate the plugin on your WordPress installation: Go to https://wordpress.org/plugins/column-shortcodes. Click Download and save the file to your computer. Unzip the file. Upload the column-shortcodes folder from the zip file to your /wp-content/plugins directory. Open your WordPress admin page. Click Plugins. Click Activate next to ″Column Shortcodes.″
Create a new WordPress post. You’ll see that a new icon of two brackets has been added to the top of the editor (right next to the music/video icon) in the ″Upload/Insert″ section.
Click the Column Shortcodes icon. It’s the two brackets in the ″Upload/Insert″ section. A pop-up window containing different column options will appear.
Insert your column padding values (in pixels). This is optional, but gives you the chance to control the amount of space that appears between the columns.
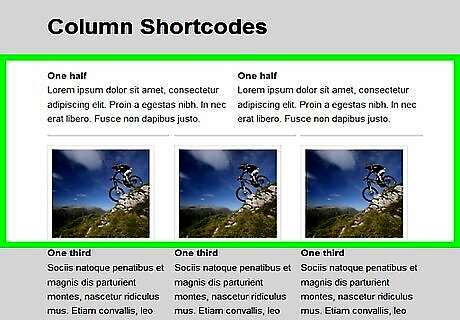
Click the column shortcode you want to use. This inserts the code into the post editor. The shortcodes will look something like this: [one_half] [/one_half]. To create a 3-column layout, select one_third twice, and then end it with one_third (last).

Add your content to the appropriate columns. Now that the shortcodes are inserted, all you need to do is add your content. Type the text and media you want to add to each column between each column’s shortcodes. Here’s an example of a two-column layout: [one_half]CONTENT OF FIRST COLUMN [/one_half] [one_half]CONTENT OF SECOND COLUMN[/one_half]. Click Preview to see your columns in action before posting.


Comments
0 comment