
Creating a Task

Open Gmail in a web browser. If you're not already signed in to your account, follow the on-screen instructions to do so now.
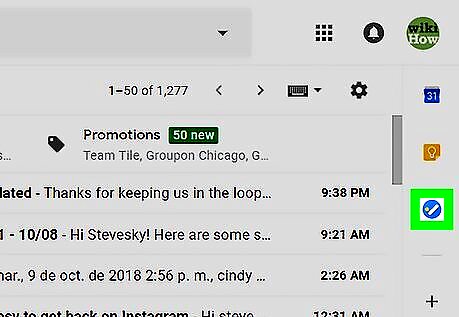
Click the Tasks button. It's in the icon bar that runs along the right side of the inbox. Look for a round blue icon containing a diagonal white line and orange dot. If it's your first time using Tasks, click the blue Get started button in the right column to continue.
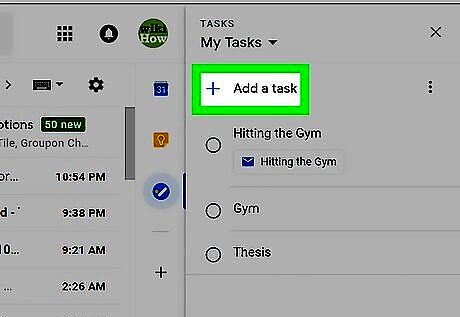
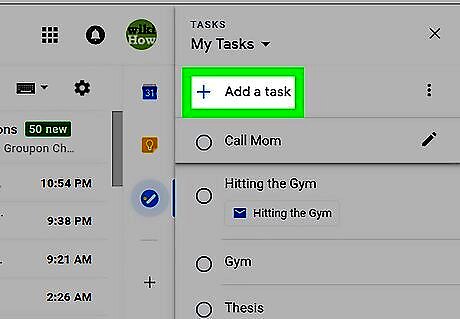
Click + Add a task. It's at the top of the right column.
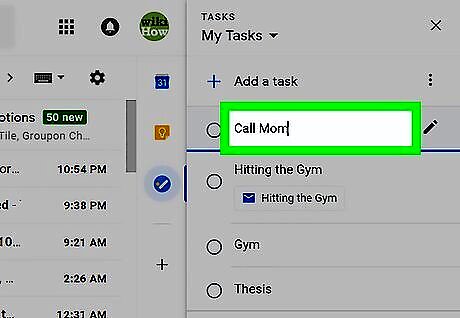
Type the task. This is a brief description of the tasks (e.g., Call Mom, Finish essay).

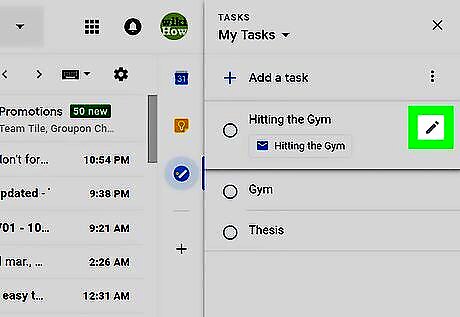
Click the pencil to add more details (optional). It's right next to the task name you just typed. On this screen you can add additional details such as: A more detailed description. The date. Subtasks (individual parts of the task). Click the arrow at the top of the right column to return to the Tasks list.
Add additional tasks. To add the next item, click + Add a task, and then enter the details.

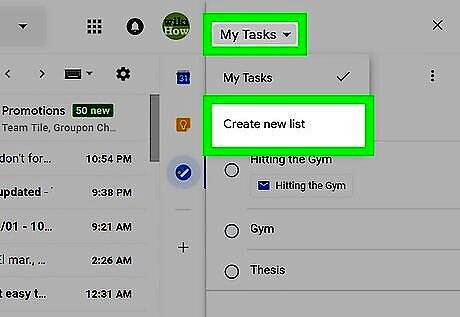
Organize tasks into lists (optional). To create a new list, click the drop-down menu at the top of the right column, select Create new list, and then give your list a name. To switch between lists, select the desired list from the drop-down menu.
Saving an Email as a Task
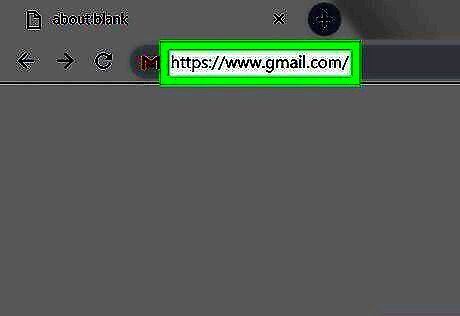
Open Gmail in a web browser. If you're not already signed in to your account, follow the on-screen instructions to do so now.

Click the Tasks button. It's in the icon bar that runs along the right side of the inbox. Look for a round blue icon containing a diagonal white line and orange dot. If you already have a Tasks list, the list will appear. If you've created multiple Tasks lists and want to save an email to a specific one, click the drop-down menu at the top of the right column, and then select a list. If it's your first time using Tasks, click the blue Get started button in the right column to continue.
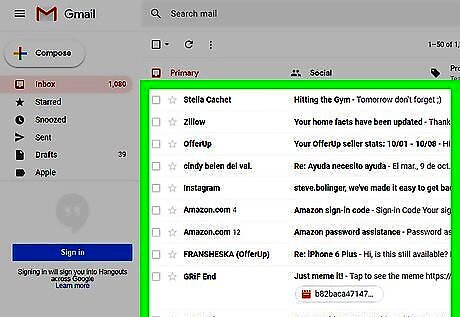
Find a message you want to save as a task. You don't need to open the message—just locate it in your inbox.
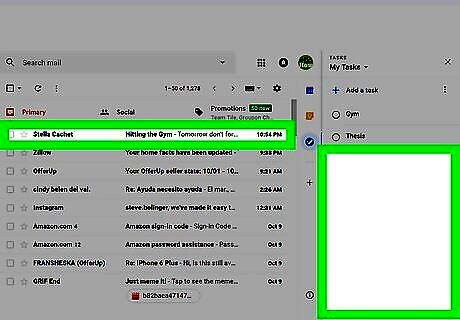
Drag the message to the list. This creates a new task from the email message. The task includes a link to the message for your reference.
Click the pencil to add more details (optional). It's right next to the name of the task. Here you can add or edit the date, type a description, and/or add subtasks. Click the arrow at the top of the right column to return to the list.
Organize tasks into lists (optional). To create a new list, click the drop-down menu at the top of the right column, select Create new list, and then give your list a name. To switch between lists, select the desired list from the drop-down menu.


Comments
0 comment