
Steaming Corks to Soften Them
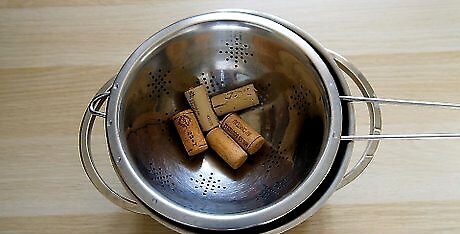
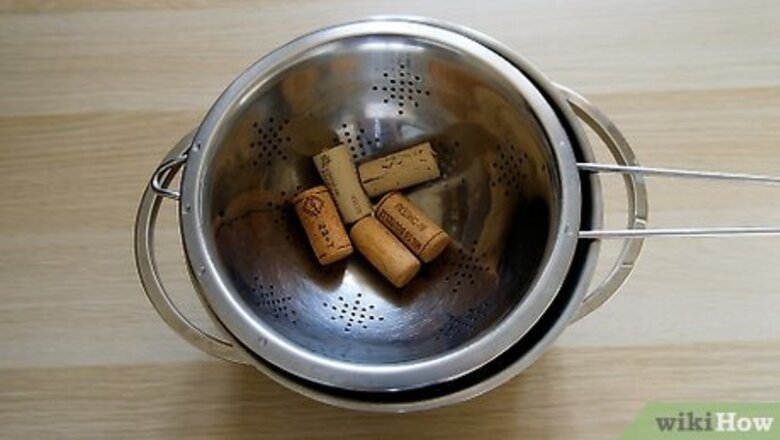
Place your corks in a vegetable steamer or metal colander. If you don’t have a steamer, use a metal colander that will fit into a pot. Fill the colander or steaming basket with as many corks as you need for your project. Steam your corks in 2 or more batches if they won’t all fit in the steamer. You might only need 1 or 2 corks for a smaller project, like making wine charms. On the other hand, if you’re making wedding place card holders for 100 guests, you’ll need 50 corks.
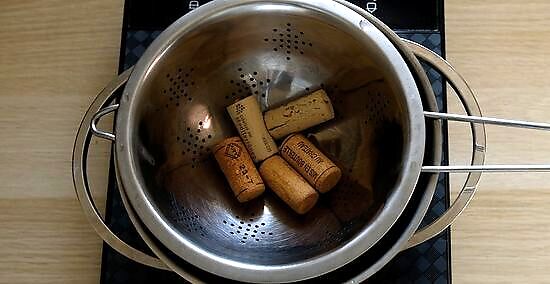
Set the steamer in a pot of water. Cover the bottom of the pot with about 2 inches (5.1 cm) of water. Try to keep the water level low enough so it doesn’t come into direct contact with the corks. After adding the water, place the steamer in the pot.
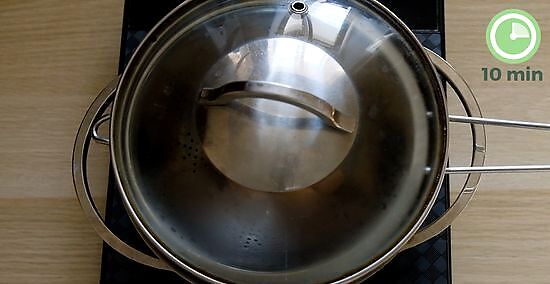
Cover the pot and steam the corks for 10 minutes. Turn the heat to medium-high and bring the water to a boil. After 10 minutes, take off the cover, remove the pot from heat, and let the corks cool. They’ll be nice and soft after steaming, and they won’t crumble when you cut them.
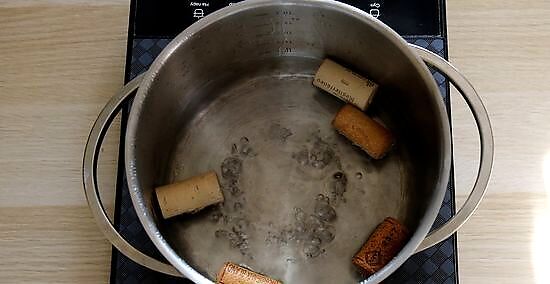
Boil your corks if you don’t have a steamer or if they’re store-bought. Fill a large pot about halfway with water, add the corks, and bring the water to a rolling boil. After 10 minutes, drain the water and let the corks cool. Steaming works well for corks pulled from wine bottles, but it’s harder to soften unused corks purchased at craft stores or in bulk online. If you boil the corks, they’ll absorb more water and swell more than if you’d steamed them. They’ll shrink back down to size as they dry, so don’t worry. If your project involves glue, you’ll need to give boiled corks a little longer to dry than steamed corks.
Cutting Corks Cleanly
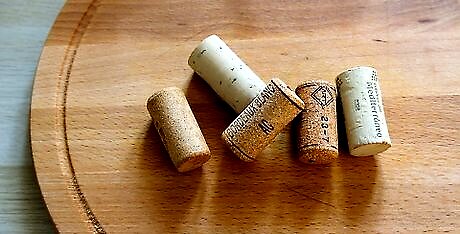
Let the corks cool until they’re safe to touch. The corks should still be warm and damp when you cut them, so just cool them for a few minutes. Start cutting them as soon as you can touch them without burning yourself. If you’re working with a big batch of corks, keep the lid on the pot as you cut so the rest of the corks won’t cool down too much.
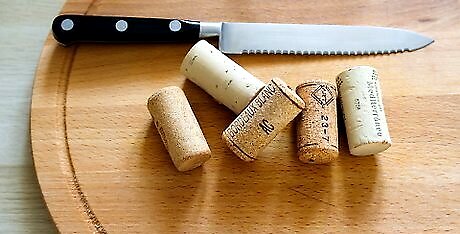
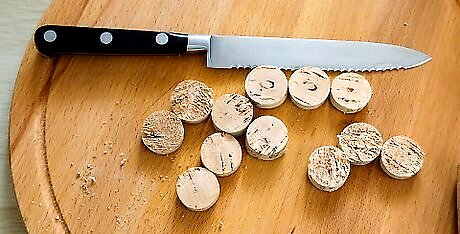
Cut them with a greased serrated knife. Use a wad of paper towels to lightly coat a sharp, serrated knife with oil, butter, or shortening. Don’t grease the knife so much that it leaves lots of residue on the corks. Be sure to use paper towels instead of your hands to avoid cutting yourself. If you notice the corks look slick after cutting them, wipe them down with a clean cloth or paper towel.
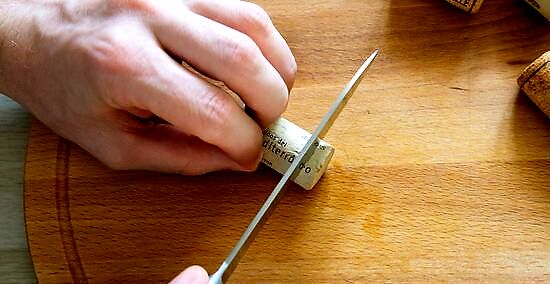
Curl your fingertips as you cut and direct the knife away from your body. Use firm pressure to slowly and carefully slice through the cork. Keep your fingers away from the cutting line and hold the cork with your curled fingertips. That way, your nails will offer protection just in case the knife slips. If necessary, get permission or assistance from an adult before using a sharp knife.
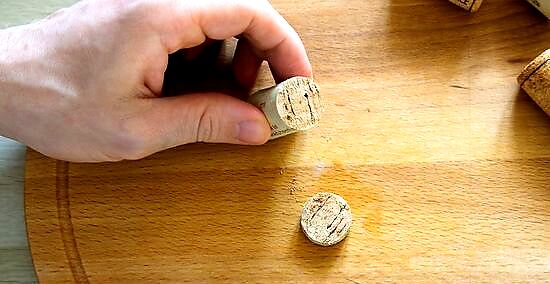
Saw through the cork with the serrated knife. Use steady back-and-forth motions to saw the knife through the cork. Don't try to hack straight through it using only downward force. The right technique is like slicing through a crusty loaf of bread as opposed to chopping vegetables.
Crafting with Cork Slices and Halves
Dry corks completely before coloring or gluing them. If your project involves glue, stamps, or markers, let the corks dry at least overnight after cutting them. Spread them out in a single layer on newspaper or paper towels so they dry faster. If you're not gluing or coloring the corks, you can go ahead with your project.
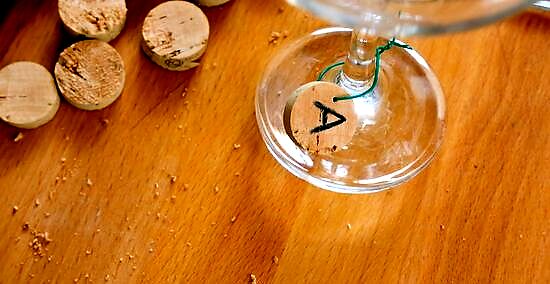
Cut corks into ⁄2 inch (1.3 cm) slices to create wine charms. After cutting the corks, use an ice pick or metal skewer to poke a hole near the edge of each slice. Slide a 2 to 3 inch (5.1 to 7.6 cm) length of thin, flexible wire or twine through the hole. Use a marker, stickers, or stamps to decorate each charm with a unique symbol. To use the charms, tie the wire or twine around the stem of a wine glass near the base. When they’re not in use, tie each charm’s wire or twine in a loose loop (like the first step of tying your shoes) so it doesn’t become separated from its charm.
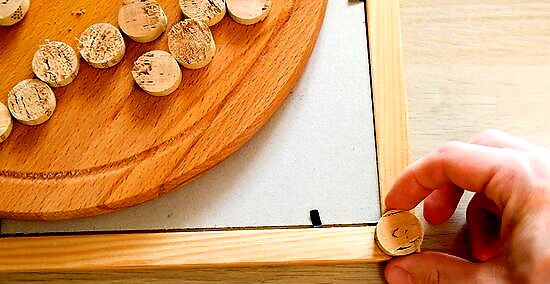
Use slices of cork to keep framed wall art from tilting. Cut the corks into slices about ⁄4 to ⁄8 inch (0.64 to 0.32 cm) thick. Glue the slices to the rear side of a frame at the corners. The cork slices will grip the wall and help keep the frame level.
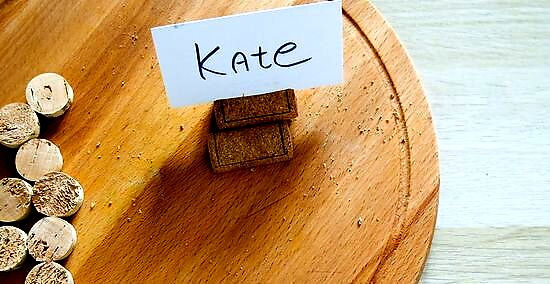
Make simple wine cork place card holders. Cut the corks in half lengthwise so they’ll sit flat on the table. Then use a thin craft blade (such as an X-acto knife) to score a thin slice lengthwise down the rounded side. Score the rounded side just deep enough to fit a sheet of paper, and make sure you don't cut all the way through. Create place cards by printing or writing your guests’ names on card stock. Slide each place card into the scored rounded side of the wine cork. Wine cork place card holders are perfect for a casual dinner party or for a wedding reception.
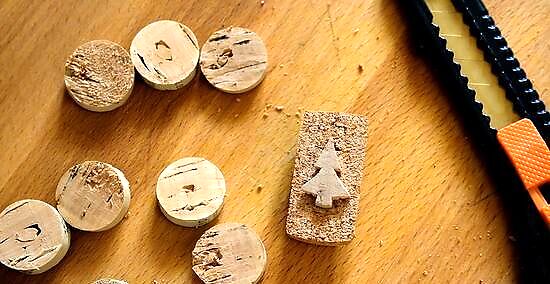
Carve a personalized cork stamp. Cut a cork in half, and use one of the halves to make shapes to create your stamp's design. Glue the design onto the other half of the cork, then let it dry for at least 2 hours. Dip your stamp onto an ink pad, and use it to personalize letters, thank you cards, and notebooks. For example, make a stamp with the first letter of your name. Cut a cork in half lengthwise, and slice one of the halves into thin strips or curves. Use the shapes to form the letter, then glue it onto the other half. You could cut a cork in half to make 2 cylinders, then cut a thin slice off of one of the halves. Draw a heart onto the slice as a guide, use a craft knife to cut out the heart, then glue it onto the other half of the cork.


Comments
0 comment