views
Making Straight Cuts with a Utility Knife
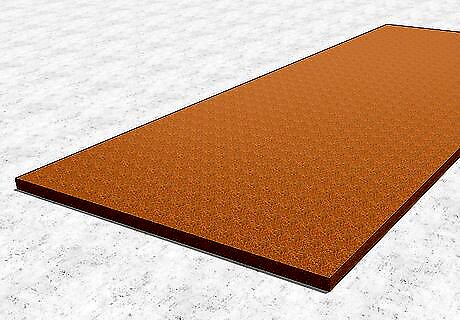
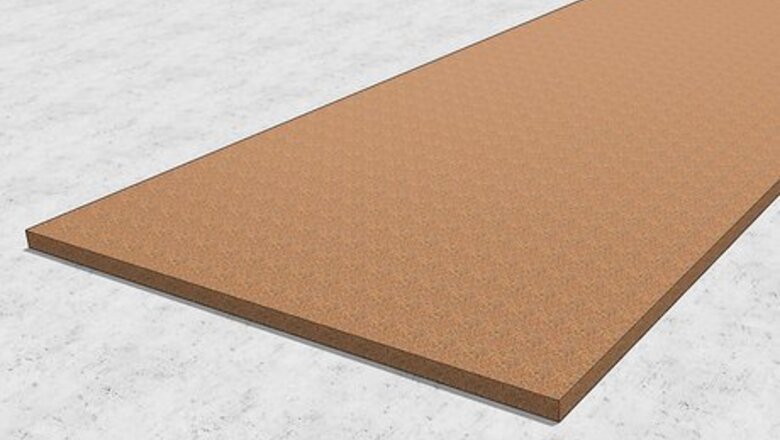
Lay the hardboard on a flat, hard, unfinished surface. A concrete garage floor, driveway, or basement floor is a good choice here. You can also use a workbench if you’re cutting a smaller piece of hardboard. Lay the board smooth-side up, unless you plan to use the rough side as the “show” side. Cutting on top of concrete will dull your utility knife blade more quickly. While the blades are easy to switch out, you can protect your blade a bit by laying a large sheet of cardboard (like an unfolded moving box) underneath the hardboard.
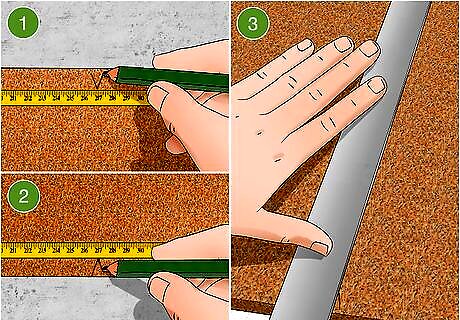
Mark your cut line, then hold a straight edge firmly against it. Measure your cuts with a tape measure, then mark them with a pencil and a straight edge (a utility knife works best for straight cuts). Keep the straight edge in place right up alongside the marked cut line, and press down firmly on it with your hand and knee or foot. Continue your pencil lines over the edges of the board, so that you can see them when you flip the board over. A large T-square will work in place of a straight edge. You can try to make curved and shaped cuts, but it takes some practice to master cutting freehand with a utility knife. You might have greater success with a jigsaw.
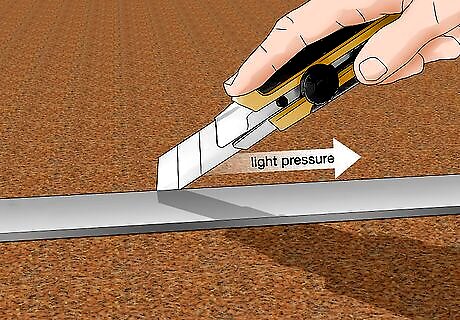
Run your blade lightly along the line and against the straight edge. With your first pass of the blade, you simply want to score the surface of the hardboard along the cut line. Use only light pressure, keep the blade right up against the straight edge, and cut in a single, smooth, steady motion. Don’t stop-and-start while cutting with a utility knife. Complete the whole cut in one motion whenever possible. Maintain firm pressure on the straight edge so it doesn’t shift out of place while you’re cutting.
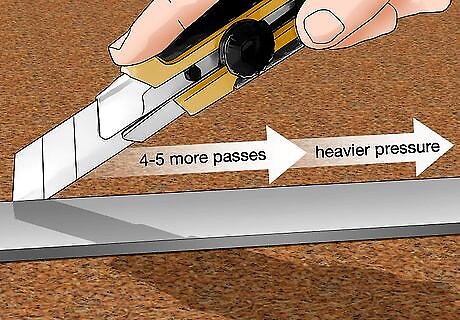
Deepen the cut with 4-5 more passes of the knife blade. Keep the straight edge in place, and put the tip of the blade into the channel you created by scoring the board. Complete a second cut, this time pressing down a bit more firmly. Make 5-6 total cuts, pressing a little harder each time. After the second or third pass of the blade, you can remove the straight edge if you wish. The channel should be deep enough to keep your blade moving straight along the cut line.
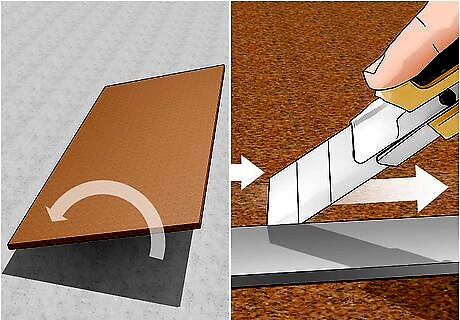
Repeat the process on the other side (option 1). After 5-6 passes, you’ll have cut a deep channel most of the way through the board, but you won’t be all the way through. One option is to flip the board over, draw another pencil line, and repeat the cutting process. After a few passes of the blade, you’ll have cut all the way through the board. Make sure the pencil lines are in the exact same spot on both sides of the board. Use the pencil lines that you ran over the edges of the top side of the board to help guide the placement of the cutting line on the underside.
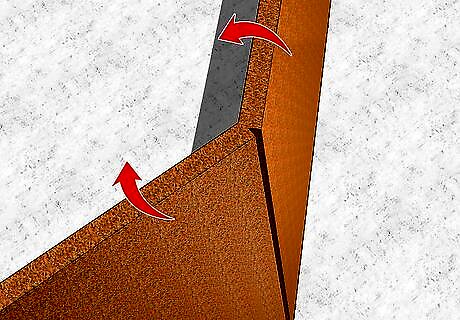
Lift and bend the board, then cut through the other side (option 2). After 5-6 passes on the top side, you’ll be able to bend the board right along the cut line. Lift the board up on its side, then use your knee and hand as leverage to bend the board at a right angle, away from the existing cut line. To finish the cut, run your blade along the corner you’ve created on the underside of the board—after a pass or two, you’ll have cut through the board. This is a similar process to cutting through a sheet of drywall with a utility knife.
Using a Power Saw
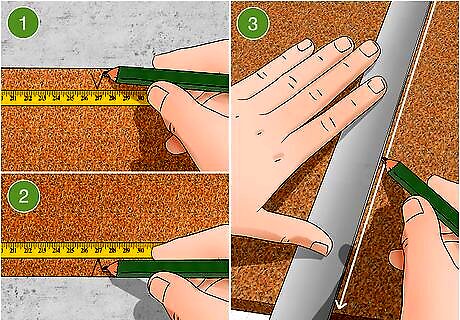
Mark your cuts with a pencil on the smooth side of the board. Hardboard sheets have a smoother side and rougher side, and you’ll usually want the smoother side to be your finish side. In this case, mark your cut lines in pencil on this side and keep it facing up when you make your cuts. Use a tape measure and a straight edge to make accurate, straight cut lines. Run your pencil lines over the edge of the board, so you can see them when you flip the board over. Remember the old adage: measure twice, cut once!
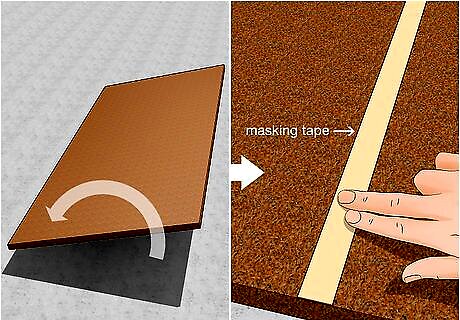
Run masking tape opposite the cut lines on the board’s rough side. Flip the board over and use the pencil marks you ran over the edges of the board to guide you. Center a strip of masking tape over the cut line (but on the opposite side of the board) and stick it in place. The teeth on power saw blades can splinter the surface of the hardboard as they cut up through the underside. The tape helps protect against this. Tape works best if you’re cutting straight lines or gentle curves. If you’re making sharper curves or more intricate cut patterns, clamp a sheet of particle board to the underside of the hardboard, as described in the hand saw directions in this article.
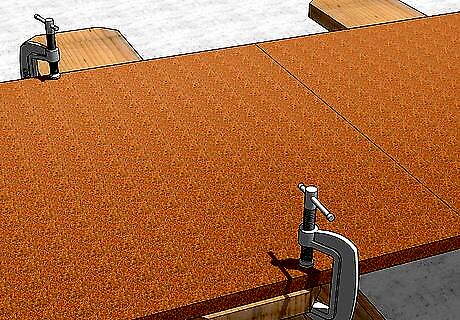
Clamp the board to a sturdy, level work surface. To reduce board vibration while cutting, lay the board on a sturdy, level workbench, with only the area you plan to cut overhanging the edge of the bench. Secure multiple clamps to the underside of the bench and the top side of the hardboard—use two where the board’s overhang starts, and at least two more elsewhere, if possible. If you’re using a table saw, lay the board (without clamps) on the saw’s cutting table, aligned properly with the slit where the saw emerges during cutting. Limiting vibration is critical to smooth, accurate cuts with less splintering. Spring clamps—which you squeeze to open and release to tighten—and C-clamps—which you screw and unscrew to tighten and loosen—are both good choices here.
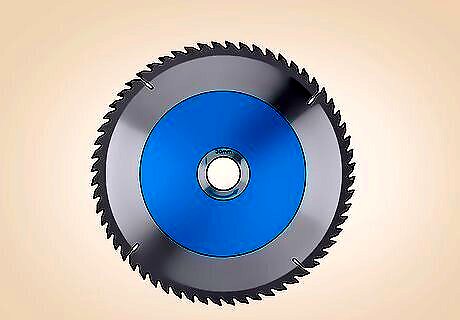
Use a carbide cutting blade and take safety precautions. Whether you’re using a table saw, circular saw, or jigsaw, choose a carbide blade with numerous, fine, and evenly-spaced teeth. This type of blade will slice right through hardboard without causing too much splintering. Along with choosing the right blade, take the time to follow all necessary safety measures as well. Use your saw’s instruction manual—or check the manufacturer’s website—for information on choosing and changing saw blades. When using any type of power saw, wear eye protection and hearing protection, wear long sleeves, remove all dangling jewelry and clothing, and tie back any long hair.
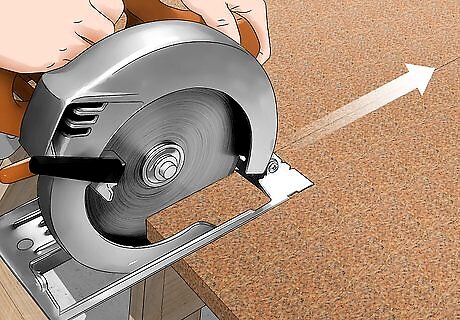
Make each cut start-to-finish with an even pace and light pressure. With any type of power saw, it’s important to move slowly and steadily, and to allow the saw to do the cutting instead of trying to force it through the hardboard. Follow the product instructions for the type of saw you’re using, and consider the following tips: When using a jigsaw, start with the blade at the edge of your cut line, squeeze the trigger to start the saw, and guide it slowly and evenly along the cut line. A jigsaw is your best option for making curved or shaped cuts. When using a circular saw, you’ll also want to line up the blade at the edge of the cut line and squeeze the trigger to slice through the board. Make sure not to press down on the saw—allow it to glide freely as it cuts. When using a table saw, use the fence and both hands to guide the wood through the stationary, spinning blade that lifts up from the slit in the table. Work slowly and carefully, and use a pusher instead of your guide hand as it approaches the saw blade.
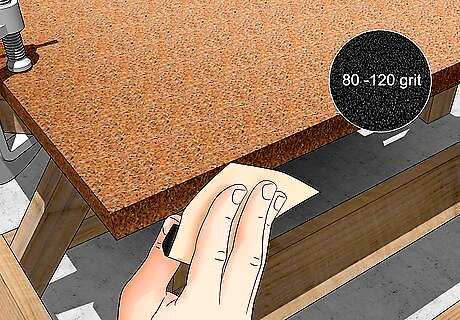
Smooth the cut lines with medium-grit sandpaper as needed. Even if you tape the underside of the board, use a carbide blade, and cut slowly and evenly, you’ll still end up with a few rough spots and splinters. To smooth these out, run a sheet or block of medium-grit (80-120-grit) sandpaper back and forth a few times over the completed cut. For an extra smooth finish, follow up with fine-grit (240 or higher grit) sandpaper.
Cutting with a Hand Saw
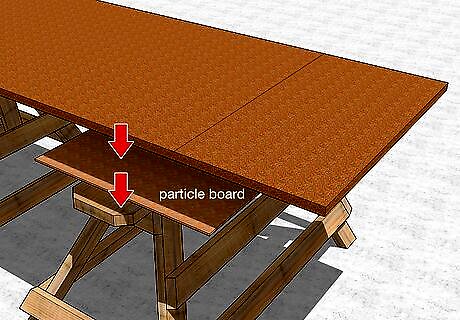
Put particle board under the marked hardboard before clamping it down. The process for measuring, marking, and clamping down the hardboard is the same for a power saw and hand saw, with one difference. Instead of running masking tape along the underside of the cut line, sandwich a sheet of 0.25 in (0.64 cm) thick particle board between the hardboard and your workbench. Use a pencil, measuring tape, and straight edge to mark your cut lines, and use at least two spring clamps or C-clamps to secure the board firmly to a stable, flat workbench. See the section of this article on cutting with a power saw for more details on measuring, marking, and clamping down hardboard. A handsaw’s teeth rip into the underside of the hardboard when you cut. Putting the particle board on the underside will spare the hardboard from the brunt of the ripping motion of the saw’s teeth, thereby reducing splintering.
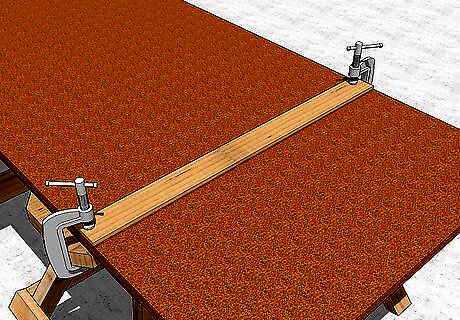
Clamp a scrap of lumber along your cut line to ensure a straight cut. Unless you have a lot of experience using a hand saw, it’s harder than you think to cut a straight line. To help out, use two spring clamps or C-clamps to secure a straight piece of scrap lumber right against the cut line. This will serve as a guide to keep your cut straight. A piece of 1 in × 3 in (2.5 cm × 7.6 cm) dimensional lumber is a good choice here.
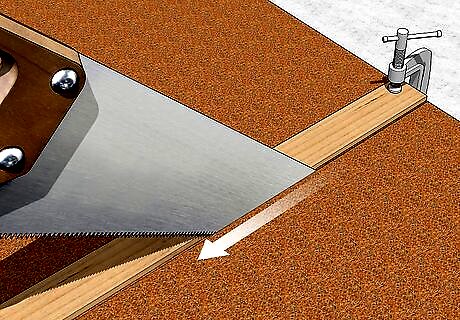
Saw a full cut through the hardboard at a steady, even pace. Hold the saw blade at a 45-degree angle at the far edge of your cut line. Make two small upward strokes to create a notch, then start cutting with a smooth, steady, even rhythm. Keep going until you complete the cut—don’t lift the saw out of the channel and then try to start again. Even a smooth, straight cut with a handsaw will leave some rough edges on the hardboard. Smooth them out by passing medium grit (60-120-grit) sandpaper over the cuts several times, then follow up with fine-grit (240-plus grit) sandpaper if needed.



Comments
0 comment