views
Turning the Background Transparent
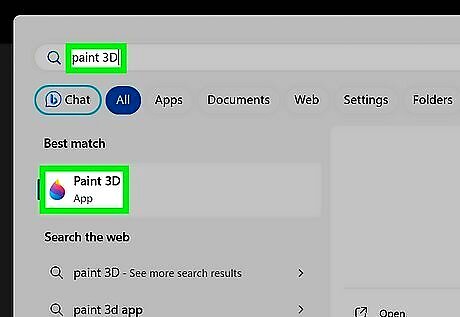
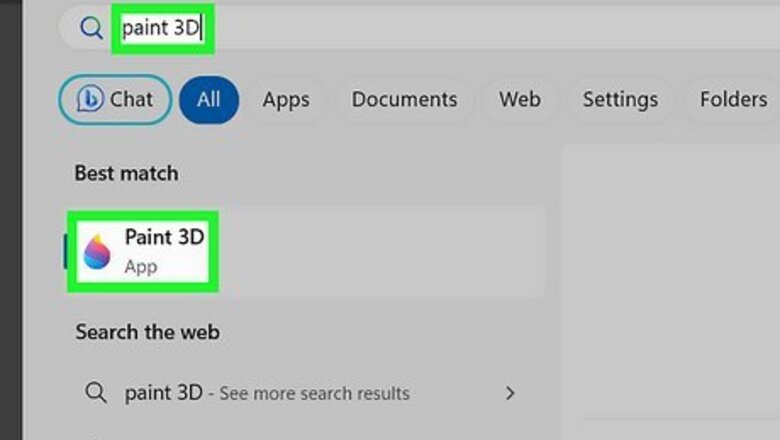
Open your project in Paint 3D. Paint 3D comes pre-installed on Windows 10 and 11. It has an icon that resembles a paint drop with different colored stripes. Use the following steps to open Paint 3D. Click the Windows Start menu. Type paint 3D. Click the Paint 3D icon.
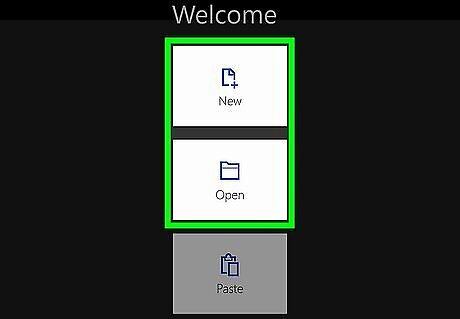
Open or create a new project in Paint 3D. To create a new project, simply click New. To open an image, click Open and then click Browse Files. Select an image you want to edit and click Open.
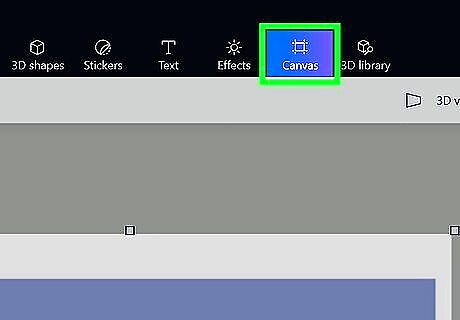
Click Canvas. You'll see this above the project area next to Effects and Text. A menu bar will then slide out from the right. If you don't see it there, you'll find it in a drop-down next to Menu.
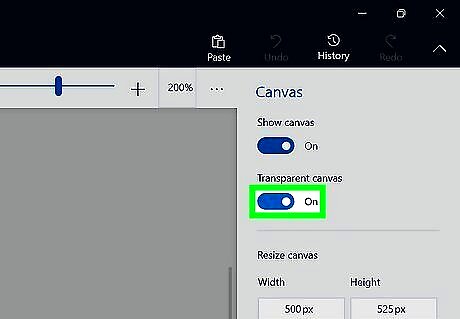
Click the switch next to "Transparent Canvas" to enable it Windows Switch On. This will add a transparent canvas behind your current image instead of white space.
Selecting the Foreground Object
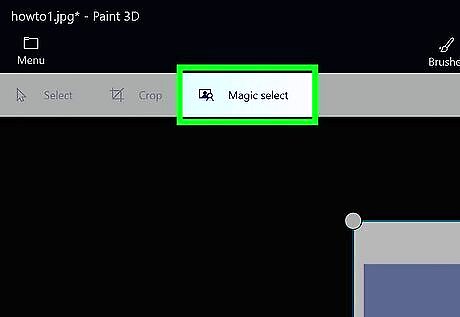
Click the Magic Select tool. It's in the secondary menu bar at the top of the page.

Highlight the section of the image that you want to keep. To do so, click and drag the white circles on the image's top, bottom, left, right, and corners inward. Create a highlighted square around the object(s) in the image you want to keep.
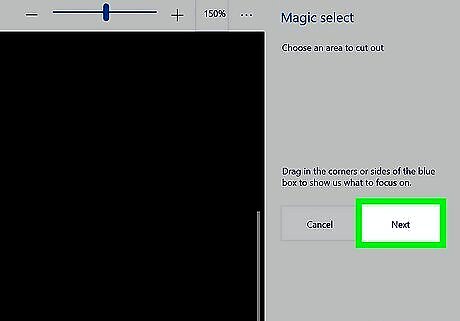
Click Next. It's in the menu bar to the right. Paint 3D will automatically detect the object(s) in the image and trace a blue highlight around it.
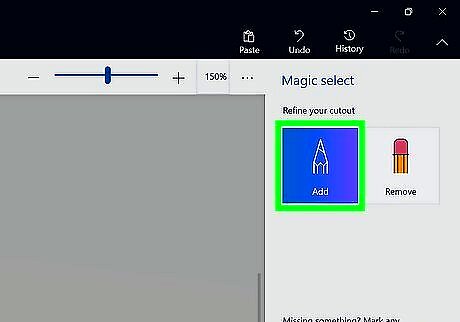
Add parts of the image you want to keep. If any parts of the object you want to keep aren't highlighted, click Add in the menu bar to the right. Then, trace around the parts of the object or sections of the image you want to keep.
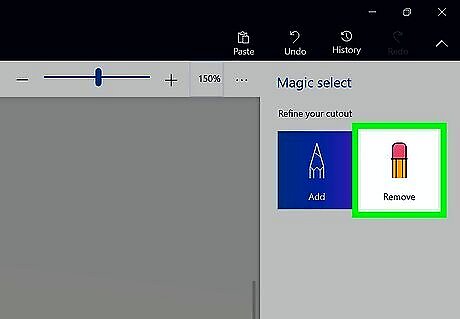
Remove parts of the image you don't want to delete. If there are parts of the image that are highlighted that you don't want to keep, click Remove in the menu bar to the right. Use it like an eraser and erase the parts of the image you don't want to keep.
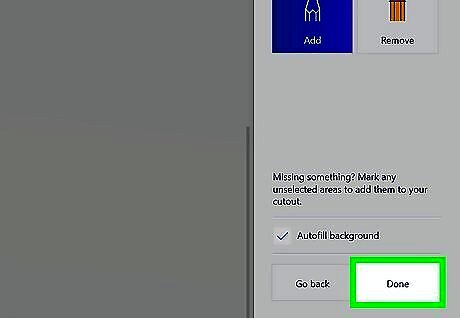
Click Done. It's in the menu bar to the right. This will create a cut-out of the object you want to keep. You can now click and drag the foreground object you want to keep. The area behind the object is now filled in using AI.
Deleting the Background

Move the foreground object off the canvas. To do so, click the Select tool in the menu bar at the top. Then click and drag the foreground object you want to keep off the canvas.
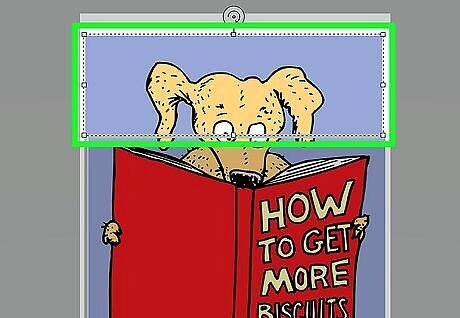
Select the background. Make sure you still have the Select tool selected in the menu bar at the top. Click and drag over the entire canvas background to highlight the background.
Press Delete. This will erase the background.
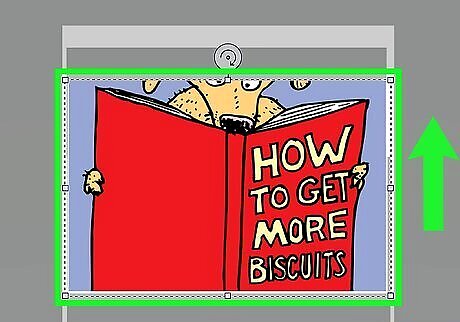
Move the foreground object back onto the canvas. Use the Select tool to click and drag the foreground object back into the white canvas outline.
Saving the Image
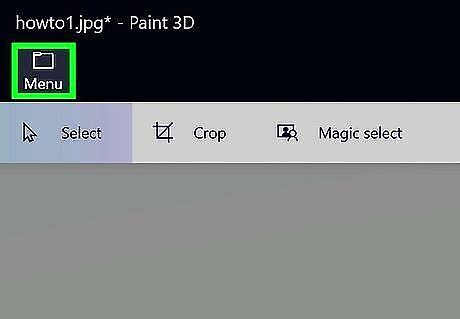
Click Menu. It's the icon that resembles a folder in the upper-left corner.
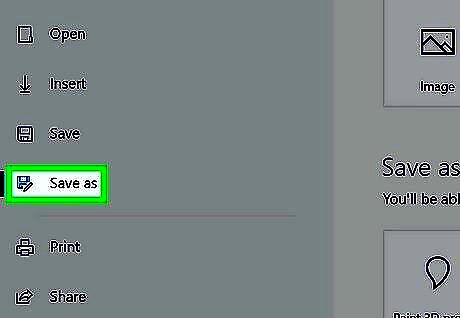
Click Save as. It's in the menu bar to the left.
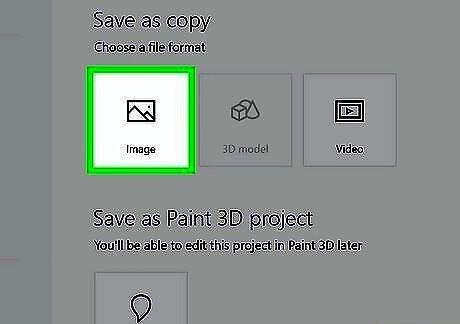
Click Image. It's the first option below "Save as Copy."
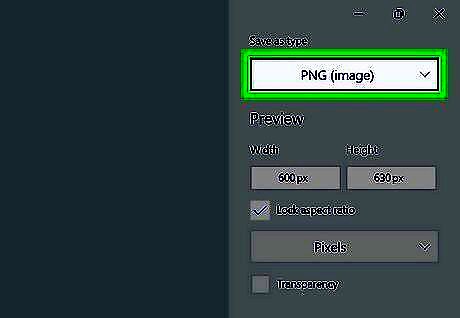
Select an image type that supports transparency. Use the menu bar in the upper-right corner to select an image type. The two image types that support transparency are "PNG" and "GIF."
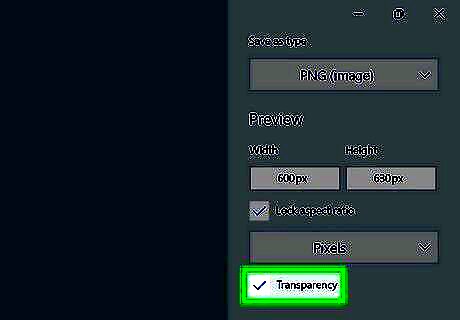
Check the box next to "Transparency." It's below the box that says "Pixels" in the menu bar to the right.
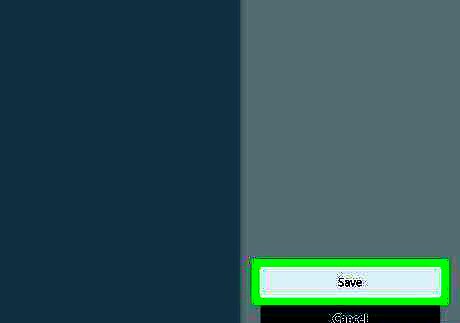
Click Save. It's at the bottom of the menu bar on the right.
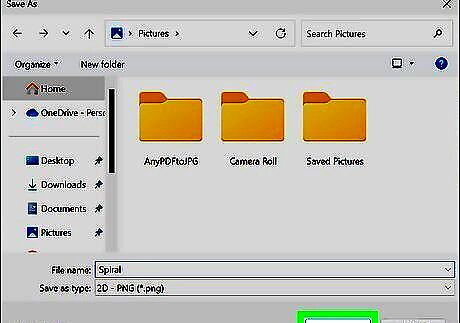
Enter a filename and click Save. Enter a name for the file where it says "Filename." Then click Save.


Comments
0 comment