
Downloading HP Disk Sanitizer
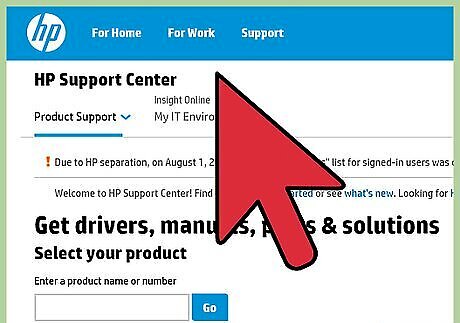
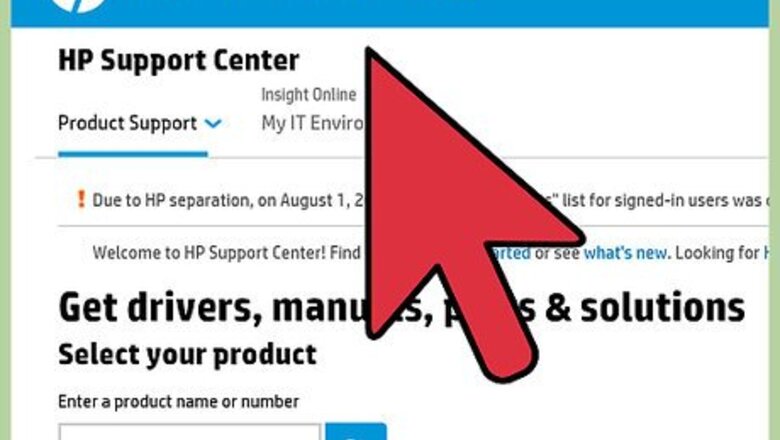
Visit HP Support Center website.
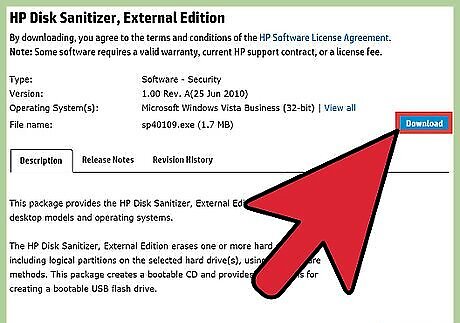
Download HP Disk Sanitizer, External Edition. Look for the “Download” button and click on it. The file will be downloaded to your desktop. Note that this program should only be run on HP business desktops, notebooks, and machines.

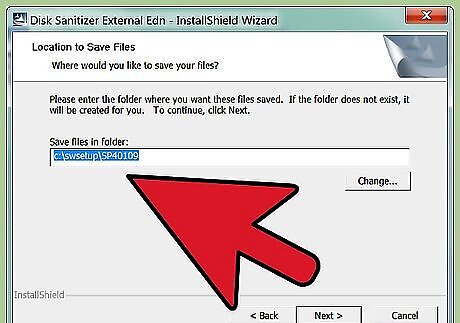
Extract file contents. The downloaded file is an executable file that will extract all the contents into another folder in your computer. Run the file by double-clicking on it, and note where the files are extracted to.
View the extracted files. Go to the folder where the extracted files were put. The extracted files include disksan.exe, disksan.iso, ReadMe.txt, and HP_EULA.txt. Disksan.exe file is a DOS-based utility that erases the hard drive securely through multiple overwriting passes. This is the main program that does the disk sanitation. Disksan.iso is a bootable CD ISO image that includes disksan.exe. ReadMe.txt is the job aid or instruction manual for the tool. HP_EULA.txt is the end-user license agreement. More detailed instruction can be found in the ReadMe.txt file.
Preparing for Disk Sanitation
Back up your computer. Before you begin any deletion, formatting, or disk sanitation, be sure that you have properly backed up all important files from your computer. Burn the files on a CD or DVD, copy them to a USB or external hard drive, or upload them to a file storage cloud. Once you start the disk sanitation, you won’t be able to access your files on the computer anymore.
Create a bootable CD. Burn disksan.iso to a blank writable CD or DVD. You will use this CD or DVD to run disksan.exe. Disksan needs to be located outside your hard drive for this to work. The file can also be copied to a bootable USB drive.
Set boot order for computer. In order for Disk Sanitizer to run properly, it needs to be detected by the computer as the first item to boot. If it was skipped, the computer will just boot normally using your current operating system. The boot order needs to have the CD or USB drive as the first one. Once the CD or USB drive is detected during boot-up, HP Disk Sanitizer will automatically run.
Remove all external hard drives. In order to prevent accidental deletion of your other storage devices, unplug or remove them from the main computer. All the hard drives detected by Disk Sanitizer during its run may be included in the process.
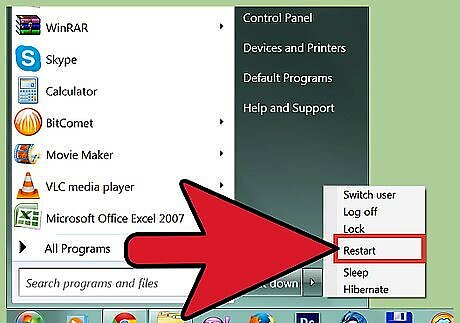
Restart your computer. Insert the bootable CD or DVD or the USB drive that contains the disksan file. Restart your computer, and it should bring you to the HP Disk Sanitizer screen upon boot-up.
Understanding the Erase Methods

Using the Single Pass Erase. If this is chosen, HP Disk Sanitizer will write zeros to all addressable location on your hard drive. It will only take one pass. This is the fastest option to erasing your hard drive.
Using the 3 Pass Erase. This is the DoD-accredited method in securely erasing a hard drive. If this is chosen, HP Disk Sanitizer will pass over the hard drive three times. The first pass will write zeros, the second pass will write ones, and the third pass will write random bytes.
Using the 5 Pass Erase. If this is chosen, HP Disk Sanitizer will pass over the hard drive five times. The first pass will write zeros, the second pass will write ones, the third and fourth passes will write random bytes, and the fifth pass will write zeros again.
Using 10 Pass Erase. If this is chosen, HP Disk Sanitizer will pass over the hard drive ten times. The first pass will write zeros, the second pass will write ones, the next seven passes will write random bytes, and the last pass will write zeros again.
Using the 15 Pass Erase. If this is chosen, HP Disk Sanitizer will pass over the hard drive 15 times. The first pass will write zeros, the second pass will write ones, the next 12 passes will write random bytes, and the last pass will write zeros again. This is the longest option. Unless there’s really a critical or security risk, there’s no need to go over the last few options.
Erasing the Hard Drive
Select the Erase option. Upon boot-up, HP Disk Sanitizer will load and display a menu. Select the first option for “Erase Hard Drive.”
Select the hard drives to erase. The next screen will ask you which hard drives would be erased. Select the hard drive you want to be wiped clean. You can also select all detected hard drives here to erase everything attached to the computer.
Select an erase method. On the next screen, select the erase method you’d like to use (which are listed in “Understanding the Erase Methods”). Do note that it will take some time for the disk sanitation to complete, especially if you chose the higher number of passes. The size of the hard drives will also matter, as it will take longer to pass through a hard drive with a large capacity.
View the progress. Once you finish your selection, the disk sanitation will start. You will be able to see the progress on the progress bar on your screen. You won’t be able to use your computer while the disk sanitation is running. Once the process is completed, you won’t be able to use your computer as it is. It needs to be made bootable again with a fresh operating system properly installed.


Comments
0 comment