
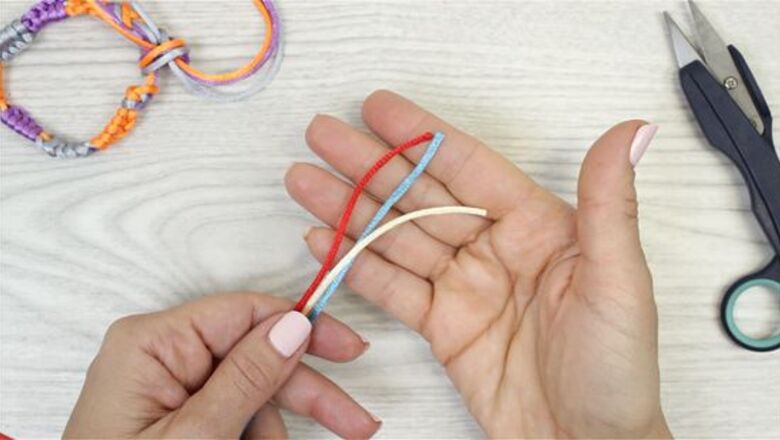
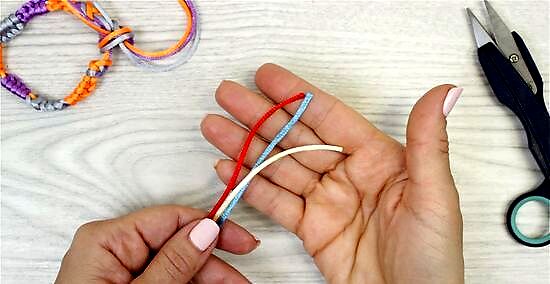
- Cut 3 different colored strings about 32 inches (81 cm) long and tie them in a knot about 2 inches (5 cm) from the ends. Tape the ends to your work surface.
- Hold 1 string in your left hand and the other 2 in your right. Lay the left string over the right ones to make a loop, then pull the left string through the loop.
- Keep making loops until you want to switch the color, then take the next string and follow the same process. Tie a knot at the ends when the bracelet is finished.
Setting up the Workstation
After choosing your colors, cut all of the strings to an even length. 32 inches should be plenty of string for the average bracelet. If you are making it for a larger wrist or an ankle, you will want to add a few inches accordingly. Choose three different colors of embroidery thread and decide which order you would like them to appear in your design. If the bracelet is for you or someone you are with, wrap the string around their wrist or ankle. Wrap it around 3-4 times, and leave a couple more inches for excess and tying.
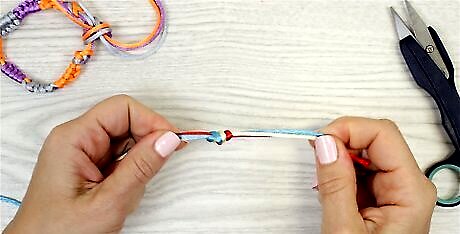
Tie a knot in all three strings. Holding all three strings together, make a loop 1-2 inches from the top of the strings, pull all three strings through the loop, then pull the ends to tighten the knot.

Tape the strings to your work surface. Lay each string out, one right next to the other in the order you wish them to appear in your design. Using scotch tape, tape the string to the table just above the knot.
Weaving the Bracelet
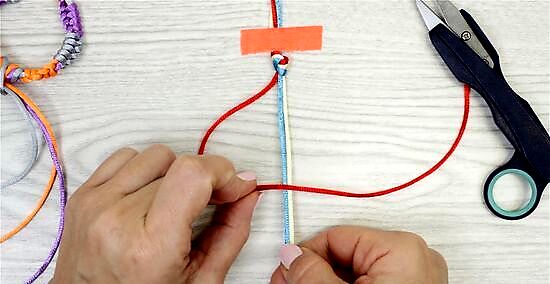
Make an overhand loop. Take the string you would like to use first in your left hand. Hold both of the other strings in your right hand, putting a little tension on the tape to keep these two strings straight. Pull the first string to the right, then lay it over the other two strings to create a loop which looks like a “4.” Wrap the first string under the other two and through the loop you created
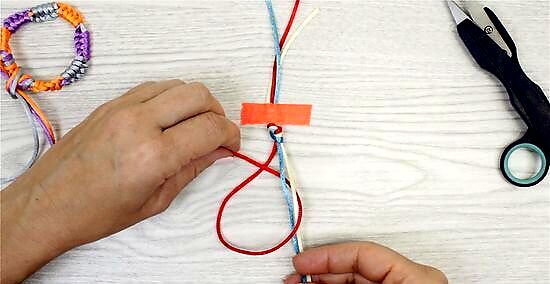
Tighten the knot. Pull the thread through the loop. Take the tail, or end, of the '4' by putting your hand in the wide space of the '4' and pull the tail. As you tie the knot, pull the two strings in one hand vertically (downward), or parallel to your table. Pull the tail of the string with which you pulled through the loop gently upward toward the top of the bracelet where it is taped to the table. The knot will rise to the top. Make the knot tight enough that it will stay in place, but not so tight that it cinches your bracelet. As you continue weaving, make sure that these knots lie one right after the other on your bracelet and don't overlap.
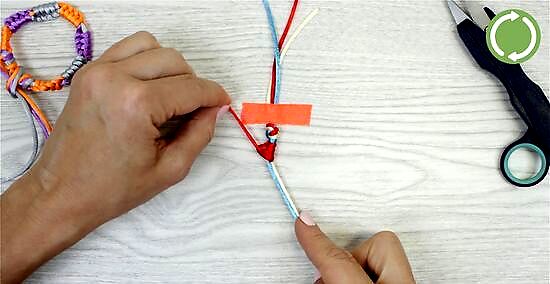
Finish off this color. Continue repeating this overhand loop until you have enough length of this color on your bracelet. Every five ties should make about 1/4 inch of color. Be sure that you keep track of how many loops you put in the first color. Use the same number of loops for each color to keep the length of each color consistent.
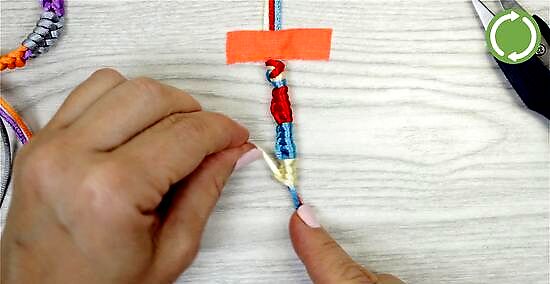
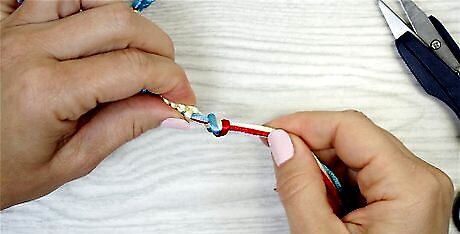
Wrap overhand loops of each color. Repeat this process with the next color you would like to see in your bracelet. Continue on to the last color, then go back to the first one until you have a bracelet of sufficient length.
Finishing Your Bracelet
Tie a knot to secure the end. Once you have woven the bracelet as long as you need it, take all three strings in your hand and tie a knot by making a loop with all three and pulling the ends of the three strings through the loop. If you want the knot to be more secure, you can tie a double knot.

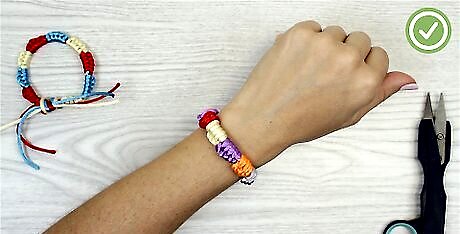
Tie the two ends of the bracelet together. Remove the tape and take the top end of the bracelet in on hand and the bottom in the other. Tie these two ends together in a knot to complete the circle of your bracelet. If the bracelet is for you, have someone help you tie it directly on your wrist for you. Leave it loose enough that you can get it off without untying it, but not so loose it falls off. You should be able to fit two fingers between your wrist and your bracelet. If the bracelet is for a friend, you can tie it directly onto their wrist or ankle for the perfect fit. You can ask your friend to measure their wrist with a flexible tape measure like you would find in a sewing kit. Add an inch to that measurement for the size of your bracelet.
Experiment with variations. You don’t have to stick with just the three colors. You can make a slightly thicker bracelet with more colors and designs by adding more strings to the project. Add more strings of different colors as you choose. You may also want to separate the colors with some black thread, by tying three black knots between each block of color. Braid the remaining portion of the string on both ends beyond the knot. Tie another knot at the ends of the braids.


Comments
0 comment