views
Replacing the Flush Valve Seal
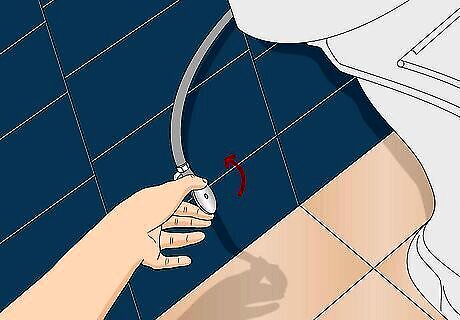
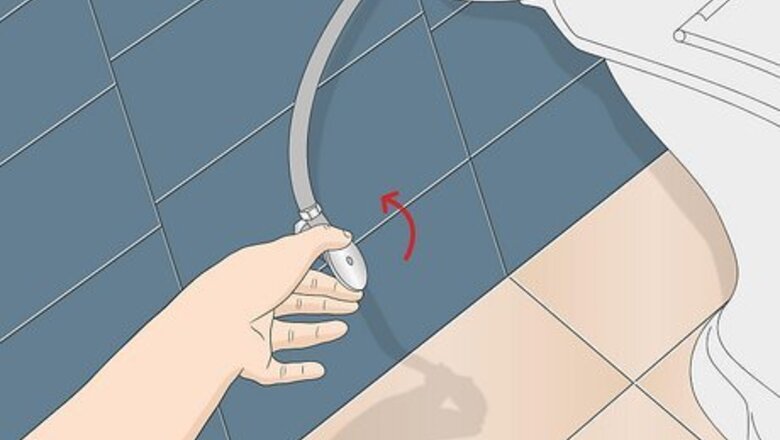
Turn off the water supply. Before you reach into the toilet tank, get rid of the water. Look for a flexible pipe that runs from the toilet tank to the wall. You’ll see a metal knob that you can turn clockwise to shut off the water. If you have an old valve that won’t turn, lubricate it with some WD-40.
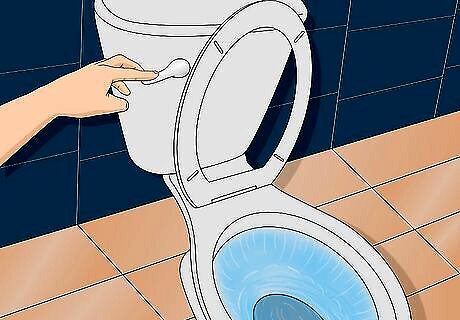
Flush the toilet to drain the water. With any luck, the handle still works enough to at least flush away the water. If it doesn’t, remove the lid from the toilet tank. You’ll see a chain attached to a valve in the bottom of the tank. The valve is often colored black or red, so it’s easy to spot. Lift it to drain the water. The chain may also be attached to a rubber flapper, which plugs the drain hole in the bottom of the tank when the toilet isn't being flushed. The water is clean, so don’t be afraid to put your hand in it.
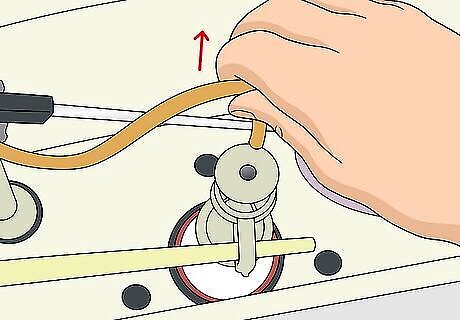
Disconnect the water refill tube. The fill tube is inside the tank above the flapper and flush valve. It’s a thin tube that runs from the tower near the handle to the vertical pipe (the flush valve) in the center of the tank. Grip the end of the tube that runs into the pipe and pull it gently. It’ll pop right out. If there's a metal clip holding the tube in place, remove it. Remove it carefully so it doesn't fall into the tube. If your toilet uses a canister instead of a pipe underneath the refill tube, you won’t need to detach the tube.
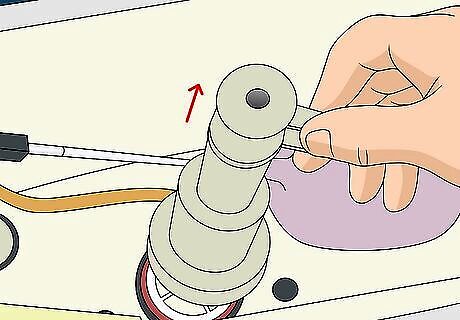
Undo the flush valve casing. The cap is round, slightly bigger than the flush valve pipe, and has a hole in the center. It’s what you pulled the refill tube out of. Give it a twist and it’ll come off too. Follow up by grabbing the casing and lifting it out of the tank. On some models, the entire flush valve will come off, but on others a small plastic tower stays in place. Canister-types don’t have the cap. Instead, turn the canister counterclockwise and lift it.
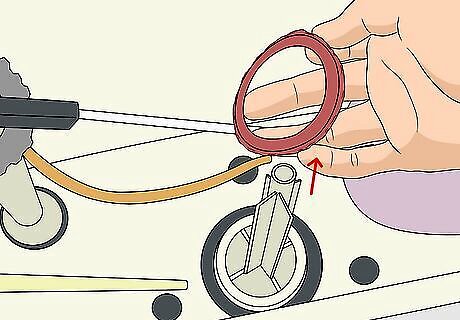
Pull up the valve seal. Locate the valve seal, which is a rubber ring that is typically red or another bright color. It may be on the bottom of the casing or canister you lifted earlier. If it isn’t, look down and find the flapper that covers the hole leading to the other half of the toilet. You may want to put on gloves before touching the seal. It can turn your fingers black, although this is harmless.
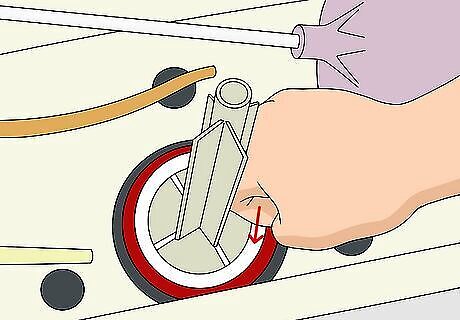
Put on the new seal. To get a seal, go to your home improvement store. When you have one that fits, you can lay it in the tank. It’ll fit in the grooves around the hole. Turn it gently to make sure it’s tight and secure. Make sure you know what kind of toilet you have. Bring your manufacturer name and number, if possible, to get the best-fitting seal. This information is often printed under the tank lid.
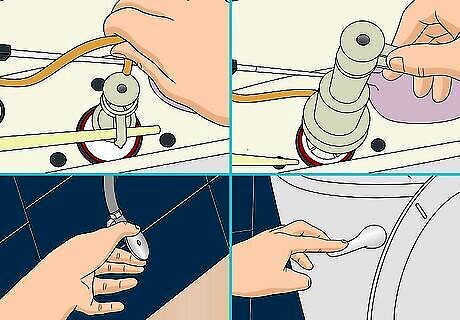
Replace the tank parts. Put the flapper in place, then set the flush valve where it’s supposed to be. Reconnect the water refill tube if you removed it earlier, then give the toilet handle a test run. With any luck, it’ll work as good as new.
Fixing the Flush Chain
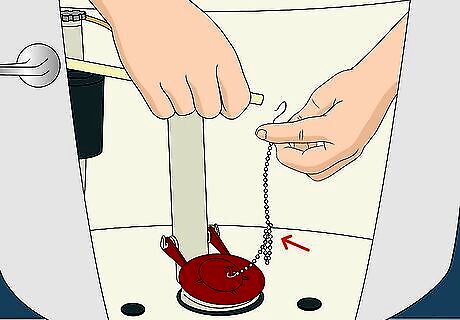
Untangle a tangled chain. The chain connects the handle’s arm to the flapper. A tangled chain prevents flushing, so you’ll have fix it. Pick up the chain and slip it off the arm. It’ll have a clip that you can undo with your fingers. You may need pliers to fix a well-tangled chain. If the chain breaks, you can get a new one at a home improvement store.

Shorten a loose chain. A loose chain can get stuck in the flapper, which causes your toilet to run. First, note which link of the chain is attached to the handle arm. Detach the chain, then use a lower link to reattach it. Push the handle to test the chain. When the chain is the right length, it’ll lift the flapper without getting in the way.
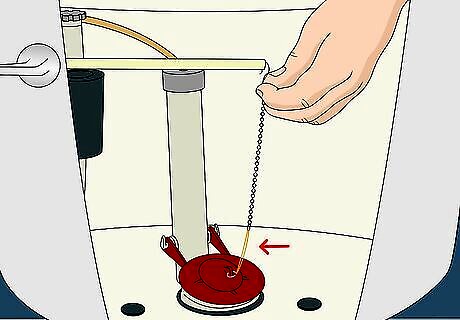
Lengthen a tight chain. A tight chain means the handle can’t move at all because there’s no slack. Detach the chain. If you can’t make the chain longer, try tying something to it. You can use a twist tie, piece of wire, or zip tie. Tie it in a loop on the arm handle and put the chain on it.
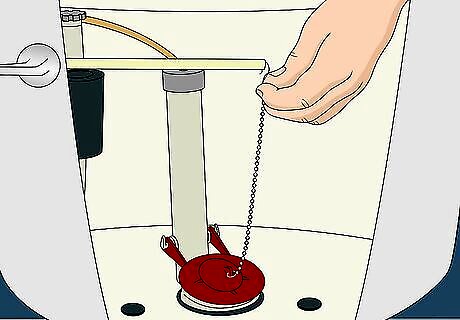
Attach the chain to the handle and flapper. If you had to detach the chain or found it detached, put it back in place. It’ll have clips or links that hook onto other toilet parts. One part goes on the end of the handle arm. The other part hooks to the flapper blocking the hole in the bottom of the tank.
Replacing the Handle
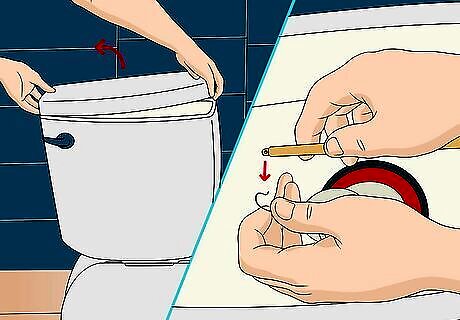
Remove the lid and chain. Start by lifting up the tank lid and detaching the chain from the handle arm. Detaching these parts is not as hard as you may think, and neither is replacing the handle on your own. The chain can be detached by slipping it off the handle with your fingers.
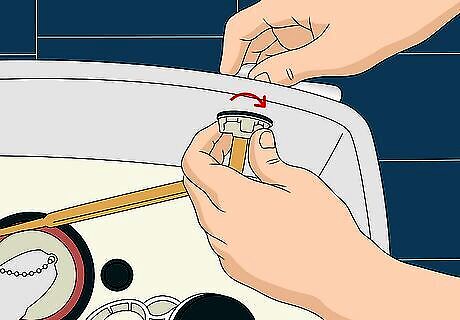
Unscrew the nut holding the handle in place. You’ll need a crescent wrench and a little bit of arm strength. The nut is on the inside of the tank, right where the handle enters it. For most toilets, the nut should be turned clockwise. Don’t force it, though. Lubricate it with some WD-40 if it sticks.
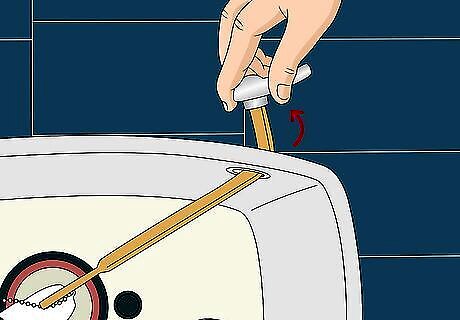
Pull the handle out of the tank. Grip the handle and pull it away from the tank. The handle arm is angled a little, so you’ll have to adjust your hand to slide it out. It won’t be much of a challenge, but you can then inspect the handle to see if it needs to be replaced.
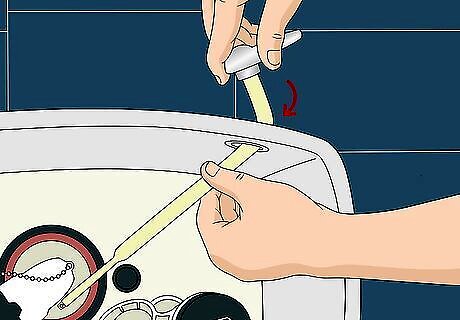
Slip the new handle rod into the tank. Handles are inexpensive at hardware stores, but make sure you bring your old one or a toilet model number to get the best fit. You can get a new replacement and not have to do much work at all. Push the loose end of the rod into the hole — if you feel any resistance, wiggle it gently until it goes in and avoid forcing it. It’ll hang over the inside of the tank as the handle stays accessible on the outside. You can replace either the rod or the handle if only one part is broken. Twist the handle and the arm will pop off.
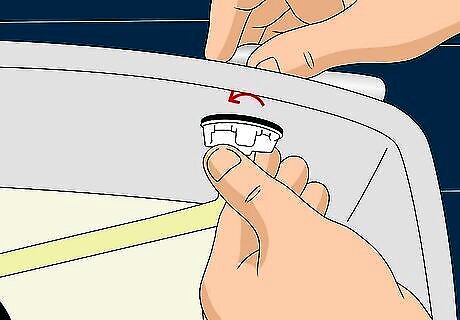
Screw the nut back on the handle. Slide the nut over the handle until it’s up against the tank wall. Get out your wrench and turn it counterclockwise to tighten it. When you feel like it’s secure, stop turning it so it doesn’t crack. Go ahead and test out the handle. It should no longer feel stuck and lift the arm easily.
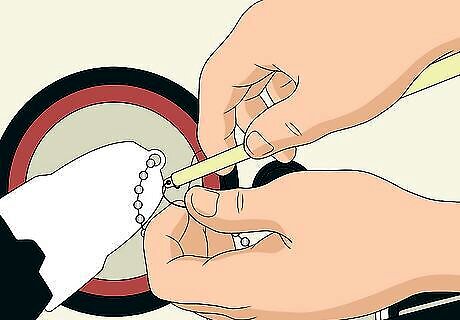
Reattach the flush chain. Hook up the chain by looping or clipping it to the end of the handle’s arm. If you detached it from the flapper in the bottom of the tank, hook the other end to it. Remember, the chain needs a little bit of slack to operate properly.
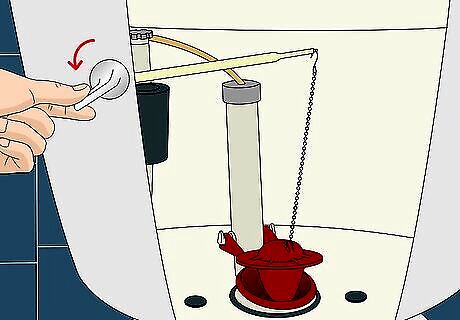
Test out the handle. Push the handle and watch it work. The arm should raise, lifting up the flapper without causing the chain to get stuck under it. If the handle sticks, the chain might be too loose. Detach the chain and lengthen or shorten it as needed. When you’re finished, turn on the water supply and relax after a job well done.


Comments
0 comment