views
Warping Tracks
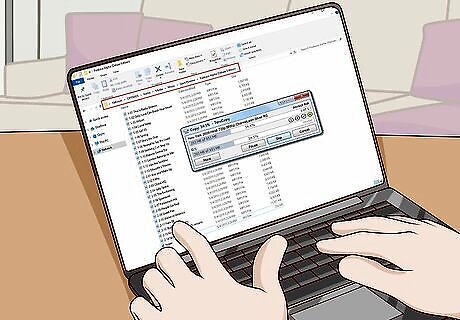
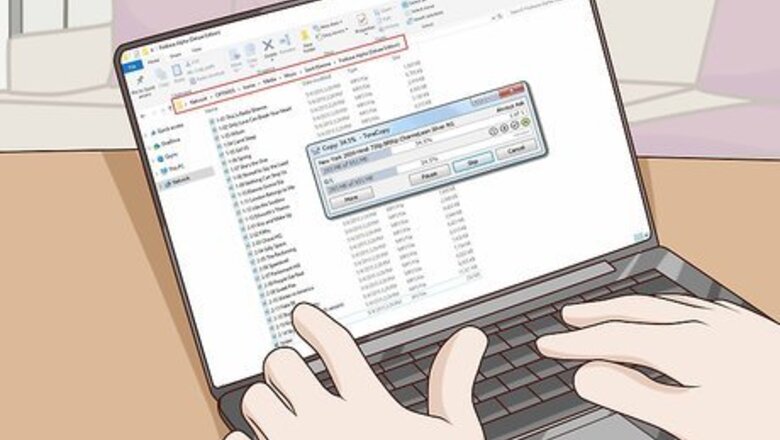
Compile a selection of tracks that you want to use in your DJ mix. Put all the audio files into a new folder on your desktop so you can easily access them in Ableton. If you are planning to mix the tracks together, it helps to choose songs of the same genre or at least of similar BPM. 120 BPM is a good starting point for beginners.
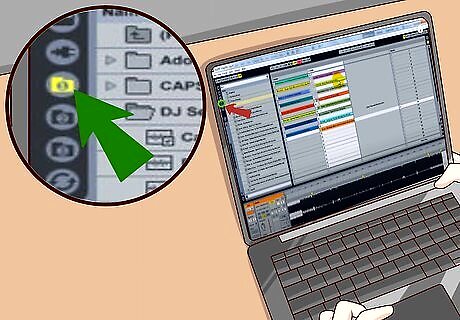
Open Ableton and locate the source folder. Do this by using the file navigation bar. You should be able to see a list of the tracks you selected in the window on the left side of your screen.
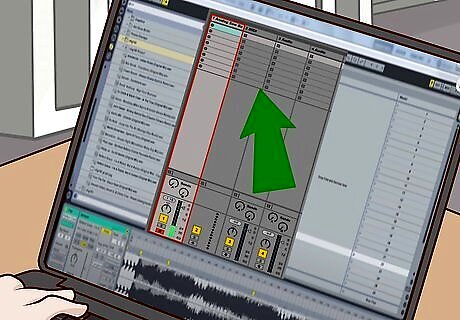
Create an additional audio channel. The easiest way is to press CTRL+T with the session view open.
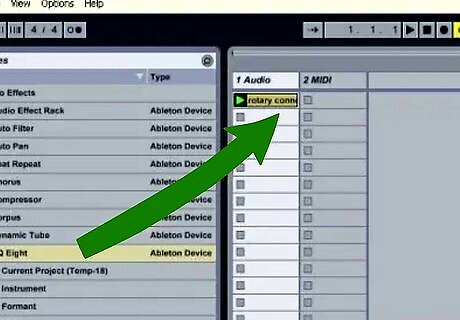
Drag your files from the navigation bar into the audio channels. Wait for the file info to load before you do anything else.
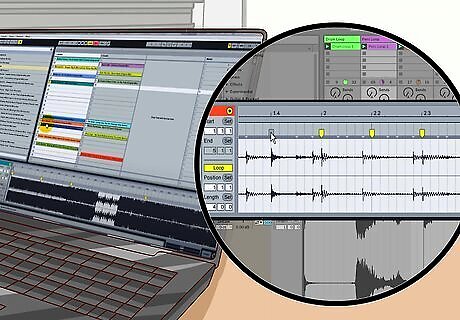
Double click the first track on your list. This will bring up the waveform in the sample display window. Confirm that the master BPM of your session is set to 120. This is the default setting, so unless you have messed with it before you should be good.
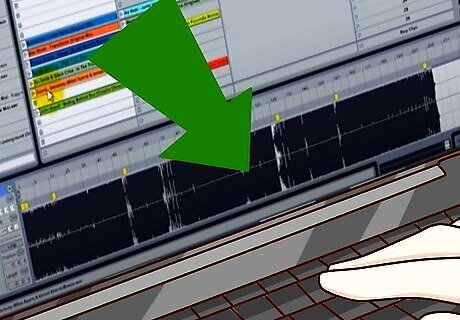
Zoom in on the first warp marker. You can either use the magnifying glass icon which appears when your cursor is placed near the top of the waveform, or the miniature diagram below the sample display window.
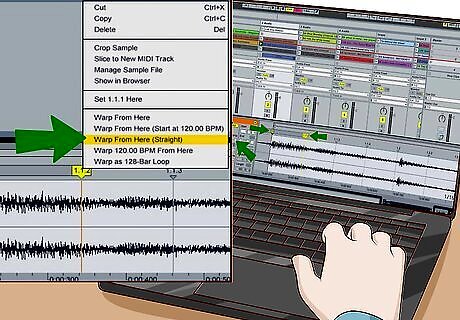
Adjust your warp markers. These are the little yellow tabs with the numbers on them. Make sure the first warp marker is placed right at the beginning of the first beat. Play the beginning of the song a few times while watching the line sweep through the waveform. This will help you to associate a visual cue with the location of the first downbeat. Locate the numbered marker that is closest to the downbeat and double click it to make it a warp marker. It should turn yellow when you do this. The number will be something like 1.1.2. Adjust the position of the second warp marker until the number in the sample window reads 120. Right click on the second warp marker and choose "Warp From Here (Straight)" from the menu that comes up. This will warp your track according to the up and down beats you have selected. Confirm that the start and end markers are correctly placed on your track. The start markers should line up with warp marker #1 and the finish markers can go wherever you would like the track to end.
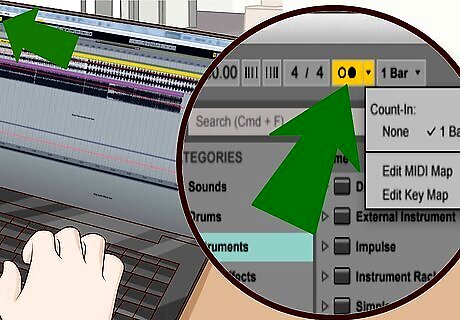
Confirm that everything is synchronized. First, enable the metronome by pressing the little square at the top left of the screen. Then press play on each track individually to see that it matches up.
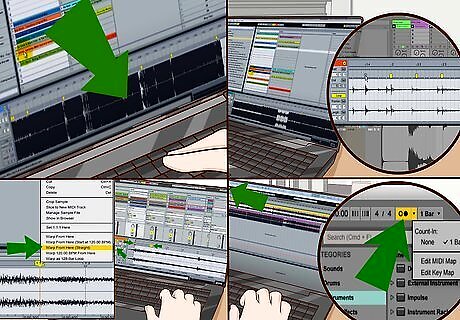
Repeat steps 5 - 8 for each one of the tracks in your set.
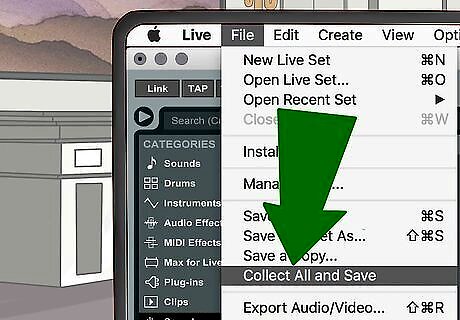
Save your work. The best way to do this with an entire DJ set is to go to the file menu and select "Collect All And Save". This merges your audio files into the project and saves them as one file.
Mixing Live
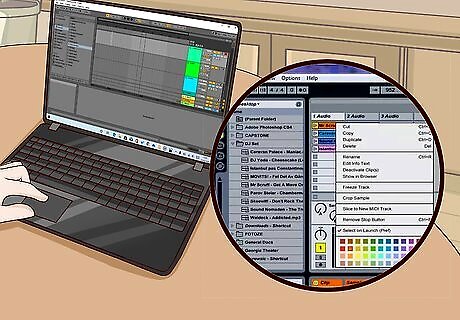
Open your set in Ableton Live. It should be just the way you left it after you finished warping all the tracks. You might want to confirm that the tracks are properly labelled with song titles so that you can easily identify them on the fly. Color coding is also useful for this. You can edit these options when you right click on any file in the session window.
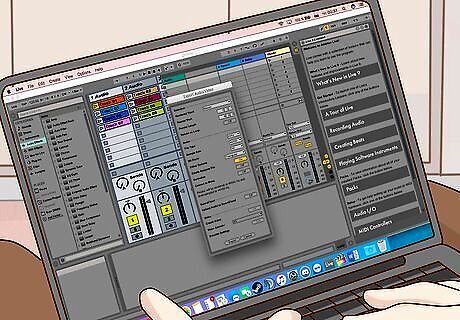
Place the tracks in the order you would like to play them. Imagine the 1 and 2 audio channels are right and left turntables. Put the first track in the top slot of audio channel 1, the second track in the top slot of audio channel 2, the third track in the second slot of audio channel 1, and so on.
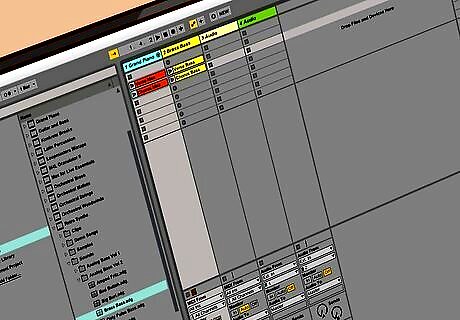
Play the first track. See that little triangle on the colored icon for the track you want to play? click it. Turn the volume down on audio channel 2. This will ensure that the second track does not play until you are absolutely ready for it.
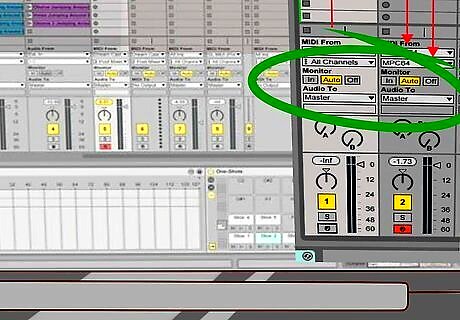
Play the second track. The volume on audio channel 2 should still be down when you do this. Ableton will automatically match the beat if you warped your tracks correctly. Keep an eye on the time indicator above the volume switch so you can tell how much time is left in the track you are playing. When the time is right, gradually raise the volume on audio channel 2. The two tracks will play together for a bit, during which time you can fade out the first track as you turn the volume up on the second one.
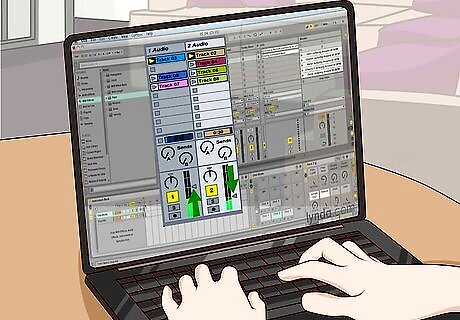
Delete the first track from the session window. This will prevent you from playing it twice. Alternately, you can drag the file into a third or fourth audio channel to signal that you have played it already. Move the third track to the top slot in audio channel 1, and turn the channel's volume down.
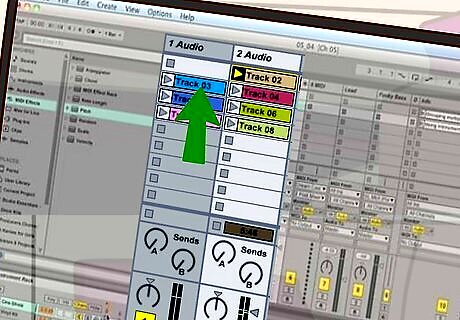
Play the third track. Again, it should start on the correct beat if your files are warped accordingly. Gradually raise the volume on audio channel 1 as the second track is drawing to an end. Fade the volume out on audio channel 2 as you are doing this.
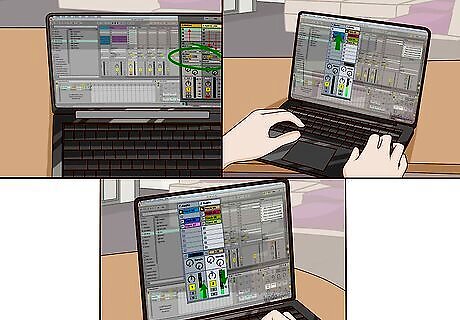
Repeat steps 4 - 6 for the rest of your set.
Recording a Set
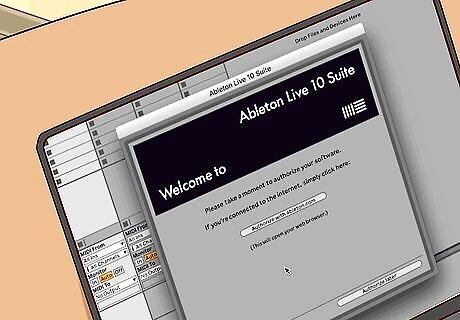
Open your Ableton project file. This should include all the warped tracks from part one.
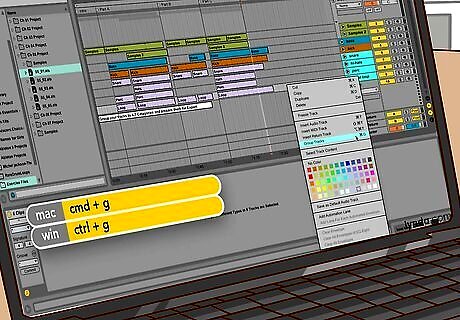
Copy the first track from the session window. Select the track and press CTRL+C, or right click on the track and select "Copy" from the menu.
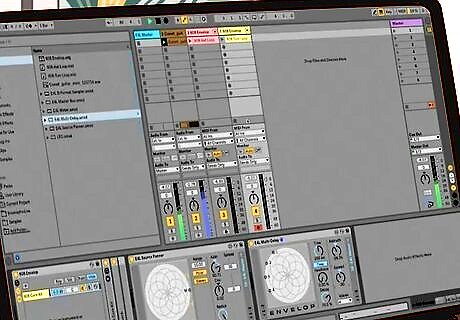
Arrange your tracks. You will need to move back and forth between arrangement and session view a lot throughout this process. Open arrangement view. Click the top circle in the upper right hand corner of the screen. The one with the horizontal lines. Paste the first track into audio channel 1. The pasted track will begin wherever the blinking cursor is placed. Place the cursor at the end of the first track in audio channel 2 before continuing. Copy the second track from the session window. Click on the bottom circle at the top right of the screen to move back and forth between views. Go back to arrangement view and paste the second track in audio channel 2 near the end of the first one. If your cursor is in the right place, it should drop there automatically.
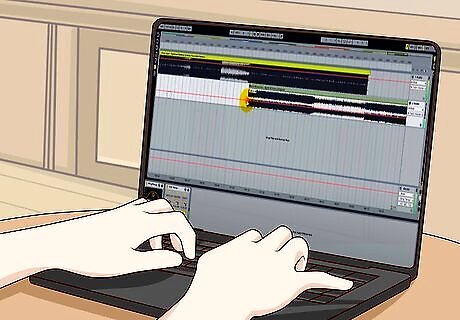
Repeat these steps until all your tracks are placed in the arrangement window.
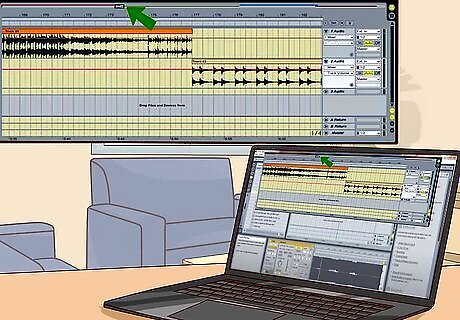
Mix your tracks. You can move them back and forth until they overlap in just the right places. Complete this step for every transition in your set. Zoom in on the first transition using the magnifying glass. This appears when you scroll over the numbers just above audio channel 1. You may also zoom in by adjusting the bar at the very top of the arrangement screen. Select the second track and move it backwards so that it overlaps a bit with the first track. When your cursor is placed in the area between the string of numbers and the first audio channel, a speaker icon will appear. Left-click with the speaker icon to start playing audio from any point in the set. Do this often to ensure the beats are matched.
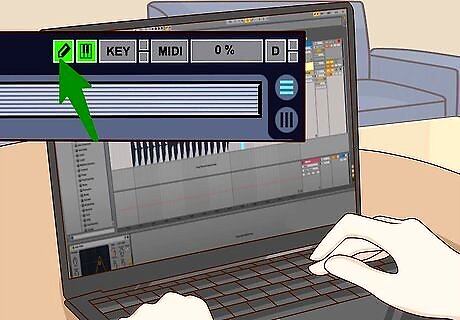
Fade your tracks. Initiate draw mode with the little pencil button at the top of the page. This will allow you to manipulate the red volume line down the middle of each track to achieve a fading effect in your audio. Right click with the pencil enabled to access the grid menu. Depending on how detailed you want to get with your fades, you can adjust the width of the background grid to fit your needs.
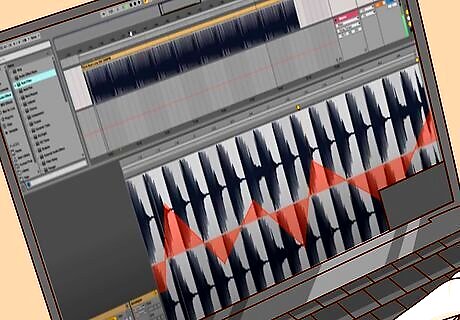
Repeat these actions for each transition for your set.
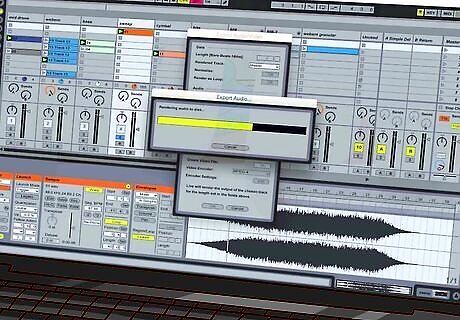
Prepare your mix for export. There are a couple of things you should do before rendering the final audio file. Make sure your start and end punch-out points are placed accordingly. These are the little gray triangles right under the row of little numbers. Drag the first marker to the beginning of the set and the last one to the end. Select both audio channels by clicking the name of each one with the CTRL button pressed down. You will know you did this correctly when both names become highlighted in yellow. Go to the "File" menu and select "Export". A series of menus will follow which allow you to choose your file type and location. Select WAV from the menu, and save the file wherever you like. From here, you can upload your mix for streaming or burn it straight to a CD.



Comments
0 comment