

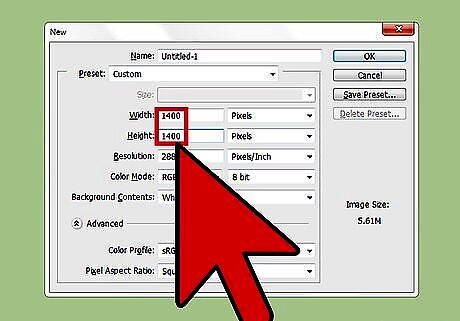
Know the width of the file that you will be using the grid for. For instance, have a target file that is 1400 * 1400 pixels.
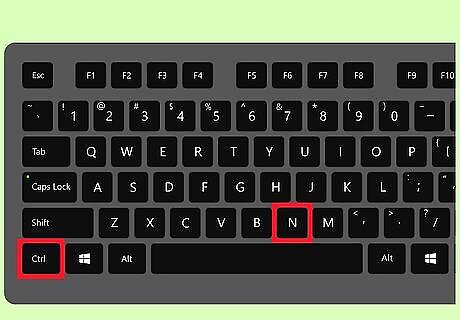
Open a new file. Go to File >> New or CTRL + N. Set an appropriate size for the target image that you are going to use the grid in. 1400 is the example here, so the size will be 50 * 50 so that it can be seen.
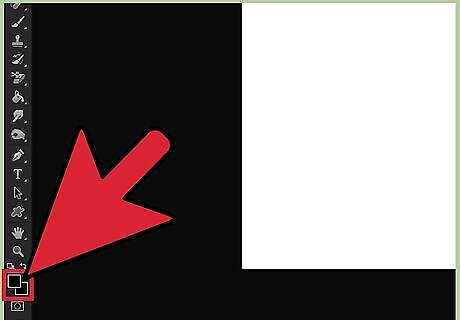
Select a color that you will be able to see. Something dark if you are using a light colored target image.
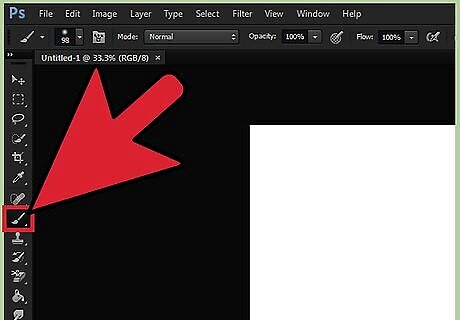
Choose a smallish, but fairly hard brush. Whatever is the best size for your final product.

Draw a straight line on the right side, as in the screenshot.
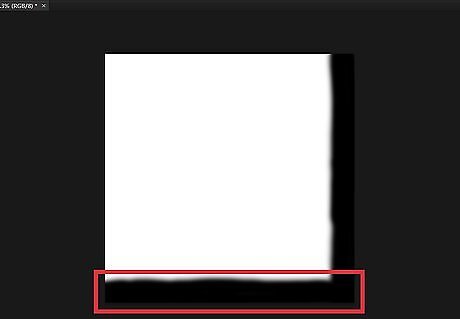
Draw another straight line on the bottom of the square.

Go to Edit >> Define Pattern.... Give it an appropriate name. For example, 50 * 50 Grid Pattern.
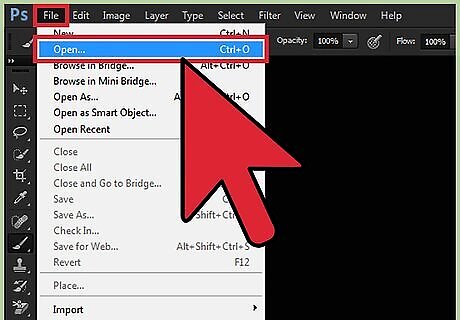
Go into the file that you will be using the grid on.
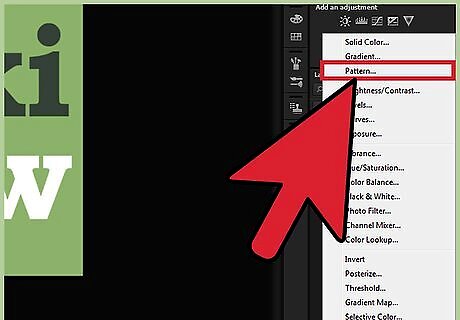
Click on the Add Adjustment Layer icon. Select Pattern... Your image will fill up with the pattern, which is the grid pattern.


Comments
0 comment