views
Creating a Functioning Model Water Tower
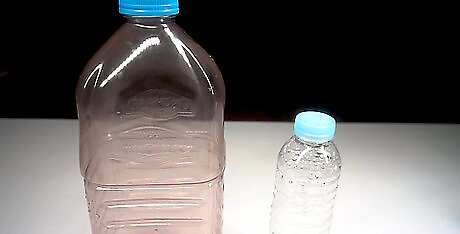
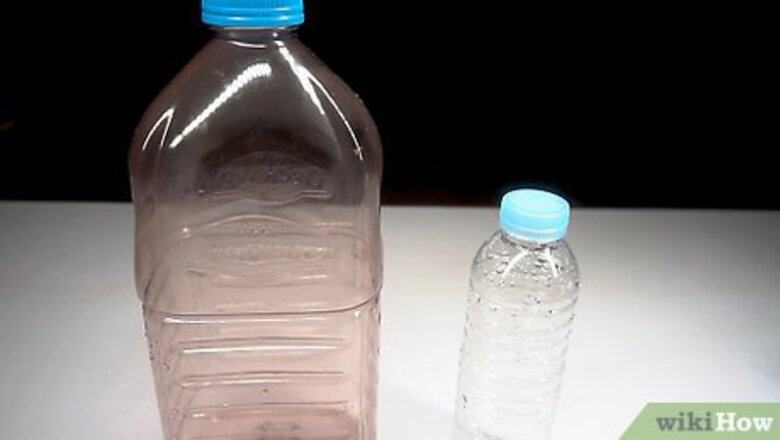
Locate a small plastic bottle and a large plastic bottle. The small water bottle can be a standard-sized Coke, juice, or water bottle, as long as it has a screw-on cap. The large bottle should be a 2-liter soda bottle, jug, or a large juice bottle. Test the size of your bottles by placing the small bottle upside-down, with its neck sticking into the opening on the large bottle. The small bottle should sit comfortably on top of the large one. If it does not, you will need to find different bottles. The bottles must be plastic, as you will need to cut them.
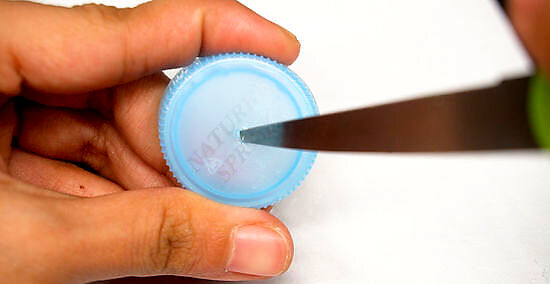
Remove the cap from the small bottle and cut a hole in the middle of it. Use scissors to punch a hole into the center of the cap, then widen the hole until it’s slightly smaller than the circumference of the holes at both ends of the tubing. Water will leak out of the hole if it’s too big, but it will still need to be big enough to push the tubing into it. It’s better to have a hole that’s too small than a hole that’s too big, as you can always use your scissors to widen it if necessary.
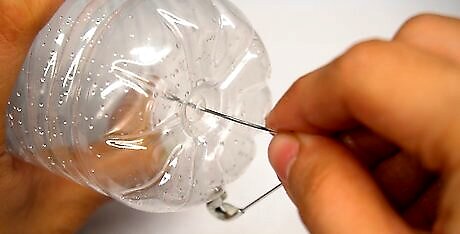
Punch a pin-sized hole in the bottom of the small water bottle. Use a pin, needle, earring, or any other device that will create an almost invisible hole. This will allow the bottle to vent when the water starts flowing.
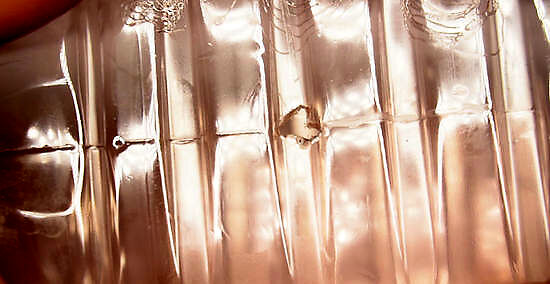
Cut a medium-sized hole in the side of the large bottle. Make the hole big enough that the cap and tubing can both fit through it. You can put the hole anywhere on the bottle that you choose, but roughly halfway down the bottle is a good option. Unlike the small bottle, you don’t have to worry about leaks if this hole isn’t the right size. This hole can be large or small just as long as the cap and tubing will fit through it comfortably.
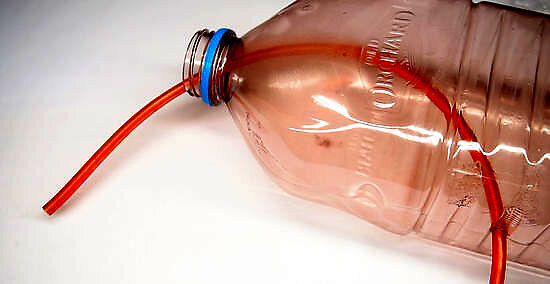
Feed 1 end of the tubing through the hole in the large bottle. Push the tubing through the large hole and out through the top of the large bottle. Lay the large bottle on its side with the hole you cut facing upward for easier access.
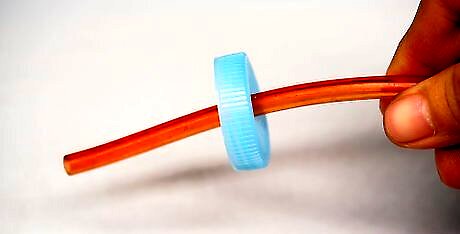
Squeeze the same end of the tubing into the hole you cut in the cap. Feed roughly 1–2 inches (2.5–5.1 cm) of tubing in through the cap. Clamp the binder clip roughly 2 inches (5.1 cm) from the end of the other side of the tubing. Put the side of the tubing with the binder clip into a bowl that will catch the water. If your hole on the cap is the right size, you will have to forcefully push the tubing into the hole. It should fit snugly in the hole without slipping.
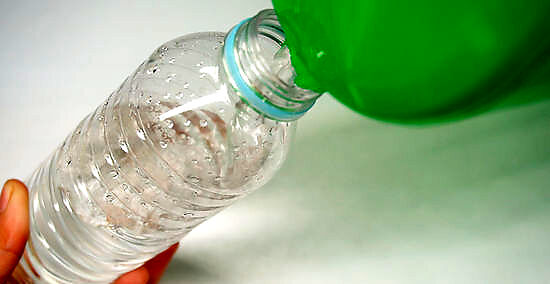
Fill the small bottle with water. Once the bottle is full, place the cap with the tubing through it on top of the bottle. Feed the tubing into the water, then screw the cap on tightly. Hold your finger over the pin-sized hole on the bottom of the bottle to keep water from leaking out.
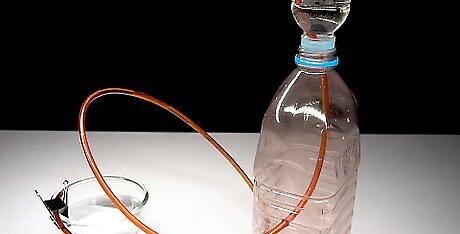
Place the small bottle upside-down in the top opening on the large bottle. The neck of the small bottle should fit all the way into the opening on the large bottle. You now have a functioning model water tower! The water should flow into the tubing once you flip it upside down, but the binder clip will stop the flow. Experiment by releasing the clip at different heights to see where the water stops flowing.
Building a Model Water Tower with Popsicle Sticks
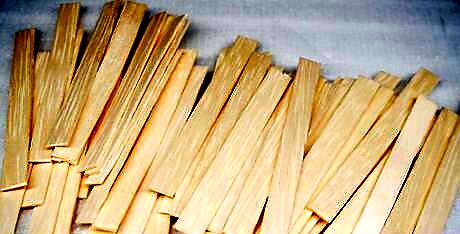
Cut the rounded ends off of roughly 70 Popsicle sticks. Barely snip both ends of each Popsicle stick to make the ends straight on both sides. Make them all as close to the same size as possible. To cut the sticks evenly, line up the second stick with the first stick you cut. Use the first Popsicle stick as reference for where to cut the second stick. Do the same thing for the third, the fourth, and so on, until all 70 Popsicle sticks are the same size.
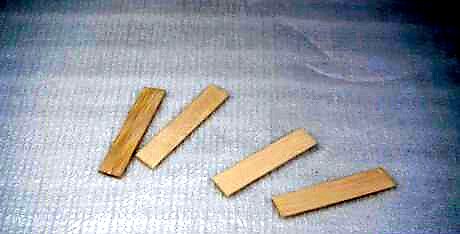
Snip 2 of the cut Popsicle sticks in half. You don’t have to measure them, but cut them as close to the center as possible. You will now have 4 smaller pieces of Popsicle stick that are roughly half the length of the other Popsicle sticks.
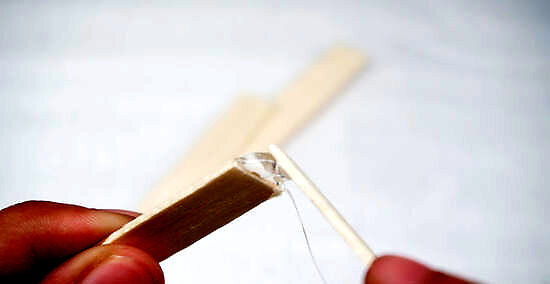
Apply glue to 1 end of 1 of the small stick sections. Connect the edge of a second small stick to the area where you just applied glue. Then, apply glue to the end of the second piece that is not connected. Glue the edge of a third small section to the open second section. Repeat this process for the fourth section, then apply glue to connect the edge of the fourth section to the open edge of the first section you glued. You will now have a square frame made out of the 4 smaller Popsicle pieces. Your frame doesn’t have to be perfectly square. In fact, if you’re going for a rustic look, an imperfect square may even be ideal. If you’re using super glue, you can apply glue to all 4 edges before connecting them all together. If you’re using hot glue, make sure to glue each edge separately. This will keep the glue from drying before you can connect all 4 sections together.
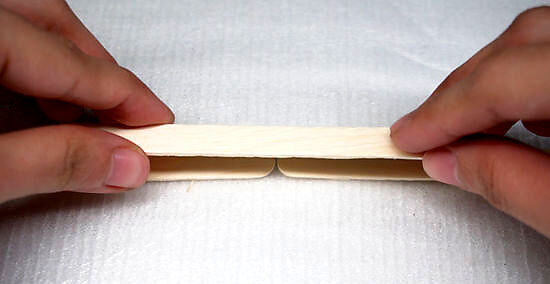
Line up 2 larger Popsicle sticks to create 1 long, straight stick. Place the sticks on a flat surface with their ends touching. Take another Popsicle stick of the same size and apply glue to the entire surface on 1 side, lengthwise. Place the glued side directly in the middle of the 2 sticks that are lined up. The third stick does not have to be exactly in the middle of the other 2 sticks, but it should be close enough that it holds the other 2 sticks together evenly.
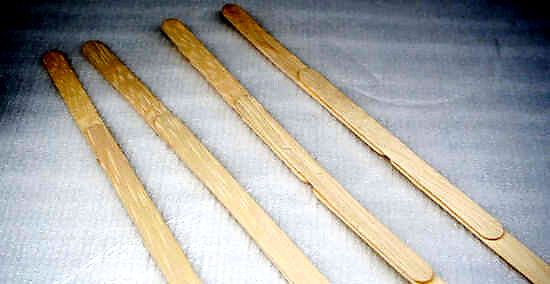
Repeat this process 3 more times. Follow the same process as before by lining up 2 of the larger Popsicle sticks and gluing a third stick on top of them. Do this 3 more times until you have 4 identical long sections that are each made out of 3 glued Popsicle sticks.
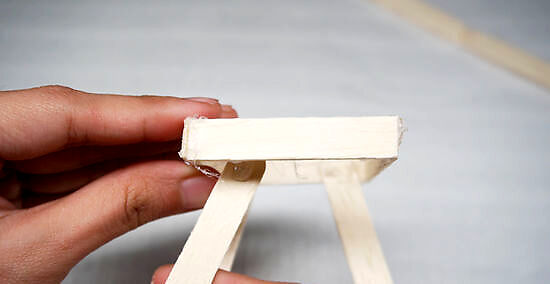
Connect the end of 1 of the long sticks to the inside corner of the square frame. Apply glue to the inside edge of the long stick and place it at a slight outward angle, with the third stick that is holding the other 2 sticks together facing inward. Glue the long stick so that it does not poke out above the frame once connected. Do the same thing with the other 3 long sections you created in the other 3 corners of the frame. This will form the legs of the water tower, so make the angle as identical as possible for each of the long sticks. Keep the angle of the legs around 10-15 degrees. If the angle is too steep, the water tower will be too short. If it is too steep, it will probably topple over.
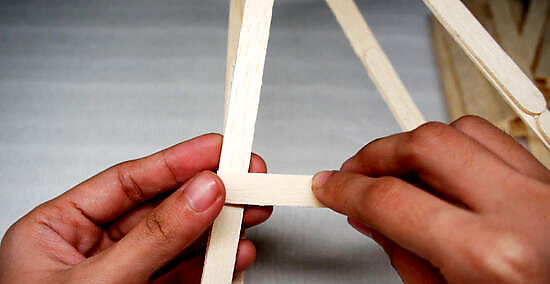
Use another Popsicle stick to connect 2 of the legs together. Apply glue to each inside edge of the stick. Place the edges of the Popsicle stick on top of the lines where the 2 Popsicle sticks used to create the legs meet. Do the same thing with 3 other sticks until you have a stick connecting the legs on all 4 sides. You will need to spread the legs apart so that the sticks do not hang outside the edge of the leg. Keep the connecting sticks as level as possible. You want it to appear as if there is a single, continuous stick wrapping around the legs of the tower, not 4 separate small sticks.
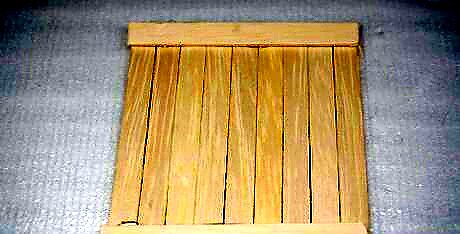
Lay 9 Popsicle sticks side-by-side on a flat surface. Line them up along their long edges so the sticks make a square when lined up. Apply a line of glue on the edge of the square down the length of all 9 Popsicle sticks. Place another Popsicle stick along the same direction as the glue line so that it holds all 9 sticks together. Do the same thing with another line of glue and another Popsicle stick on the other end of the square. The Popsicle sticks used to hold the other 9 sticks together should be the same length as the square, so that they match up perfectly with both corners and do not hang over the edge. You may need to trim the sticks down or remove one of the 9 sticks to match up the lengths. Use your hand to hold the Popsicle stick square together as you glue it. Place your hand flat on top of all 9 sticks, and do your best to keep them all together with no gaps between them.
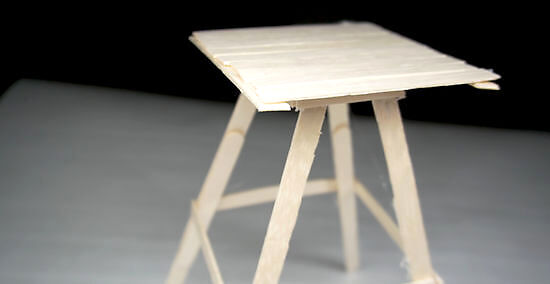
Apply glue to the top edge of the square frame you made earlier. Place the square platform you just created on top of the frame, connecting it to the base structure you already made. Glue the platform so that the Popsicle sticks used to connect the other sticks together are facing downward. You can also glue each individual Popsicle stick directly onto the square frame you made earlier. It will take longer, but you may be able to line the sticks up better this way.
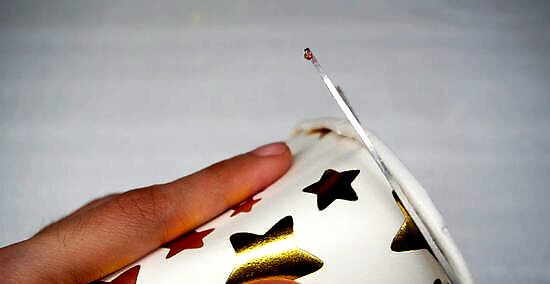
Cut the rim off of a small paper Dixie cup. Cut around the top of the open side to remove the outer rim. Try to keep the line as straight as possible, since this will form the foundation for the water container part of your water tower.
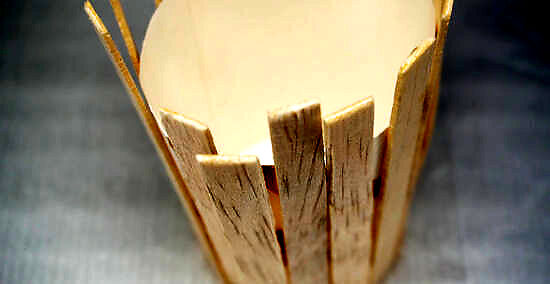
Glue the remaining Popsicle sticks to the outside of the Dixie cup. Place glue along one of the wide edges of a Popsicle stick. Line up the top edge of the stick with the bottom edge of the cup and glue it down. Repeat this process around the entire circumference of the cup until it is completely covered. When gluing the sticks onto the cup, fan them out from one another to create a more realistic look. When you place the second stick on the cup, keep the edge of the stick as close to the edge of the cup as possible, but fan out the end that is jutting over the edge of the cup by about 5 degrees so that a small sliver of the cup can be seen underneath. Roughly half of the length of each Popsicle stick will be glued to the Dixie cup, while the other half will be jutting out over the rim of the cup.
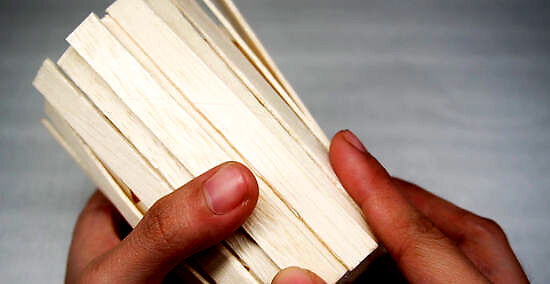
Cover the gaps in the Popsicle sticks by gluing another layer on top. If you fanned out the sticks to create a more realistic look, go back over the cup with additional Popsicle sticks. Glue the sticks directly in the middle of two sticks on the bottom layer so that the second layer covers up any slivers of cup that may be showing. Keep the edges lined up with the bottom edge of the cup as best you can.
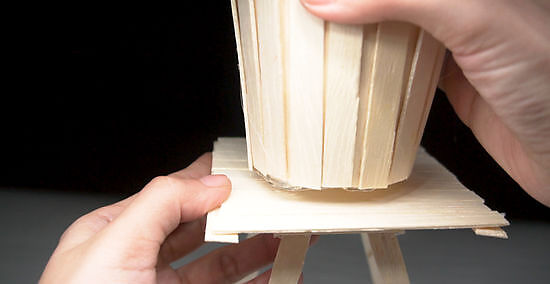
Place the Dixie cup in the middle of the platform with the open side up. Apply glue around the entire circumference of the bottom of the cup. Then, stick it down as close to the middle of the platform as possible. Use a lot of glue to attach the Dixie cup so that it doesn’t fall off if it’s bumped. Optionally, you can wrap a string around the bottom and middle of the Dixie cup to give it a Western look. Wrap the string several times for better results.
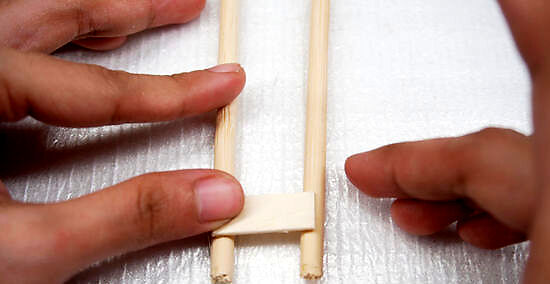
Use 2 wooden dowels to create a ladder. Place 2 wooden dowels roughly 1 inch (2.5 cm) apart on a flat surface. Line them up so they are parallel with the pointy side on top. Use small sections of Popsicle sticks roughly 1 inch (2.5 cm) long to create the steps. Apply glue to both ends of 1 side of the stick, then place it horizontally between the dowels so that it connects them together. Do this all the way up the 2 dowels, roughly 7 times, until about 1 inch (2.5 cm) of the pointy side of the dowels is left sticking out.
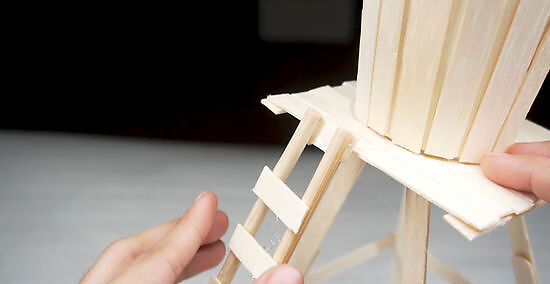
Lean the ladder against the water tower at an angle and secure it with glue. Glue another small section of Popsicle stick horizontally across the very tips of the dowels, above and on the opposite side of the steps. Lean it up against the side of your water tower with the tips facing up. Place glue on the backside of the tips of the dowel and press down to attach it.


Comments
0 comment