views
Mastering the 2-Step
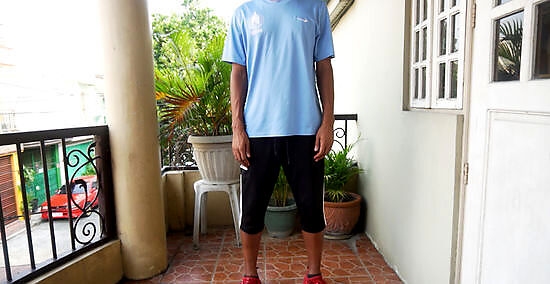
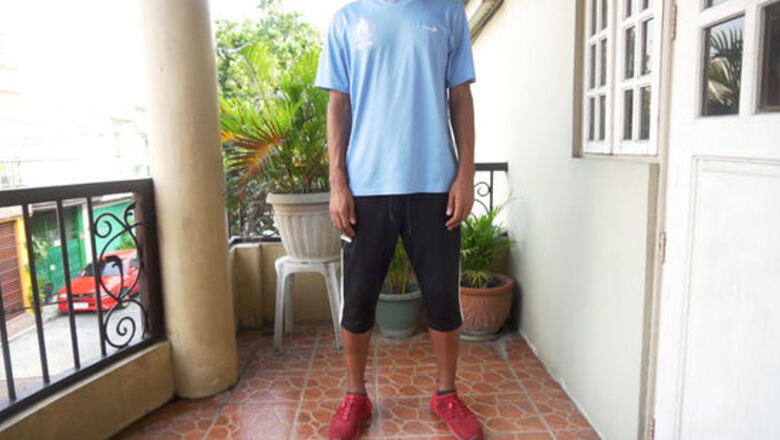
Stand up straight with your feet shoulder width apart. This is the basic Milly Rock pose, so make sure you feel stable standing this way. You don’t even need to move much to do a simple form of the dance. Keep your back straight at all times to open up your body and stay mobile. Let your arms hang down close to your hips. After you learn the basic footwork, you can incorporate them more into your routine. The Milly Rock doesn’t have a lot of complicated moves to memorize. The most important part is to display confidence. Standing up straight and looking ahead of you helps a lot.
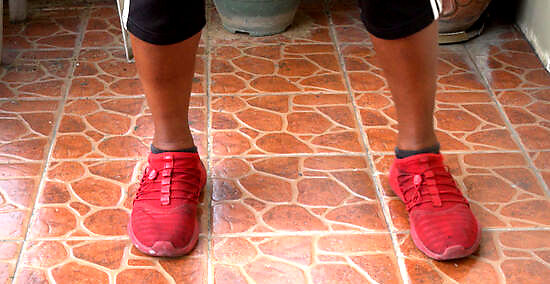
Step back and forth while standing in place. Start the dance by bringing your right foot in towards your left foot, then moving it back to its original position. Repeat the motion with your left foot. Continue doing this with both feet at a steady rhythm to master the dance’s basic pattern. If you are familiar with the 2-step, not to be confused with the country 2-Step, this part is the same move. Practice the basic step pattern before adding in variations. Move your feet back and forth with consistent timing first. Try doing it to the beat of your favorite dance track.
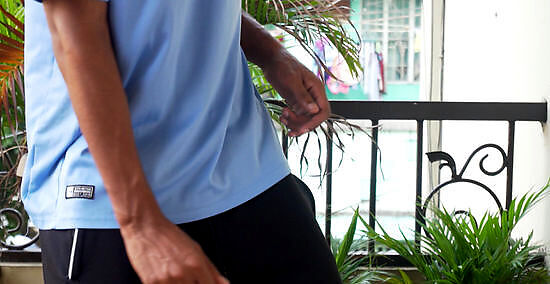
Twist your hip forward as you step to the side. Return to your starting position with your legs shoulder width apart. When you step to the side, move your waist in the same direction as well. Shift all of your weight onto the foot moving to the side. When your foot touches the ground, swing your weight back towards the center and let your foot come back. Repeat the motion each time you step to the right or left. The hip movement will give you a little momentum and rhythm. It can also make your dance look livelier and more fluid.
Moving Your Arms
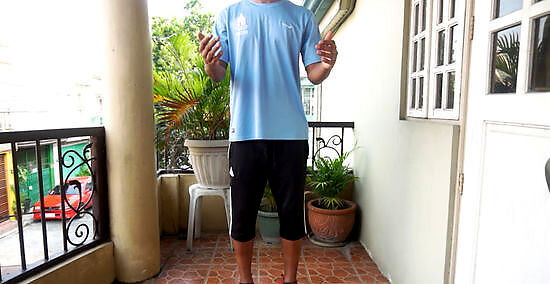
Hold your hands out in front of your chest with your palms up. Raise your shoulders up towards your earlobes, bringing your hands up. Hold your hands directly in front of your chest, keeping your elbows bent almost at a 90-degree angle. Make sure you are standing straight and tall. If you notice yourself leaning forward, your arms may be too far ahead of you. Start out by practicing the motion without doing the 2-step. If you feel confident, you can do both at the same time, but it’s easier to practice them separately at first. Also, avoid keeping your hands too close to your body. If you can’t move your hands freely, bring your arms forward a little. This is a simple, basic pose for incorporating your arms into the Milly Rock. There are many variations you can adopt, so don’t get discouraged if this particular motion isn’t enjoyable.
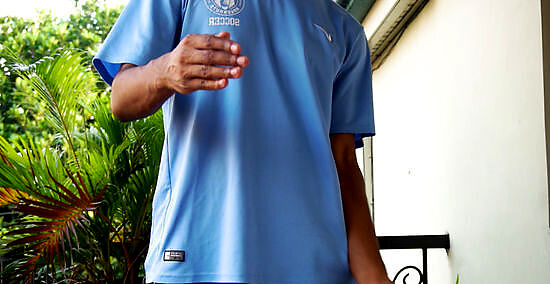
Rotate your hands in circles in front of your body. Bring 1 hand down towards you body, keeping your palm upright as you do so. Then, bring your hand up and away from you until it reaches its original position. Practice this motion with your other hand as well. Eventually, you will be able to churn both hands at a smooth, consistent rate. Think of your hands as 2 wheels on a bicycle wheel in motion. They need to move at the same pace to be stable. The difference is that hands need to be in opposite positions at all times. When 1 is at the top of the circle, the other needs to be at the bottom, for example.
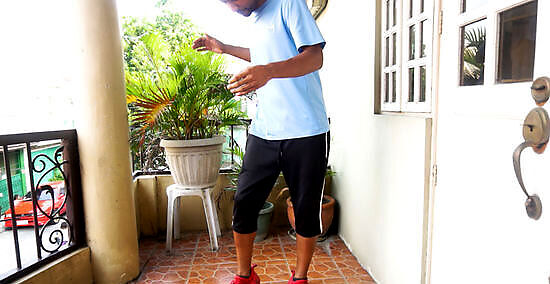
Circle your arms as you step to the side. Now that you know a basic arm pattern, incorporate it with your footwork. Start by standing in a neutral position, then begin stepping from side to side. Move your hips to keep up your flow! As you step to the side, begin churning your arms in circles and keep this up as long as you can while moving. Try to keep your arms and legs moving at a steady pace. Your arms will probably end up moving a little faster than your legs. This is normal as long as you keep a steady pace. Practice dancing to a steady musical beat. See if you can maintain your momentum.
Adding Variations to the Dance
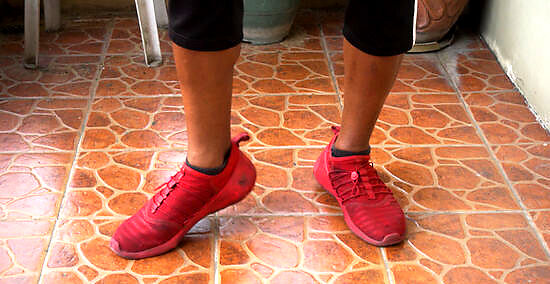
Twist your feet instead of stepping if you need less leg motion. Begin in a neutral position with your legs shoulder width apart. Twist 1 of your legs and hips inward. Raise your heel up as you twist, pivoting on the balls of your foot. Then, twist back and repeat this on your other side. This is a good beginner’s move if you’re struggling to do the 2-step or lack leg mobility. Do this to learn the dance’s rhythm without expending too much energy. As you get used to this movement, try incorporating arm movements to make your dance more dynamic.

Circle your hands in the air if you want more arm movement. Position your arms so your elbows are down and your hands are near your ears. Keep your palms facing upwards with the heel of your palms facing towards the center of your body. Circle your hand out, around, and back towards your body, then repeat this with your other hand. Think of it like swatting bees. Keep your wrists loose, moving your arms at the elbows. Move only 1 arm at a time. Bring your other arm down besides your body when not in use. As you master the motion, add some footwork as well. When you step to the side, raise your arm on that side and move it in a circle. A simpler variation of this is a “princess wave.” You move your arms in smaller circles. You can also move in a reverse direction or make multiple circles for each step.
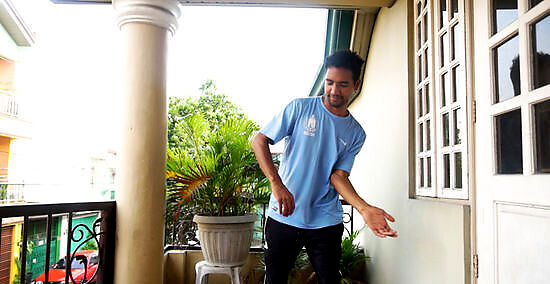
Walk or twist your body for a more dynamic dance. You don’t have to stand in place while doing the Milly Rock. Start the dance as you normally would, moving your arm while bringing your foot towards your body’s center. Instead of stopping, try bringing your foot all the way out in front of your stationary foot. Then, either bring your foot back or keep dancing in that same direction. Adding these extra movements can be tough if you don’t have the basic moves down first. Learn the Milly Rock with a 2-step and simple arm rotation first until you develop a solid flow.





Comments
0 comment