views
Preparing a Mirrored Surface for Painting
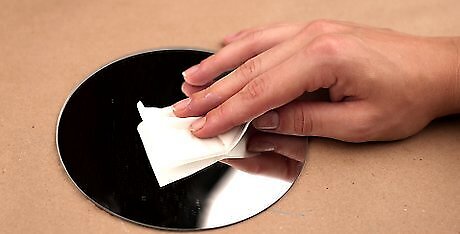
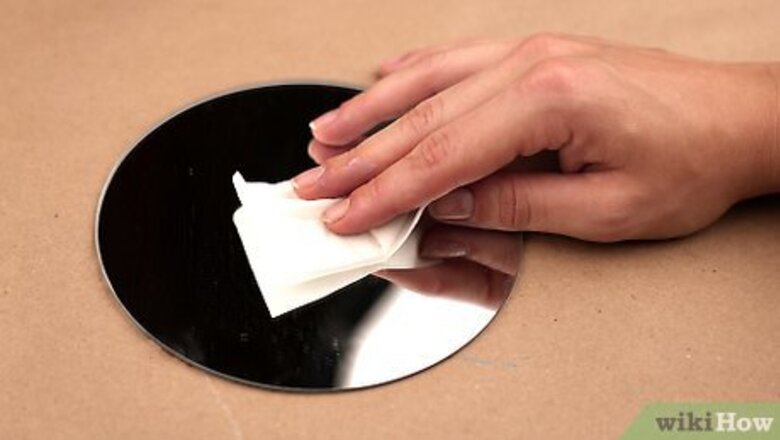
Clean the mirror thoroughly with a dampened microfiber cloth. Mirror glass must be completely clean before you begin, otherwise, the paint may not adhere to the surface well. Start by dampening a microfiber cloth with water and wiping the surface to remove any dust. Use a separate microfiber cloth to thoroughly dry the surface. If your mirror is quite dirty, use a mild soap solution to wipe it down. Follow up with plain water, and then dry the surface with the cloth. To get rid of fingerprints and greasy residue, dip the cloth in a small amount of rubbing alcohol and wipe down the surface.
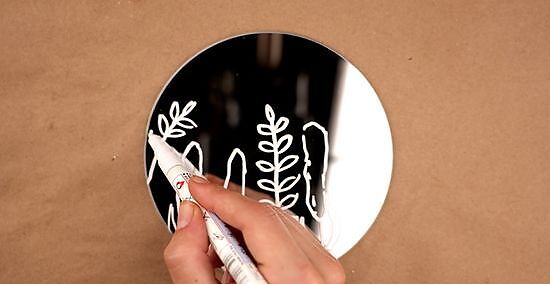
Sketch your design onto the mirror with a water-soluble pencil. You don’t have to create a highly detailed sketch. Instead, use a white water-soluble pencil to outline the main design elements on the mirror’s surface. This sketch helps you with placement and acts as a guide when you start painting. Purchase water-soluble pencils at any art supply store. It’s important to use a water-soluble pencil so you can easily remove any remaining lines once you finish your painting. You don’t have to use white, specifically, white shows up best on a mirrored surface.
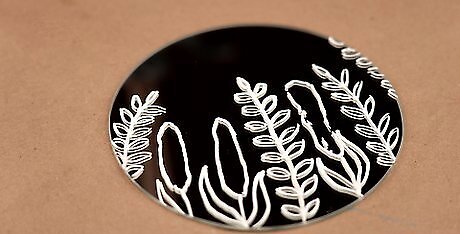
Choose areas of your sketch that won’t be painted. One of the coolest things about painting on mirrors is that the areas you leave unpainted are just as important as the painted ones. The unpainted areas will remain reflective, acting as an ever-changing backdrop to your painted piece. For example, if you are painting koi onto a mirror, don’t paint the entire water backdrop blue. Leave a few unpainted areas in the water, which will create interesting effects once the painting is finished. If you are painting a portrait, sketch in the form of the person, but leave the backdrop unpainted. Once the painting is complete, the background behind the portrait will be reflective and ever-changing.
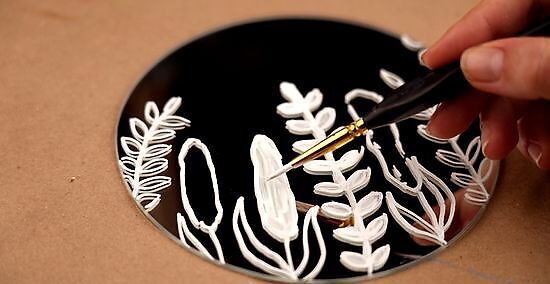
Apply a thin coat of white gesso to all areas you plan to paint. Gesso will give your acrylic paint something to stick to on your mirror. Use a small paint brush to fill in all areas you plan to paint with one coat of white gesso. Do not apply gesso on the areas of the mirror you plan to leave reflective – only put it where your design will be painted. Paint right over your penciled lines; the gesso goes on opaque, but becomes much more transparent once it dries. Leave the gesso to dry for 24 hours before proceeding. Liquid gesso can be purchased at any art supply store.
Applying Acrylic Paint to a Mirrored Surface
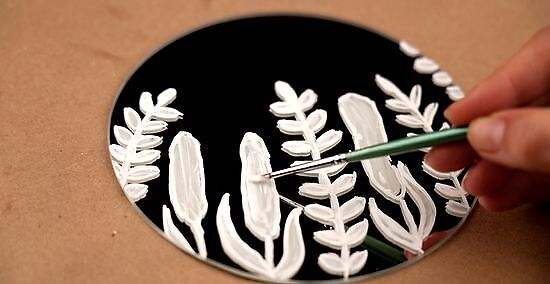
Apply a thin coat of white acrylic paint to all areas you plan to paint. This white base coat will allow your final painted colors to appear far more vivid. If you paint your design without the white base, the colors won’t look as vibrant. Use a paintbrush to carefully fill in the areas you plan to paint with white acrylic. Make sure you carefully go over all of the gessoed areas with white paint. You don’t want any gesso peeking out after you’ve finished your piece. Allow the white acrylic paint to dry for 30 to 60 minutes.
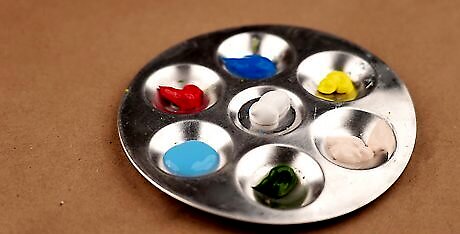
Squeeze a dollop of each paint color onto your palette. Acrylic paint is best for this, since it dries quickly and doesn’t require that you work with toxic solvents like turpentine. However, if you prefer oil paint, you can use that. Squeeze a dollop of each color onto your palette. If you plan to mix any colors to create new ones, use your palette knife to do that now. For example, if you want to lighten any color, add a small amount of white paint. Use the knife to completely blend the two colors together. If you want it lighter, add more white and mix again. If you need to make brown paint, combine equal quantities of complementary colors. Complementary color pairings you can try: yellow and purple, green and red, or blue and orange.
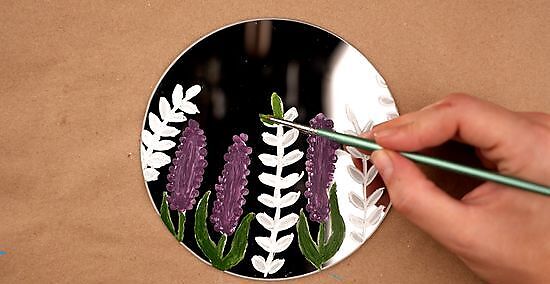
Paint the darkest areas first. Using a regular paint brush, apply the darkest color in your design first. After you brush it on, give the surface a few minutes to dry. If you still see a bit of white peeking through from underneath the dark paint, apply a thin second layer right over it. Keep clean Q-tips nearby. If you accidentally get paint in an area you want to remain reflective, quickly wipe it away using the cotton swab. If you have a pretty severe paint smear, grab some glass cleaner and dunk the Q-tip in that before wiping it away.
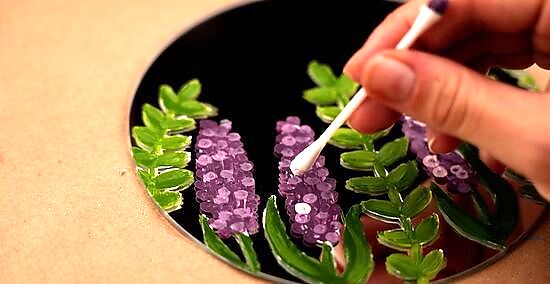
Fill in the rest of your painting with the other colors. You can loosely block in all the base colors first, then go back to add detail over the top once the base has dried. You can also fully complete one section of the painting at a time until it’s finished. There’s no “correct” approach, so do what feels natural for you. Use a fresh paintbrush for each paint color you work with. Use the size that makes sense for the area you’re painting. For example, use a small brush for detail work. For larger areas, use a flat brush or rounded brush.
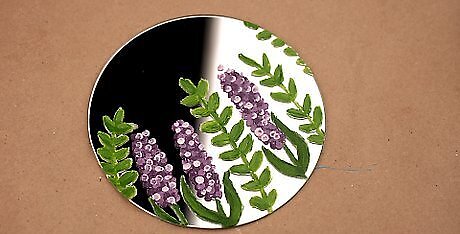
Let the painting dry completely. If you used acrylic paint, this will take about an hour. If you used oil paint, the drying process can take several days, depending on how many layers of paint you brushed on. Once it’s completely dry, your painted mirror is ready to display!
Spray Painting a Mirror Frame
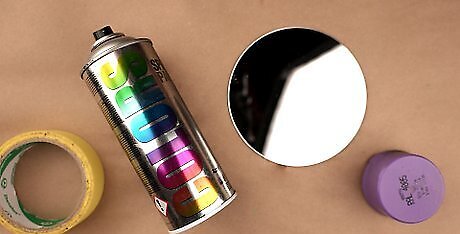
Set up your workspace outside or in a well-ventilated area. Spray paint fumes are pretty overpowering, so set up your workspace in an area with plenty of ventilation. Lay down newspaper or a tarp on a completely flat surface. Lay the mirror and its frame down in the center of the covered surface. Make sure the frame is also perfectly flat. It’s important to work on a perfectly flat surface because the spray paint could drip and run otherwise. To be safe, you should wear a face mask and eye protection when spray painting in a well-ventilated area. If you're spray painting in an enclosed space, upgrade the dust mask to a face mask with a respirator.
Wipe down the surface of the frame to remove dust and debris. Before you start painting, thoroughly wipe down the surface of the mirror frame with a dampened microfiber cloth. If you don’t do this, dust and debris on the frame’s surface may show through the paint once you’ve finished. Make sure the frame’s surface is clean and dry before proceeding. If your frame was previously painted, it’s completely fine to spray paint right over that. The only exception is if the paint is flaking or chipping. If it is, use a wire brush to remove the flakes, then sand the surface until it’s smooth. EXPERT TIP Douglass Brown Douglass Brown Glassblowing Expert Douglass Brown is a Glassblowing Expert based in Half Moon Bay, California. He has over 25 years of experience as a glass artist, and is the owner and operator of 2 glass blowing studios in the San Francisco Bay Area, Half Moon Bay Art Glass and Mare Island Art Glass. Douglass believes in sharing hot glass experiences with anyone who wants to learn about the processes of blowing and sculpting glass. When not teaching, Douglass creates glass art that is a mix of his takes on nature and functional glassware. He has also created the Glass Troubadours, which is a mobile glass blowing studio that hosts parties, events, and visits craft shows. Douglass Brown Douglass Brown Glassblowing Expert Cleaning the glass is a crucial step to take before painting. You want to avoid any films, oils, or anything that could affect the adhesion of your paint.
Mask off the mirror and any areas that you don’t want to spray paint. Use painter’s tape to protect areas that you don’t want to paint, such as the mirrored surface and any detail work on the frame that you want to preserve. For a large mirrored surface, cover it with heavy cardstock first, then secure the edges of the cardstock down with painter’s tape.
Apply the first coat of spray paint in short bursts. Hold your chosen color of spray paint about 12 in (30 cm) to 18 in (46 cm) away from the mirror frame for best results. Working systematically around the frame, apply a thin coat of spray paint using short, light bursts. Use a steady back-and-forth motion and slightly overlap each stroke with the next one. Allow the first coat of spray paint to dry for 1-2 hours. Don’t try to cover the frame in one coat – this will likely lead to dripping and running. Do several thin coats.
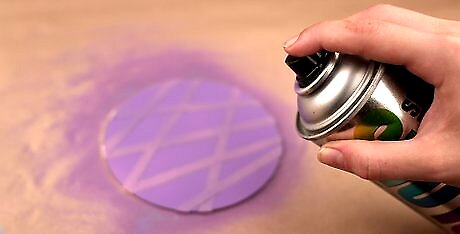
Apply another light coat of spray paint. Work systematically, just as you did before. Apply another coat of your chosen paint and allow it to dry for another 1-2 hours. If you feel it still needs another coat, go ahead and apply it. Always give the last coat time to dry before proceeding with the next one.
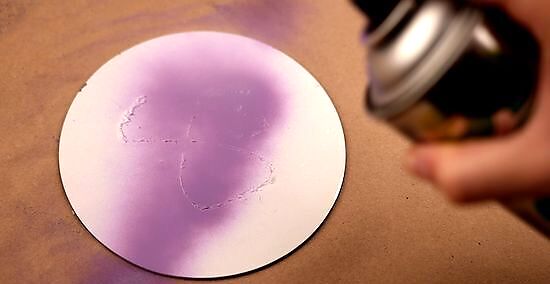
Spray paint the backside of the frame, if desired. You don’t have to do this, but many people prefer to. Once the front side is completely dry, flip the frame over and repeat the same technique to spray paint the back. Give each coat an hour to dry before applying another one.
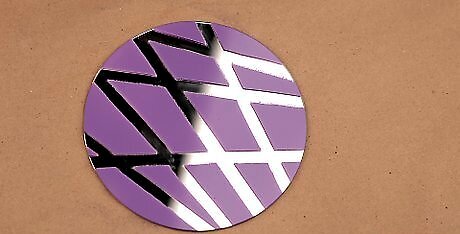
Wait 24 hours for the mirror frame to cure completely. Once all the spray paint coats have been applied, give the frame about 24 hours to fully cure. Remove the painter’s tape and cardstock after 24 hours have passed. Your mirror frame is now ready to be displayed!





Comments
0 comment