
- Cover the floor and any furniture with a dropcloth to protect them, then remove light switch covers and line the edges of the wall with painter’s tape.
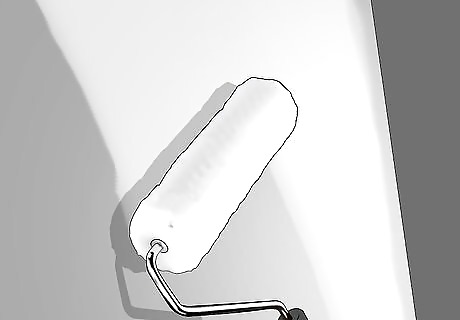
- Use a paint brush to prime the edges of the wall, then use a roller to work inward toward the center, using “W”-shaped strokes for even coverage.
- Coat the wall with a layer of primer to conceal the old color and help achieve better coverage with the new paint. Then, apply 2-3 coats of paint the same way.
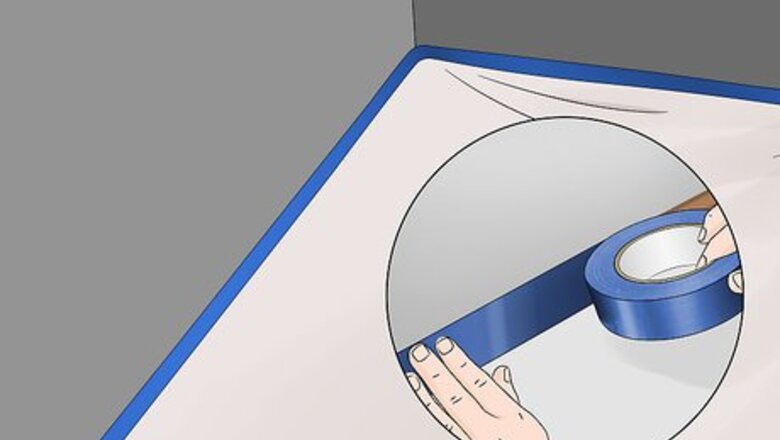
Protect your floors and trim.
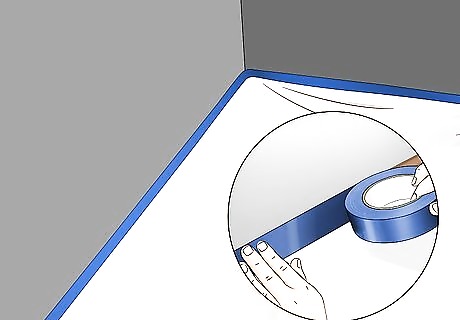
Lay a tarp over the floor and tape the wall’s trim to contain the paint. Even the most meticulous painters are prone to drips and drops now and then, so remove any furniture and lay a drop cloth like a tarp, plastic sheet, or old, thick blanket on the floor beneath the wall. Then, use painter’s tape to protect any portions of the wall you don’t want to get paint on, like molding, door and window frames, or doorknobs. Also, remove any light switch coverings or other wall-mounted accessories, like thermostats, so that you can paint the small portion of the wall beneath them. If you can’t remove any particular piece of furniture, go ahead and cover it with a drop cloth to protect it.
Clean and repair the walls.
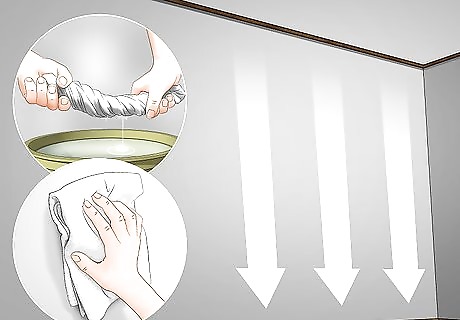
Wipe down the walls with a damp rag and fill in any cracks. Dampen a spare rag with warm water and wipe the entire wall to remove dust and grime so that the paint can adhere evenly. Then, use spackle to fill any cracks in the wall, or use a caulking gun to fill any gaps between the wall and windows or doors, wiping away the excess with your damp rag. Apply the spackle with a putty knife and let it sit for 30-60 minutes. Then, sand it down with fine-grit sandpaper to make it flush with the wall. After, wipe that area of the wall again with a damp rag to remove any spackle dust.
Coat the wall with primer.
Roll primer onto the wall to help apply your paint more evenly. Fill the well of the tray with primer, but leave the slanted section exposed (you can always add more later). Use a 3–4 in (7.6–10.2 cm) angled paint brush to apply primer in corners and along the edges of the wall. Then roll a paint roller in the primer and along the ridges of the tray to prevent any dripping, and roll the primer onto the wall in vertical strokes. Overlap your stroked by about 2–3 in (5.1–7.6 cm) for the best coverage. Paint until the entire wall is coated with primer, then let it dry for 4-6 hours. Use a thick, 0.75 in (1.9 cm)-nap roller to hold more paint and to coat textured walls, or a roller with a small, 0.25 in (0.64 cm)-nap for a more even finish on smooth walls. Reapply primer to the roller any time the roller seems to be running dry or is no longer applying primer to the wall. Primer helps conceal darker paint colors beneath the new coat, and also helps the new coat adhere to the wall. If you’re painting a lighter-colored wall, a paint-and-primer in one will usually do, and you might skip this step.
Pour your paint and start painting the trim.
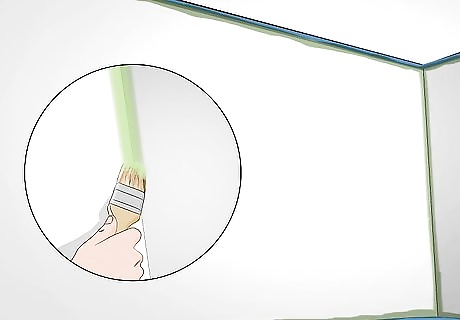
Mix your paint, then use a brush to “cut” the trim. Use a paint mixer attachment on a drill or a handheld stirrer to blend the paint for 1-2 minutes, which ensures the oils and pigments are combined and also breaks up clumps. Then, pour your paint into a fresh paint tray. Dip a 3–4 in (7.6–10.2 cm) angled brush into the paint and start painting at the edges of the wall, where you taped. This is known as “cutting in”—getting the tricky corners done with a brush first makes painting the rest of the wall with a roller much easier. Use the brush to paint about 3–4 inches (7.6–10.2 cm) out from the edges and corners, to make rolling easier. Use a glossy paint for areas that need to be cleaned frequently, like kitchens or bathrooms. For living spaces, choose a more comfortable, matte or satin-finish paint, which tend to be more welcoming. Also, make sure you have enough paint! A single gallon is usually enough to cover about 400 square feet (37 m) of wall space. Multiply the length of your wall by its height to find its dimensions.
Roll the paint onto the wall.
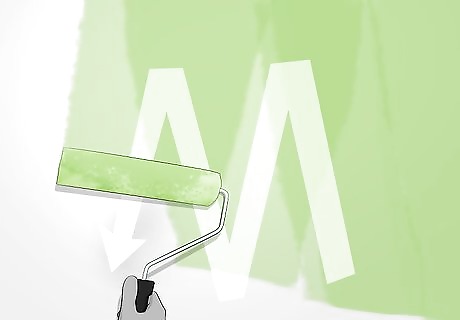
Paint using “W”-shaped strokes to coat the wall evenly. To paint with a roller, roll the fabric or foam end in the tray to coat it, then along the ridges of the tray a couple of times to shed excess paint. Then, use gentle but even pressure to roll the paint onto the wall in 2 by 2 feet (0.61 m × 0.61 m) sections, rolling in alternating, diagonal strokes to help conceal the strokes and more evenly apply the paint, until the area is completely coated, then move on to the next. Paint systematically to make sure you cover the entire wall; start from the top and work across, then down, working your way into the center of the wall. Overlap each painted section by 30-40% to make sure you get total coverage. As with the primer, use a thick-napped roller for textured walls, or a small-napped roller for walls with smooth finishes. Use a long roller handle to help you reach high-up areas of the wall without needing a ladder.
Add 1-2 more coats.
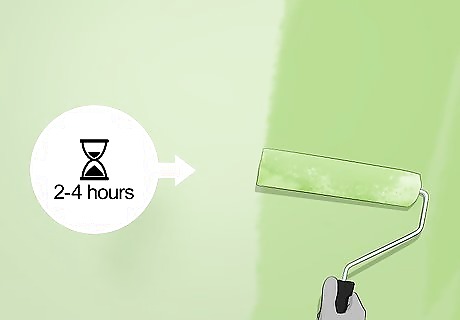
Let the first coat dry for 2-4 hours, then paint again. Just 1 coat usually isn’t enough for most walls. Let the first coat dry completely, then start rolling on 1-2 more coats. Remember to cut in from the corners again with a paint brush! Paint until the wall is evenly covered, and the color itself appears uniform. Textured walls typically need more coats than smooth walls in order to get into all the nooks and crannies. Make sure the room is well-lit, or use a portable work light to illuminate the wall, which makes it much easier to spot patchy or uneven paint. If you’re taking breaks between each coat, place the rollers and brushes in the paint tray and slip the tray into a plastic bag or cover it in cling wrap to prevent it from drying out.
Let the paint set overnight, then clean up.

Remove the tape and let the paint dry overnight. Before the paint is totally dry, peel up the painter’s tape—removing it when the paint is dry might result in flaking. Then, once the paint has set, come back and inspect your work. If you need to, add another coat of paint. If it looks even and you can’t see any patchiness, reinstall any light switch covers or other wall accessories, pull up the tarp, and bring the furniture back. Then, admire a job well done! Wash your roller and brushes outside in a bucket of warm water and 0.5–1 c (120–240 mL) of dish soap, until no more paint comes off the bristles or nap. Then leave them to air dry overnight. Keep any leftover paint in the can in case you need to touch up the wall later. Also, write down the paint color in a notebook, or on a bit of painter’s tape adhered to the back of the light switch cover so you can remember it later if you need more.


Comments
0 comment