
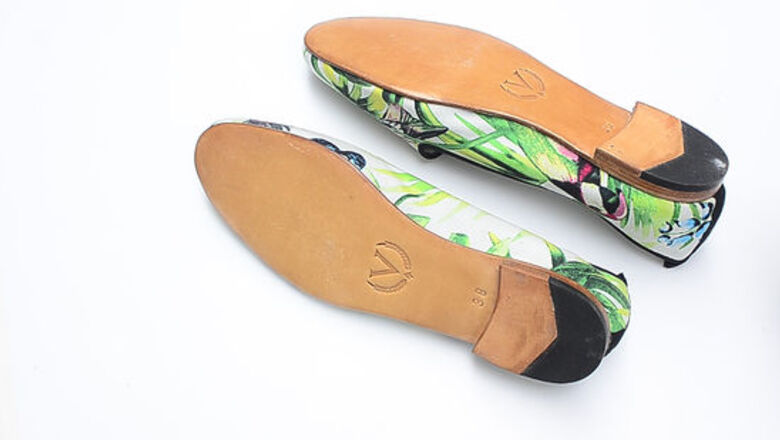
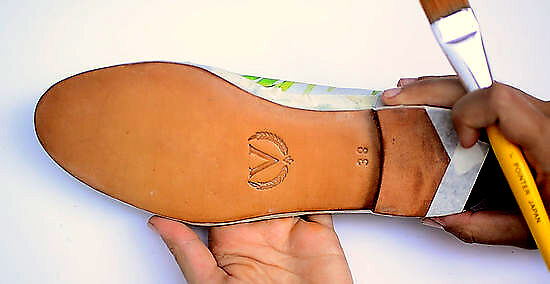
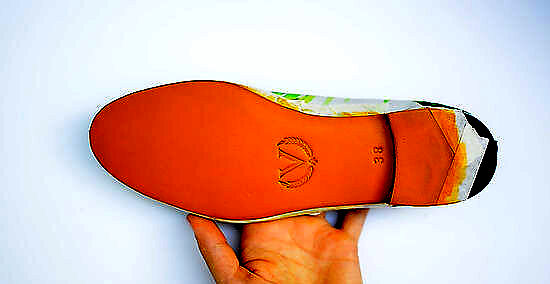
Preparing the Soles
Clean your shoes using rubbing alcohol. According to Shoe Care Expert Rio Jongsae Kim, it's very important to "clean the soles first."Take a clean cotton ball and dip it in rubbing alcohol. Use the cotton ball to wipe down each sole, cleaning off any dirt. The rubbing alcohol and clean surface will help the color adhere to the shoe. Wait for the rubbing alcohol to dry once the shoe has been cleaned — this should only take a few minutes.

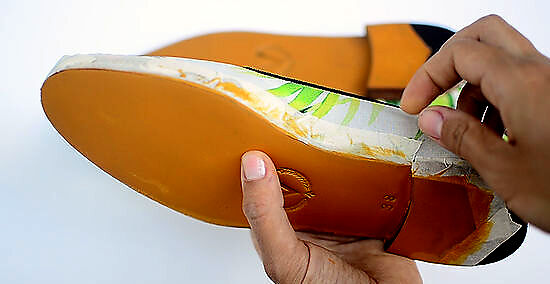
Tape off the edges of your shoe, if desired. To prevent getting paint on places other than the sole of the shoe, use painter’s tape. Apply the tape to the edges and other sections of the shoe that you want protected from paint. Cut the painter’s tape into shorter or thinner strips to make applying the tape easier, if necessary.
Prime the soles of your shoes as an added precaution. Priming the soles isn’t a required step, but it will help the paint stick to the soles better. You should use a primer that will adhere to the material of your shoe. For example, if your soles are made of rubber, you’d want a primer designed specifically for rubber materials. This could be found at a local hardware store or online. Use a clean paintbrush to apply the primer evenly to each sole. If desired, you can also just use a white acrylic paint as a primer option. If you're not sure of the material of the sole, check the bottom or inside of the shoe to look for a label. If you can't find a label, go online to find the specific shoe's material.
Wait for the primer to dry completely before continuing. Read the instructions on the primer to determine how long to wait. Waiting an hour is usually a good place to start, but if you're unsure if the primer is dry or not, lightly touch it with your finger. The primer is dry if you touch it and it doesn't leave any residue on your fingers.
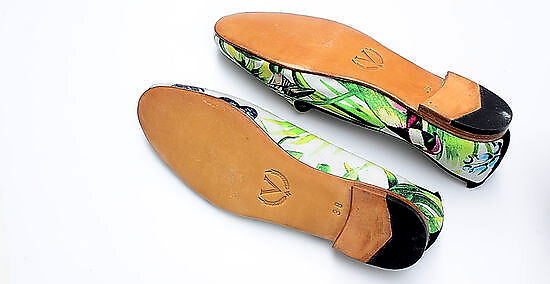
Applying the Paint

Choose a paint that’s appropriate for the material of your soles. Shoe Care Expert Rio Jongsae Kim recommends that you "apply acrylic paint with a paintbrush." It’s common to use acrylic paint on soles, which works as long as you add a sealant afterwards. There are also paints designed specifically for rubber or leather. PlastiDip is the most popular paint choice for rubber and comes in many different colors. Angelus paints are popular when painting on leather.
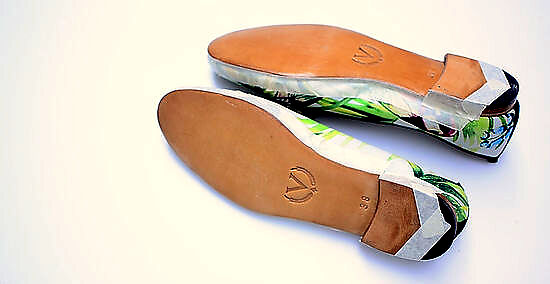
Use even strokes to apply the first coat of paint. Using a clean brush, apply the paint in even strokes over the sides and bottoms of your soles. Go slowly and make sure you don’t apply paint in any places where you don’t want it, especially if you’re not using painter’s tape. Shoe Care Specialist Rio Jongsae Kim emphasizes that you should "apply a couple of light coats of paint" instead of one heavy coat. Paint the shoes over a piece of newspaper to protect your surfaces. The size of brush that you use is up to you, just make sure it's small enough to paint the curves of the shoe adequately and cleanly.
Wait at least an hour before doing another coat of paint. Let the first coat of paint you applied dry. How long you wait will depend on the type of paint you used, but waiting at least an hour is a good rule of thumb.
Paint additional coats, as desired. Your soles are going to need anywhere from 2-5 coats of paint, depending on the color and shade you’re going for. Continue painting evenly and carefully, waiting for each coat to dry before painting the next one. If you're painting the soles of your shoes black, these would most likely only need 1 or 2 coats of paint. If you're painting the soles a lighter or brighter color, such as a yellow, pink, or bright blue, you'll need more than 2 coats of paint.
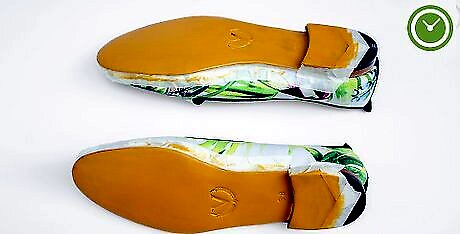
Allow the shoes to dry overnight. This will give the shoes time to completely dry. Place the soles on a piece of newspaper, soles up, so that they can dry more efficiently. Leaving the shoes indoors in a cooler environment will allow them to dry faster.
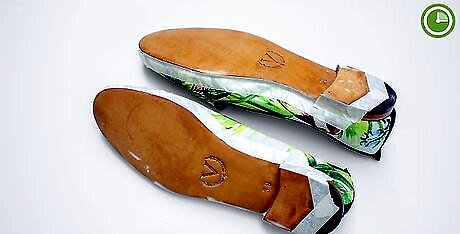
Sealing the Soles
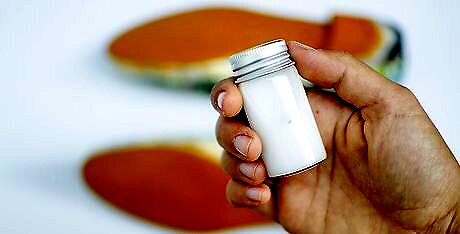
Use a clear sealant on the soles for extra protection. Shoe Care Specialist Rio Jongsae Kim explains, "after [your soles] dry, you have to apply finisher/sealant to protect [the] paint from peeling off." In addition to making sure the paint on the soles doesn't peel off as soon as you wear them, a sealant will help protect the paint job in general. You can use Mod Podge or any other protective sealant for paint. You can choose from both shiny or matte clear coats, depending on which you’d prefer.
Apply the first coat of sealant and let it dry for 15 minutes. Use a clean paintbrush to apply the sealant in a thin, even layer. Since it's clear and harder to see, check to make sure you've covered the entire sole.

Paint on a second coat of sealant, if desired. How many coats you choose to do is entirely up to you, but 2 coats of sealant on your soles will give you more protection than just 1. Just make sure you wait at least 15-20 minutes for each coat to dry. Do a touch-test to determine if the coat of sealant is dry or not. If your finger comes back with sealant residue, it's not dry yet.
Remove the painter’s tape once the shoes are dry, if necessary. Once your soles are completely dry and finished, you can take off any painter’s tape that you used. Peel it off carefully so that you don’t ruin the paint job. As an added precaution, you can allow the sealant to dry overnight to ensure the soles are completely dry.


Comments
0 comment