views
Preserving by Freezing
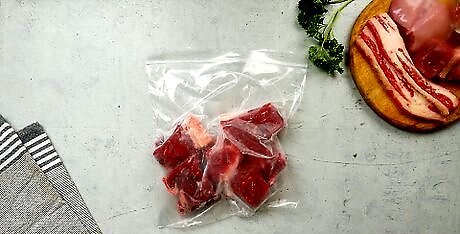
Prepare meat before freezing. To prevent freezer burn, prepare and package the meat before putting it in the freezer. Meat and poultry can be frozen in the store packaging but it is advisable to over-wrap the packaging to make sure no air can enter the package. Use plastic bags and heavy-duty aluminum foil specially designed for freezer use (the label will tell you) to over-wrap. Use a home vacuum sealer to remove air from packaging. Vacuum sealers come in a variety of models and prices and use special bags (sold separately) to store food. Use air-tight containers such as plastic or freezer-safe jars and cans. Use wraps such as heavyweight aluminum foil, plastic freezer bags or polyethylene wrap and bags. Remove as many bones as possible before freezing as bones take up space and can contribute to freezer burn. Place freezer paper or wrap between slices or patties of meat to make separation easier after freezing.
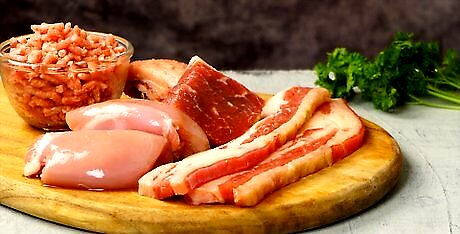
Know how long you can safely store frozen meat. Meat will not keep forever in a freezer. Uncooked meat (such as steaks or chops) can be kept frozen safely for 4-12 months. Uncooked ground meat can only be kept safely for 3-4 months. Cooked meat can be stored for 2-3 months. Hotdogs, ham, and lunch meats can be frozen for 1-2 months. Poultry (uncooked turkey and chicken, as well as cooked turkey and chicken) can be kept for 3-12 months. Wild game can be kept for 8-12 months. Make sure to maintain a freezer or cooler temperature of 0 °F (−18 °C) or below.
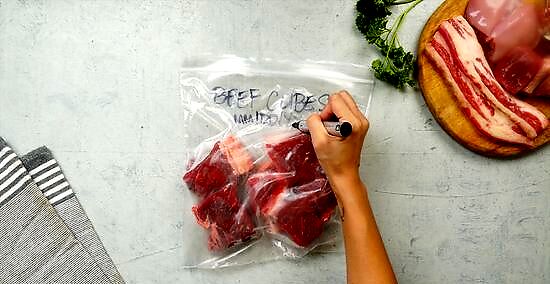
Be sure to label all containers and packages. You need to know what is in the freezer and how old it is. The label should contain the type of meat (chicken breast, steak, ground beef, etc.), whether it is raw or cooked, and the date it was frozen. To help you find things later, it is a good idea to group like items together. For example, put all the chicken together, all the beef together, all the pork together. Use the oldest items first to avoid having to discard out of date or freezer-burned food.
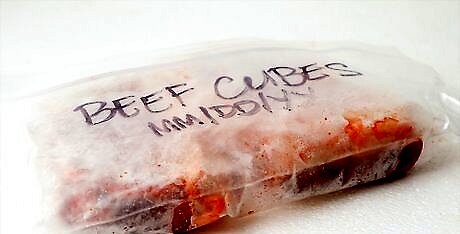
Use an electric freezer to store meat. This is one of the easiest ways to preserve meat. You can use the freezer compartment that is attached to your refrigerator or use a stand-alone freezer. Stand-alone freezers are larger than the compartment on a refrigerator. Be aware that a freezer does use electricity so your energy bills will be higher if you use a stand-alone freezer in addition to your refrigerator. The cost increase will depend on the size of the freezer and how energy-efficient the model is.
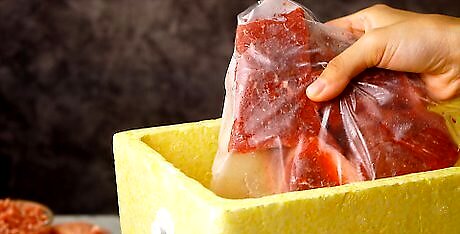
Use a cooler if you do not have an electric freezer. Coolers can be used anywhere as they do not require electricity. You can use a cooler if you are camping or if you need to store meat during an electrical outage. You will need to fill the cooler with ice to make it cold. Place some ice on the bottom of the cooler, put in the meat, then cover the meat with more ice. Make sure the meat is surrounded by ice to ensure complete and even freezing. If you use a cooler you will need to replace the ice as it melts to make sure the meat does not thaw before you are ready to use it.
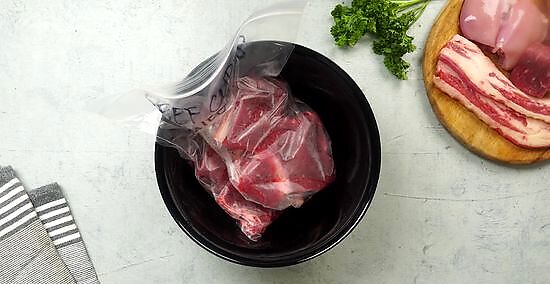
Know how to thaw meat. Thawing properly will help reduce the chance of food-borne illness. Thaw meat in the refrigerator. Plan ahead as large items such as turkeys will take about 24 hours to thaw this way. Thaw by submerging the meat (in air-tight packaging) in cold water. Change the water every 30 minutes until completely thawed. You can thaw meat in a microwave but be sure to cook it immediately. Microwaves thaw unevenly and may start to cook parts of the meat. Before cooking, look for freezer burn. Freezer burn is the discoloration of meat due to freezing and does not necessarily make the meat inedible. Cut off freezer-burned portions before consuming. Use common sense. If the meat or poultry looks or smells “off” do not eat it.
Preserving by Drying (Dehydrating)
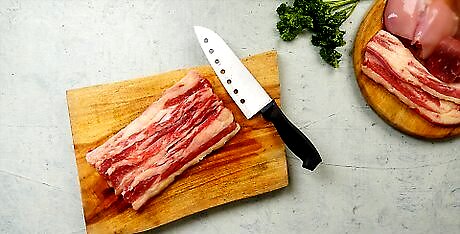
Make your own jerky. This can be done at home using your stove and oven. Cut meat into narrow strips with a cross section of 1cm x 1cm. Boil strips of meat on the stove for 3-5 minutes to get rid of bacteria. Remove the meat from the water and let drain until dry. Bake in an oven (on the lowest setting) for 8-12 hours. You could also use a commercial food dehydrator instead of an oven. Properly dried meat will feel sticky, hard, or leathery. Meat dehydrated this way will last 1-2 months in air-tight containers without refrigeration.
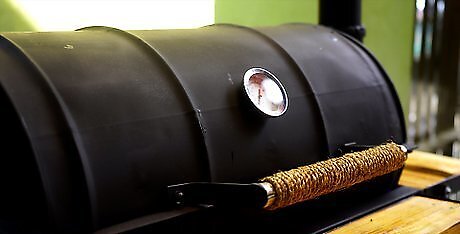
Use smoke to keep meat from spoiling. Smoking also adds flavor to meats. Cure meat with salt before drying to extend shelf-life. Smoke the meat in a smoker at 145 degrees Fahrenheit for 7 hours or 155 degrees Fahrenheit for 4 hours. Do not exceed 155 degrees Fahrenheit as this will cook the meat, not dry or smoke it. Some cuts of meat will take longer. For example, a brisket may take 22 hours to smoke thoroughly. Use a meat thermometer to make sure the meat reaches a safe temperature before removing from the smoker. Poultry should reach an internal temperature of 165 degrees F; pork and ground meats should be 160 degrees F; steaks, roasts and chops should be 145 degrees F. Commercial smokers use gas, electricity, charcoal or wood. Add wood such as mesquite, hickory, oak or cherry to add flavor to the meat. Smoked meats can last 1-2 months in air-tight containers.
Preserving by Canning

Use the proper tools for canning. Make sure you have a pressure canner and canning jars. Use a pressure canner (also known as a pressure cooker) to regulate the pressure during the canning process. Use good quality canning jars such as Mason jars. Hot, high-pressure steam cooks, seals and sterilizes the meat in the canning jars. Fill the canner with 2-3 inches of water. Start timing the canning process once the pressure gauge reaches the desired level. Once the process is complete, remove the canner from heat and allow to cool. Do not open until fully cool and depressurized naturally. Forcing cooling by running cold water on the canner can result in food spoilage and warping of the canner lid. Canned food stored in a cool, dry place can last up to a year.
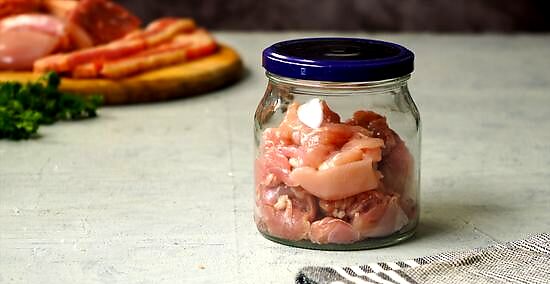
Can poultry to preserve it. Use either the hot pack or raw pack method. Hot pack the poultry. Boil, steam or bake meat until about two-thirds done. Add 1 teaspoon salt per quart to the jar, if desired. Fill jars with pieces and hot broth, leaving 1-1/4 inch headspace. Raw pack the poultry. Add 1 teaspoon salt per quart, if desired. Fill jars loosely with raw meat pieces, leaving 1-1/4 inch headspace. Do not add liquid. You can leave the bones in or take them out. If the bones are in, the canning time will take longer. This method also works for rabbits. Remember that higher altitudes require higher canning pressure. Process for 65-90 minutes depending on altitude.
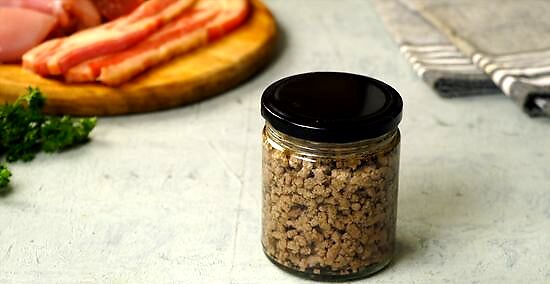
Can ground or chopped meat. Use fresh, chilled meat. Shape chopped meat into patties or balls. Cook until lightly browned. Ground meat may be sauteed without shaping. Before canning, drain to remove excess fat. Fill jars with pieces. Add boiling meat broth, tomato juice, or water, leaving 1-inch headspace. Add 2 teaspoons of salt per quart to the jars, if desired. Process for 75-90 minutes depending on altitude.
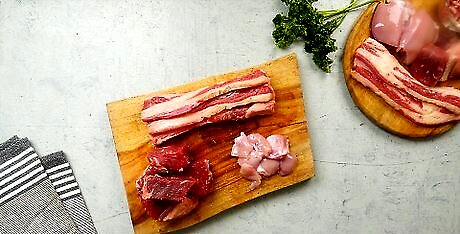
Can strips, chunks, or cubes of meat. Remove all large bones first. The hot pack method is best for these cuts of meat. Precook meat until rare by roasting, stewing, or browning in a small amount of fat. Add 1 teaspoons of salt per quart to the jar, if desired. Fill jars with pieces and add boiling broth, meat drippings, water, or tomato juice, leaving 1-inch headspace. Process for 75-90 minutes depending on altitude.





Comments
0 comment