
views
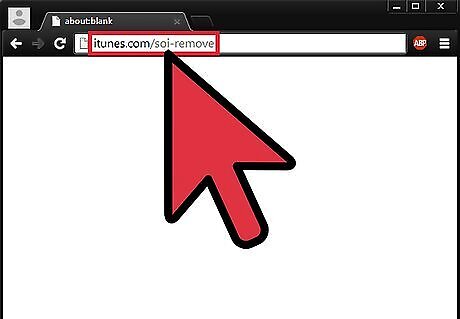
Visit the U2 Removal Tool website on your computer. Visit itunes.com/soi-remove in a web browser on your computer or using the Safari app on your iOS device.
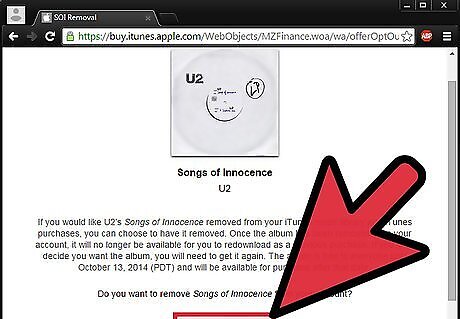
Click the "Remove Album" button. You will be asked to sign in with your Apple ID. Once you do, the album will be removed from your iTunes library. Note: It may take a few minutes for the album to disappear from your iCloud account on your iPhone.
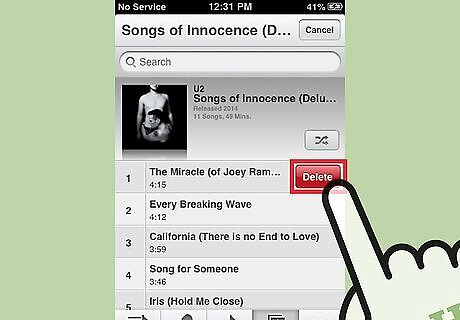
Delete the songs off your iPhone. If the album was downloaded to your iPhone, you will still need to manually delete the songs after removing the album from your account. If you are using iOS 8, open the Music app, select the "Albums" section, and swipe Songs of Innocence from right to left. Tap the Delete button that appears. If you are using iOS 7, open the Music app, open the album, and then swipe and delete each individual song until all the songs on the album have been removed.
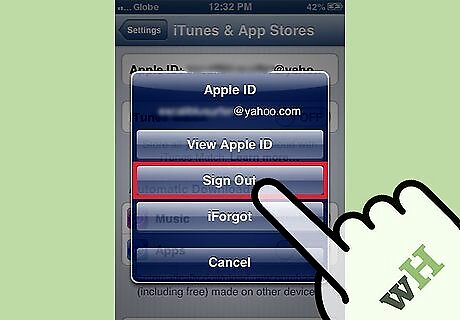
Sign out of iTunes on your device if the album won't go away. If the album isn't disappearing from your Purchased list, signing out of iTunes on your device and then signing back in may solve the problem. Tap Settings. Tap "iTunes & App Store". Tap your Apple ID. Tap "Sign Out" Re-enter your Apple ID information. Tap "Sign In".

Sync your iPhone to iTunes if you can't delete the album. If you're having difficulty deleting the album from your iPhone, you may need to perform a sync with your computer to "reset" the music on your iPhone. Tap the Settings app on your iPhone, tap "iTunes & App Stores", and toggle the iTunes Match slider off. Connect your iPhone to your computer. Open iTunes if it doesn't launch. Select your iPhone from the Devices menu. Click the "Music" tab. Ensure that "Sync Music" is checked. Double check that the U2 album is not in your list of music to be synced. Make at least one change to the synced music, and click Apply.




Comments
0 comment