views
Repairing Your Wall
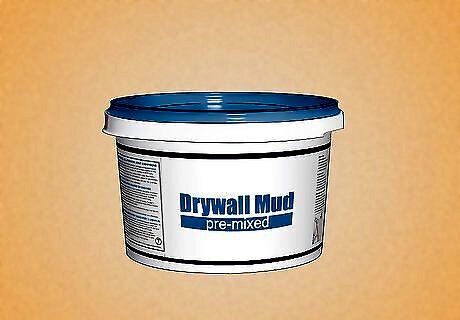
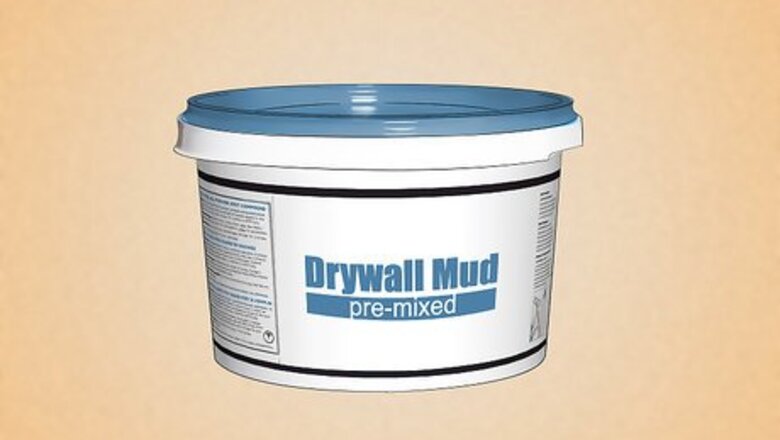
Purchase pre-mixed drywall mud from a home supply store. This is what most people consider traditional drywall mud, sold in either boxes or buckets. The most common types are “all purpose”, “lightweight all purpose”, and “topping” mixed drywall. Use this to repair minor drywall damages and to create your texture.
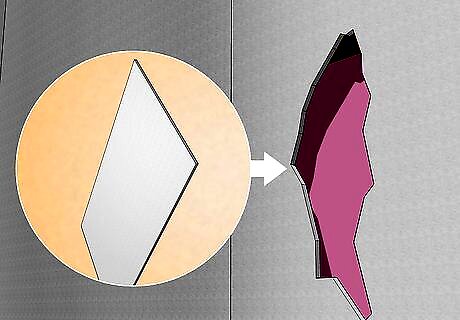
Purchase a piece of drywall if you are repairing a larger hole. The drywall piece should be roughly the same size as your hole. Measure your drywall's thickness, and match your drywall patch to the thickness of your existing drywall. Purchase a single piece of drywall, or ask an employee if they have any drywall scrap pieces. They often have some leftovers from helping other customers.
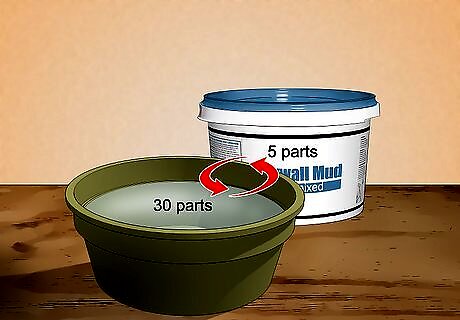
Mix your drywall compound following the instructions on the box. Most drywall will call to mix 5 parts of powdered drywall mix and 30 parts water. You can use a 5 US gal (19 L) bucket to mix all of this together. Add your water 1 cup (240 mL) at a time to control your consistency. Purchase drywall compound from a home supply store. Any home supply store should have this ready and in stock. You can let your drywall sit overnight to allow lumps to dissolve, if you’d like. This will create a more uniform texture.
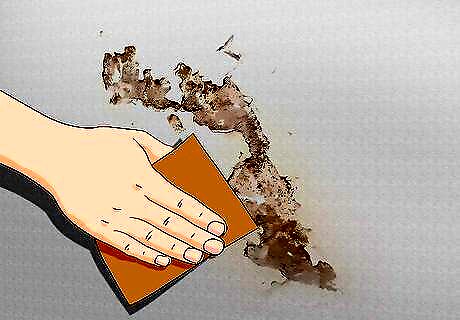
Sand your textured drywall to remove any imperfections. You can use a piece of 100 to 120 grit sandpaper or a fine grit sanding sponge. Rub away any uneven surfaces or remaining edges. This will help you even out the texture before you repair it. This also helps create a rough surface for the drywall to adhere to.
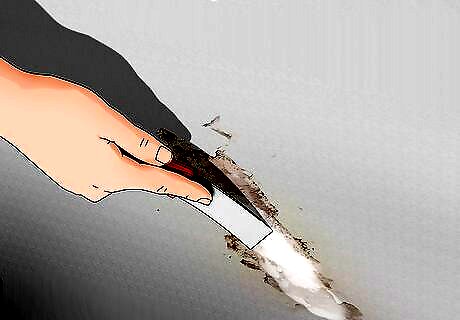
Apply drywall compound if you are filling dents, dings, and small holes. Dip a knife or brush into your drywall compound, so you have an even amount on your blade. Apply the drywall to the damaged area using your knife. Then, smooth over the surface to remove any extra drywall. If the damage is not totally covered in 1 application, reapply the drywall compound until all damaged areas are covered.
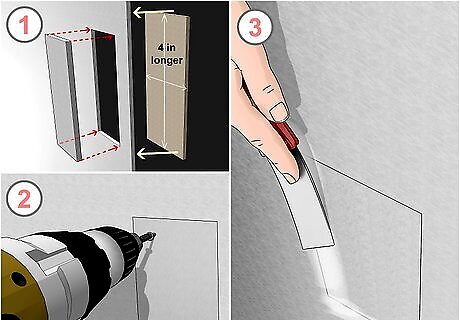
Use a new piece of drywall if you are repairing larger holes. Cut out the drywall around the hole so you can patch it. Add backer boards about 4 inches (10 cm) longer than the size of the hole. Make sure your repair drywall is the same thickness as your original drywall, and cut it to the size of the hole. Place your drywall patch inside the same hole, and screw it into the backing boards and the wall. Your large hole is now patched! Check for wires before you add your drywall! Use a ruler or measuring tape to size your hole. You can screw in your drywall with a drill or screwdriver. Place your screws about 6 inches (15 cm) apart from each other.
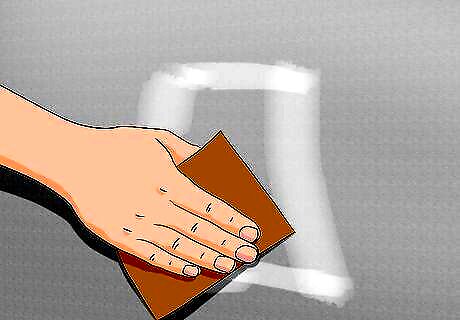
Sand over your wall again to even out drywall layers. You can use a fine grit sanding sponge or 100 to 120 grit sand paper. This will blend the area you just repaired into the existing drywall, so you have an even, smooth surface to add your texture.
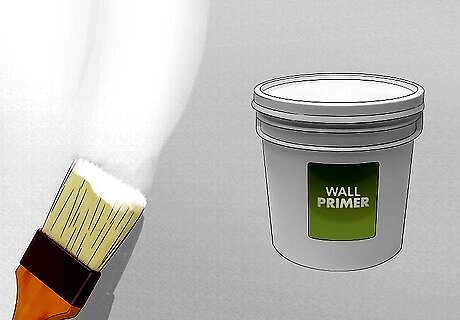
Paint on wall primer before you add your texture. Primer gives the drywall texture something to grip onto and helps it consistently dry. You can apply a light, even layer of wall primer after you sand it but before you repair the drywall. Allow the primer to dry for 24 hours. You can purchase wall primer from home supply stores in the paint aisle. If you didn’t use primer on your first drywall application, you don’t need to use it to repair your drywall.
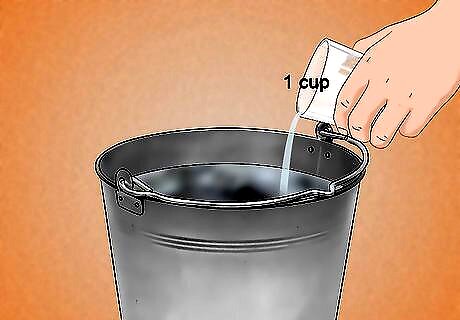
Water down your drywall mixture when you are ready to repair texture. Thinner consistencies allows the drywall mud to flow smoothly across the walls, whether you’re using hand tools or a sprayer. Add 1 cup (240 mL) of water to your mix until you’ve created a thin, liquidy batter. The amount you water down will depend on the effect you are trying to create, so some experimentation may be needed. Be careful not to add too much water to your mix. If your mixture is watered down too much, it will be difficult to spread across the walls. Aim for a thin mixture resembling runny pancake batter. If your mix is too thick, apply another part of drywall mix to thicken it up.
Identifying Your Drywall Texture
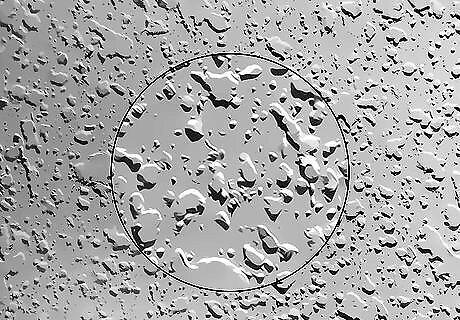
Identify the skip trowel texture if you see small circles across a smooth surface. Skip trowel refers to a variety of textures made by applying very thin layers of drywall at an angle.
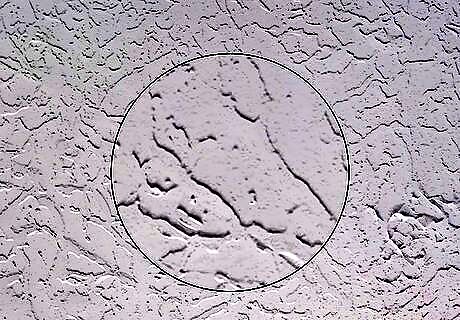
Look for the adobe-style, subtle texture if you have a Santa Fe texture. This texture is built with two, thin layers to create a low-profile look. This style is mainly popular in: Arizona New Mexico Texas California Nevada.
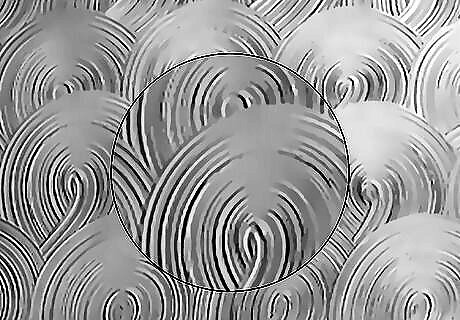
Learn to recognize the circular pattern of a swirl drywall texture. This texture is made by moving a knife in circular motions, creating a collection of semi-circles across the wall or ceiling.
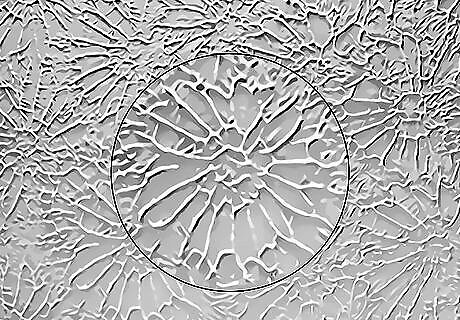
Familiarize with the floral shape of the rosebud drywall texture. It is made by applying very thin layers of drywall and stamping the drywall with a brush. This texture is popular because it is easy to apply and creates a fun texture.
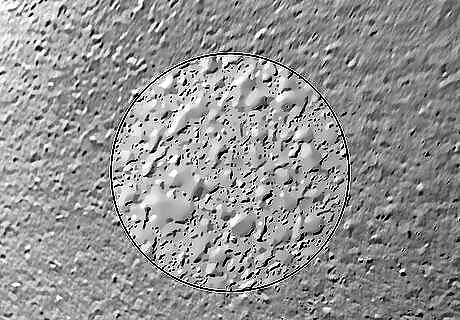
Look for a dimpled surface pattern if you have orange peel texture. Your walls will look just like its name, resembling the slightly textured yet smooth surface. Orange peel drywall is a very popular texture because it provides durability.
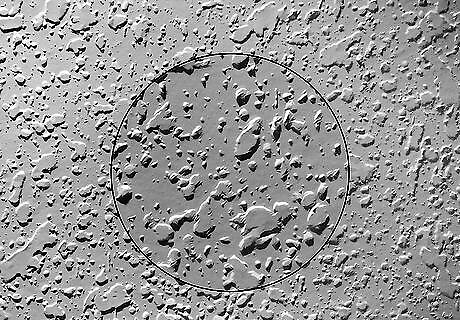
Recognize the splatter knockdown texture by its small spatters. The splatter knockdown texture is created by spraying layers of drywall and using a knife to smooth down some of the paint globs.
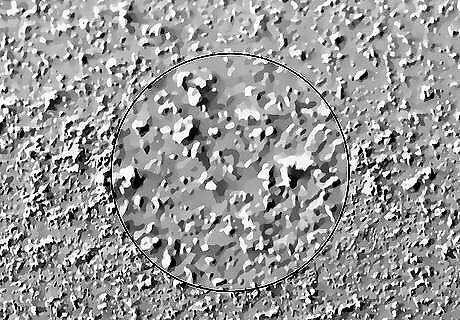
Look for thick, puffy textures if you have popcorn texture. This texture is also very popular, though it has a unique appearance based on what is added to the drywall mix. It creates a raised, puffy appearance on the walls. This used to be popular in the 1970s-1990s and is not well received in modern homes.
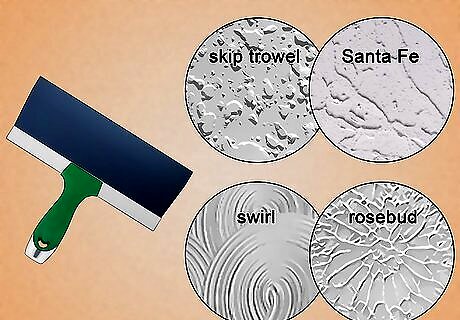
Use hand tools to repair textures like skip trowel, Santa Fe, swirl, and rosebud. These textures are created using drywall knives or brushes, and are relatively easy to complete.
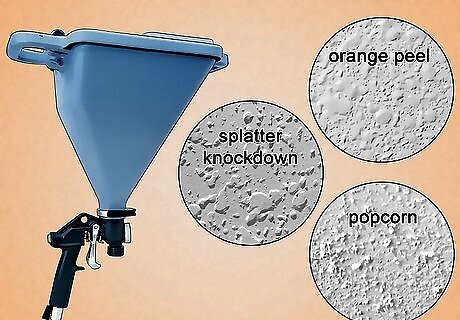
Use a spray hopper to repair orange peel, splatter knockdown, or popcorn drywall textures. These textures will require some equipment to spray on the texture.
Using Hand Tools
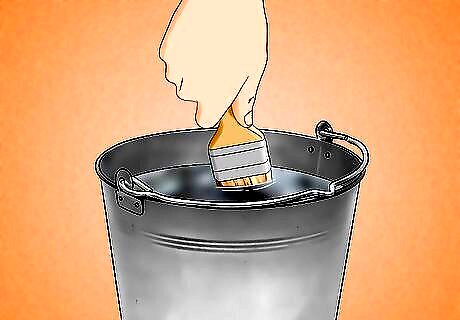
Dip a paintbrush or drywall knife into your drywall mix. Dunk your brush 2–3 inches (5.1–7.6 cm) into the paint, and wipe off any extra drywall mix. Your brush or knife should be thoroughly saturated but not with too much mix.
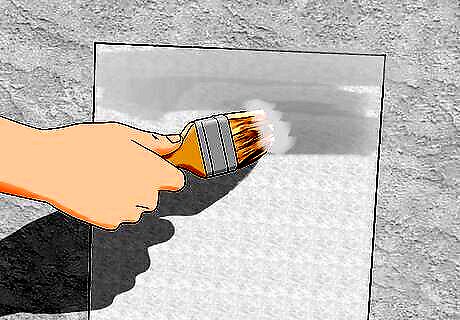
Apply a light, even layer by wiping your brush across the repair area. This will create your first layer of textured drywall. You want an even, smooth layer across the repair area If there is any extra drywall mix, wipe it away with your brush or knife.
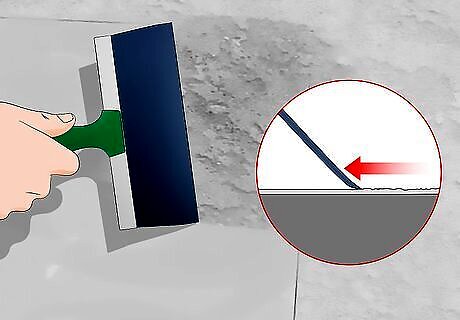
Create your original texture with your brush or knife. You are looking to repair the existing texture you created initially, so mimic the same application process you first made. Remember to dip your brush back into your drywall mixture as needed. For the skip trowel texture, angle your knife when you apply the drywall so the drywall will skill across the surface and leave behind a texture. For the Santa Fe texture, apply 2 smooth layers with a rounded knife. When you apply the top layer, let some of the bottom layer show through to create this texture. For a swirl texture, move your brush in circular motions, either clockwise or counter-clockwise. You should match your motions to the directions of the circles you created the first time. For the rosebud texture, apply 1 thin layer of drywall mix with your knife, and then take a soft bristled brush and stamp it onto your wall. The spread bristles will create flower-like patterns.
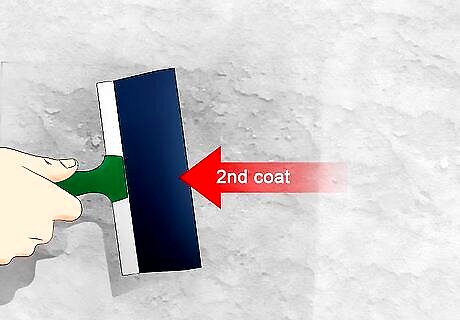
Apply another layer of drywall mixture to thicken up your texture. If your drywall texture is not thick enough, apply another layer using the technique of your choice to add depth.
Wait 24 hours for your drywall to dry. Smaller areas may take less time to dry, though waiting 1 full day ensures your drywall is completely dry.
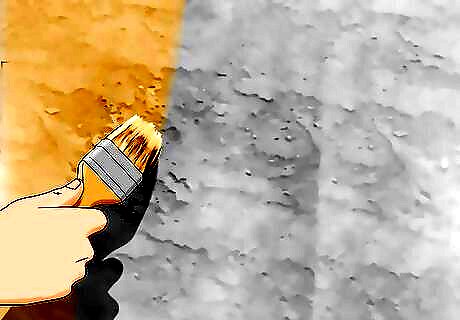
Finish your textured drywall with a layer of paint if you used it initially. Paint over your textured drywall once it dries to match the color of your walls. Apply 1 or 2 coats, as needed.
Using a Hand-Held Spray Hopper
Rent or purchase a spray hopper from a home repair store. You can rent these by the hour, by the day, or per week.[Image:Repair Textured Drywall Step 25.jpg|center]]
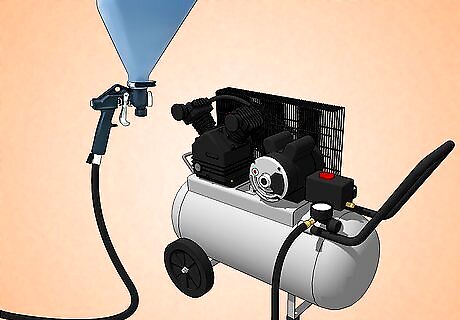
Attach your spray gun to an air compressor. The air compressor will make your drywall mixture spray out of the spray nozzle, so connect it to the gun. Read the user manual for detailed instructions. It should easily fit into the back of the spray gun.
Fill the hopper with your drywall mixture. You can pour the drywall mixture directly into the hopper. The amount doesn’t have to be exact, though it is helpful to fill it close to the top for a large area.[Image:Repair Textured Drywall Step 27.jpg|center]] For smaller repairs, just dump in a little bit.
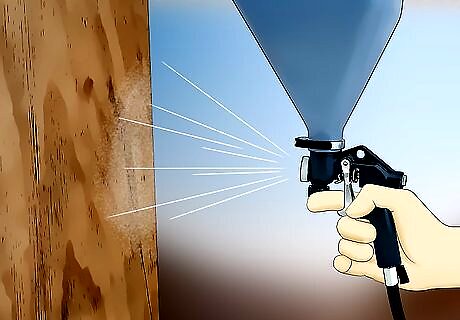
Test your air pressure and aperture width to experiment with effects. You want your air pressure to be around 25 to 45 PSI. You can test this by spraying onto a scrap of wood, or a piece of cardboard. When you have achieved the look you want, make a note of what PSI and aperture you used. Lower pressure will not spray the drywall mixture evenly, and higher pressure will make it hard to control the amount sprayed. A large aperture will create large blobs, and a small aperture will create fine texture. You can adjust this based on the look you are created. For example, you may want a small aperture for creating the “orange peel” look.
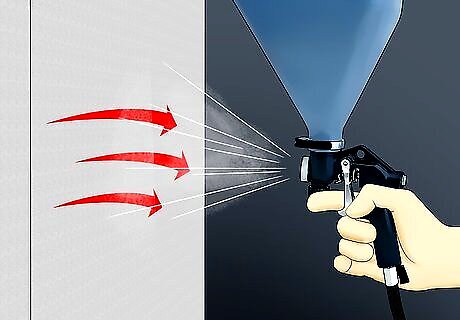
Spray a thin, even layer of drywall mix over top the repair area. Hold in the trigger to release the drywall, and move your sprayer in a wide, sweeping motion. You want to use a light touch and go back over with multiple layers, rather than applying too think of a layer. If you pause too long in one spot, you will create heavy deposits of drywall. You can spray horizontally, from left to right, or vertically, from top to bottom, based on the location of your drywall repair.
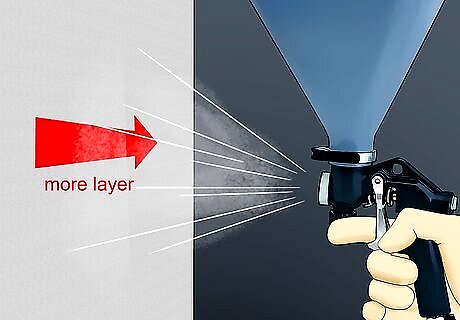
Add more layers of drywall based on your intended texture. Keep in mind that you are trying to apply your texture as uniform as you can. Create an “orange peel” texture by gradually building up layers to create a splotchy appearance. Make the “Splatter Knockdown” texture by using a spray gun with two tubes rather than just one. This will apply more drywall at once to build up the texture. Then, use a drywall knife to “knock down” the drywall once it has set lightly. Add styrofoam to your drywall mud mixture to create a popcorn texture. Spray 1 thick, even layer using your spray hopper.
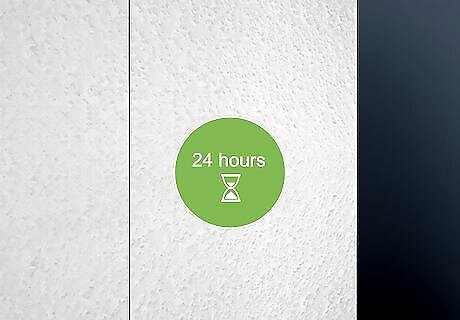
Let your drywall dry for at least 24 hours. After 24 hours, your drywall should be thoroughly dry and ready for a coat of paint.
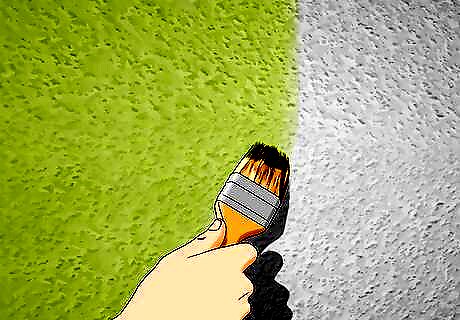
Add a fresh coat of paint to finish your drywall if applicable. Paint over your textured drywall to match the color of your walls. Apply 1 or 2 coats, as needed.



Comments
0 comment