views
- Turn off the toilet's water supply and flush to empty the tank. Remove the flapper by unhooking the chain from the handle and popping the rubber tabs off the overflow tube.
- Get a new flapper that’s the same size as the old one. Hook the new flapper’s chain to the handle and attach the tabs to the overflow tube’s pegs.
- Turn your water supply back on and flush your toilet to check the seal on the flapper. If the water stops running, then your repairs are finished.
Removing the Old Flapper
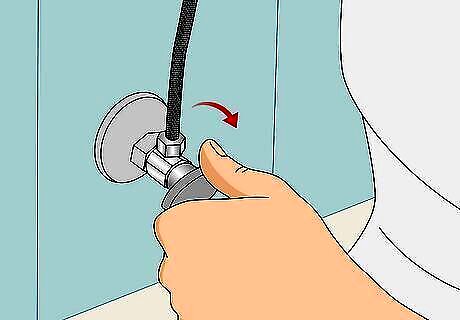
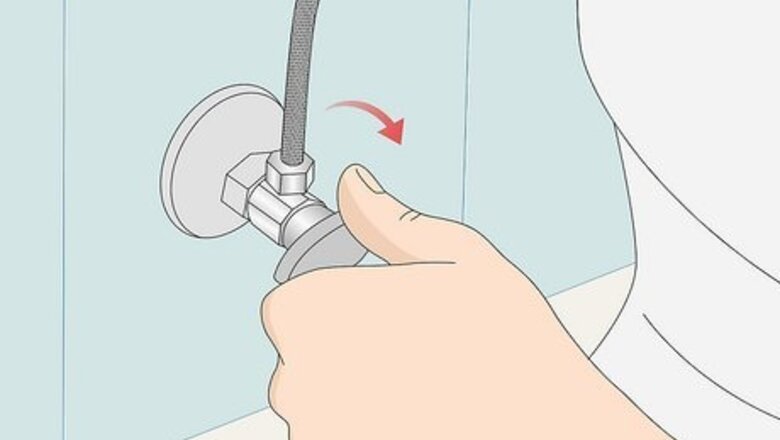
Turn off the water to your toilet. Locate the metal shutoff valve on the lower part of the wall behind or beside the toilet. Turn the dial clockwise until it stops moving to completely turn off the water so the toilet tank doesn’t refill while you’re working. If the valve does not turn by hand, spray it with a lubricant like WD-40 and let it sit for 5 minutes. Try twisting the valve back and forth to loosen it. Just avoid using a pair of pliers since this could damage the valve and cause a water leak. You may still hear a slight trickling sound after shutting off the water. This is just the stored water escaping from the tank, not fresh water being pumped in. If you’re unable to find a shutoff valve in your bathroom, you may have to disable the water to the house using a supply valve in a basement or utility room.
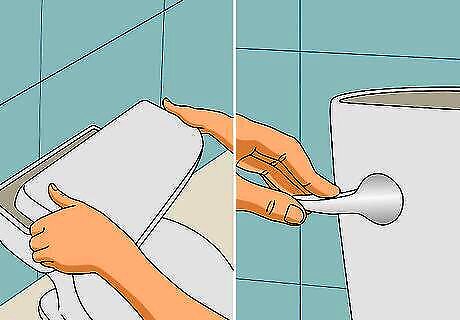
Flush your toilet to empty the tank. Lift the lid off of your toilet tank and carefully set it aside on a towel. Then, flush the toilet and hold down the handle until all the water drains out. That way, you can work unobstructed without getting wet. Watch the flapper as you flush the toilet. A functioning flapper will raise and lower smoothly and settle back over the flush valve without creating gaps. If it doesn’t completely close over the tank valve, you may be able to fix the flapper by lengthening the chain attached to it.
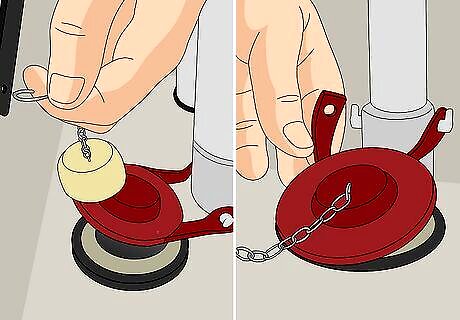
Disconnect the old flapper from the tank. First, locate the chain connecting the flapper to the toilet’s handle. Unclip the flapper’s chain from the handle lever near the top of the tank. Then, disconnect the flapper from the vertical overflow tube by pulling the rubber tabs off of the pegs. When you disconnect the chain, make note of which link was hooked to the handle. Then when you install the new flapper, you’ll know where to connect the new chain to the handle. Check for any buildup or scale around the valve after removing the flapper. Clean your toilet tank with vinegar to break up the deposits because they may cause the flapper to leak.
Installing the New Flapper
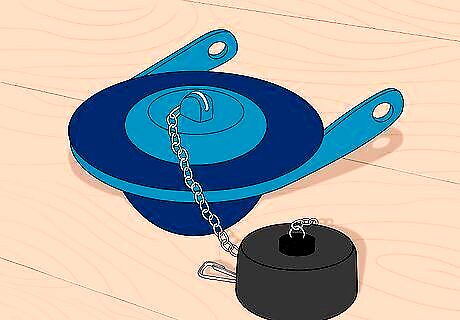
Purchase a new flapper matching the size of the old one. Bring the old flapper with you when shopping for a new one to ensure you get one that’s the same style and size. If you’re shopping for flapper online, measure the diameter to ensure you get the right size. Look for your toilet’s model number stamped on the inside of the tank. Search for a flapper that’s compatible with the model number to ensure a perfect fit.
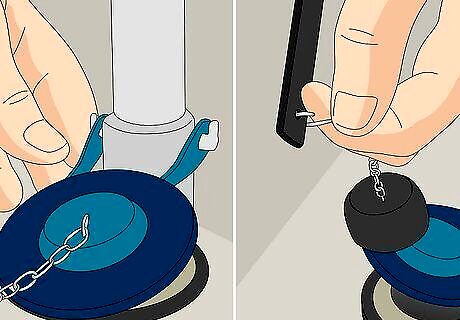
Connect the new flapper to the flush valve and handle. Set the flapper over the valve opening at the bottom of the tank. Slide the tabs on either side of the rubber seal over the pegs on the valve, and then clip the lift chain to the lower end of the toilet handle lever. Lower the flapper to confirm that it sits squarely over the flush valve and makes a tight seal. Double-check that the flapper is secure on the valve and handle so it doesn’t accidentally come loose after a few flushes.
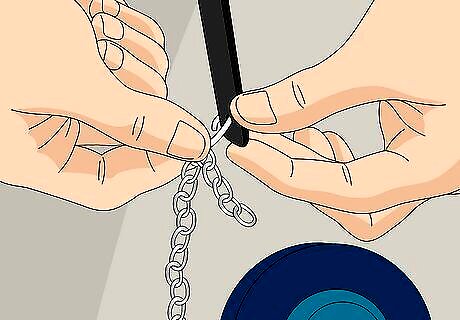
Adjust the chain length so the flapper opens and closes easily. Leave enough tension in the chain that the flapper easily lifts up when you flush the toilet, but not so much that it doesn’t seal completely. Give the handle a push and watch the flapper to see if it opens completely. To open the flapper wider, shorten the chain. If the flapper stays open, then lengthen the chain. A good rule of thumb is that the ring on the end of the chain should touch or hover just above the bottom of the tank. Avoid letting the chain have so much slack that it gets pulled under the flapper when you flush the toilet.
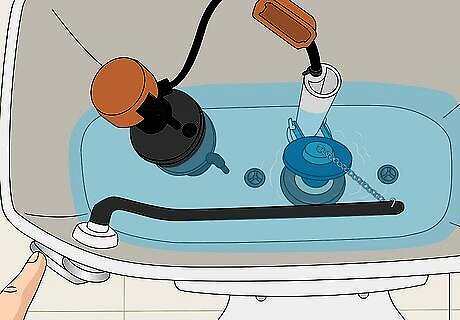
Turn the water back on and test out the new flapper. Turn the water shutoff valve on the wall counterclockwise to restore the water and refill the tank. Wait a few moments for the water level to rise well above the flush valve, then press the handle. The toilet should flush immediately and refill the tank. Listen for the water to stop running to make sure the flapper creates a watertight seal. If the flapper works well, then put the lid back on the tank to finish your repairs. If the water still runs after replacing the flapper, you may need to fix the fill valve or float instead.
Maintaining a Flapper
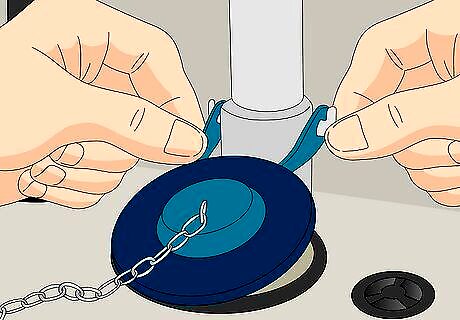
Replace your toilet flapper at the first sign of a leak. As soon as you notice your toilet is running, check the flapper and resolve the issue so you don’t have an expensive water bill. Some tell-tale signs of a failing flapper are a soft hissing sound as water refills the tank, low flushing power, or rippling water in the bowl. You may also have to jiggle the handle to get the toilet to stop running after flushing. Toilet flappers usually last around 2-3 years before it’s time to replace them.
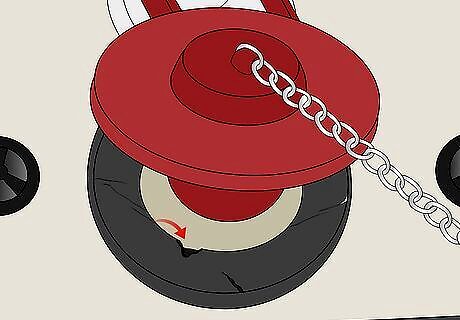
Replace the flush valve seal if it appears damaged. If your flapper isn’t causing the issue, look at the rubber ring around the flush valve on the bottom of the tank. If your valve seal looks worn, split, or cracked, pull it out. Then, put a new seal that’s the same size onto the valve. Reinstall the flapper and test your toilet again.
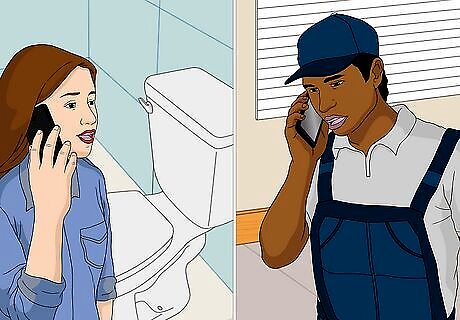
Hire a professional plumber for difficult repairs. If you’ve done everything you know to do to correct a slow leak and you’re still not sure what’s causing the problem, call in a plumber. They’ll help diagnose the issue and make any repairs that you’re not able to do on your own. Just try to take care of the problem early so you don’t have to worry about more extensive and costly repairs in the future.


Comments
0 comment