
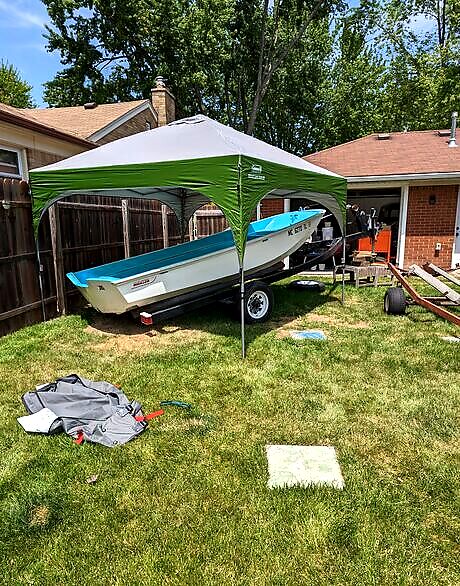
Assessing the waterlogged foam
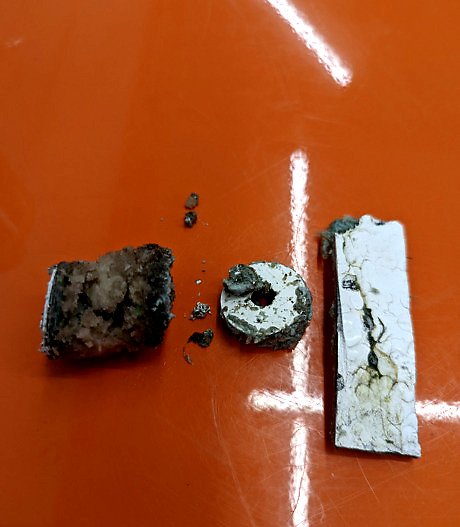
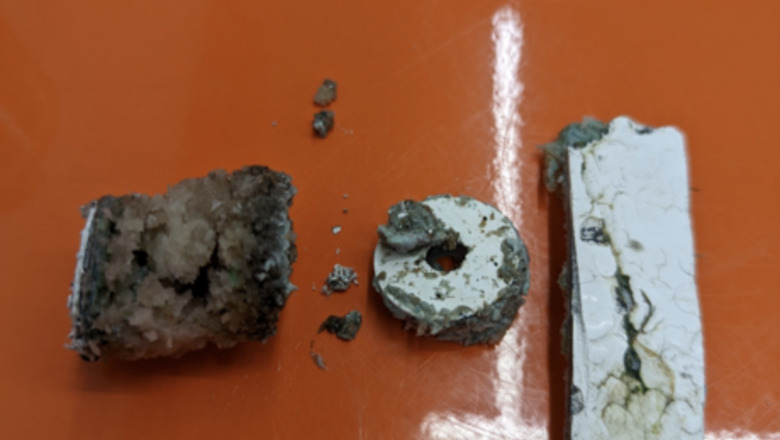
Drill holes in hull starting rearward at transom and work forward, view foam core samples and note if it is wet.
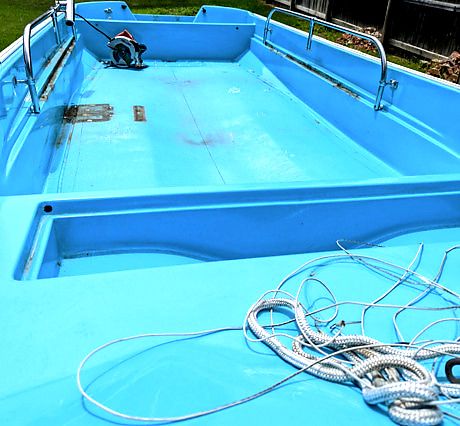
Plan deck removal by drawing guidelines to follow with a circular saw. Draw guidelines a few inches inward, stay away from the edge of the hull corners.
Preparing deck and removing foam
Using a circular saw, cut the decking along the line that was drawn in the previous section
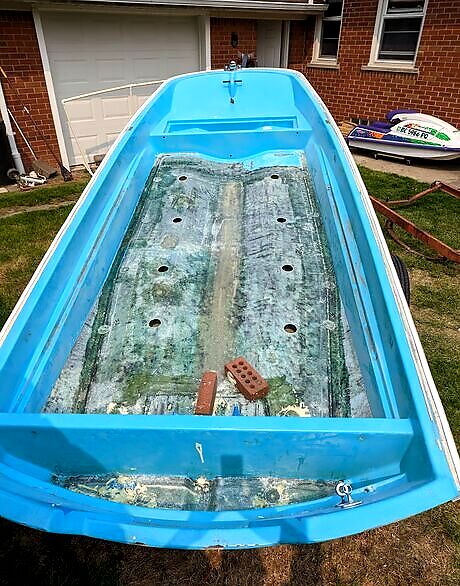
Remove fiberglass decking using a combination of pry-bars to free the deck from the top layer of foam.
Take extra caution while removing the top deck, leave the decking standoffs in place. They will be used during the decking installation.
Removal waterlogged foam using a pry-bar and saw as needed. You will need to carve out old foam that is partially dry. Wet foam can easily be broken into smaller pieces and pulled out by hand.
Gather old foam and place in garbage bags for disposal.

Vacuum hull to remove remaining foam.
Reattaching the decking
Prepare previously removed decking by grinding gelcoat along the perimeter to expose bare substrate.
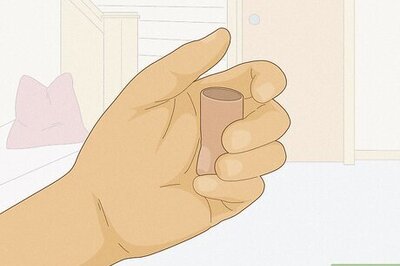
Cut 2-4” (50-100 mm) wide 1708 fiberglass strips for perimeter adhesion/patching
Wipe deck patch surface with acetone and a rag.
Mix epoxy resin by following product instructions.
Install fiberglass chop strand mat (CSM) on top of hull standoffs and wet with resin.
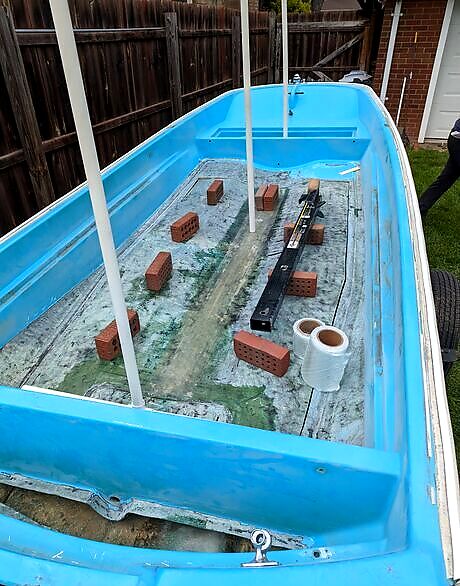
Insert decking back into the boat hull.
Lay blocks of wood or bricks on decking on top of hull standoffs while the epoxy resin cures.
Wet the perimeter of the decking on the installed deck piece and boat hull with resin.
Lay fiberglass 1708 strips in place and apply epoxy resin to the new fiberglass strips.
Dab resin into fiberglass sheets with a chip brush.
Roll air bubbles out of resin using a resin roller.
Ensure fiberglass decking patches have fully cured.
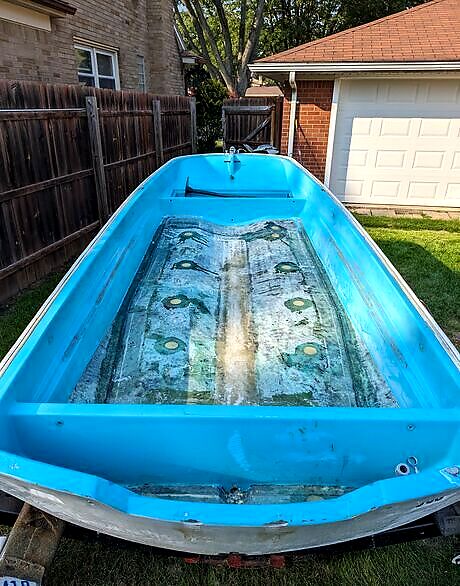
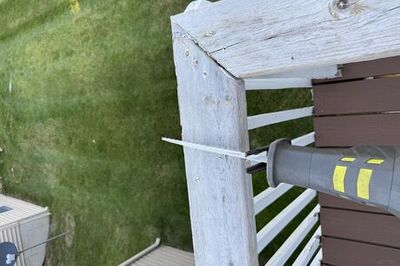
Drill foam application holes about 18” apart at the high points of the port and starboard sides using a drill with a hole-saw. Keep the patch cutouts.
Applying expanding foam
Tilt bow upwards at the highest safe angle possible. Use jack stands and make sure you can reach all application holes.

Mix 2-part expanding foam in small manageable batches following product directions.
Apply expanding foam to the rear-most hole. Pour the foam mixture from a bucket into the hull. As it is expanding, take care to not shake the boat as doing so will disrupt the expansion process.
Place the hole saw cutouts into hull as foam starts to come out of hole. Then, place a brick on the temporary patch.
Repeat this process until foam has been applied and completely fills the hull cavity, Work from stern to bow.
Remove bricks and temporary patches after curing is complete.
Cut 1708 fiberglass hole patches for each foam application hole.
Mix epoxy resin and apply to patches, then let cure
Completing fiberglass repairs
Grind all CSM/1708 fiberglass patches smooth using a angle grinder and sanding disc.
Remove all sanding dust and wipe the fiberglass with acetone impregnated rags. Make sure to wear gloves for this process.
Appy fairing compound by following product directions. Use marine rated fairing compound that is compatible with the epoxy resin gel.
Sand the fairing compound smooth using an orbital sander and a sanding block. Progressively work from 80 grit to 240 grit.
Coat the deck with gelcoat or boat paint. Note: This step is optional.


Comments
0 comment