views
X
Research source
Removing the Old Inlays
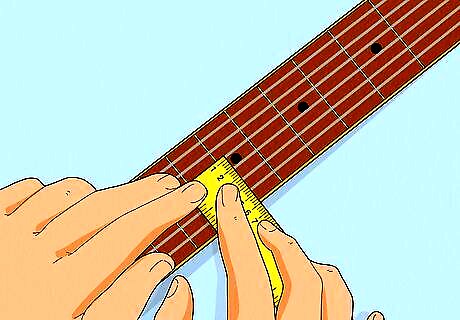
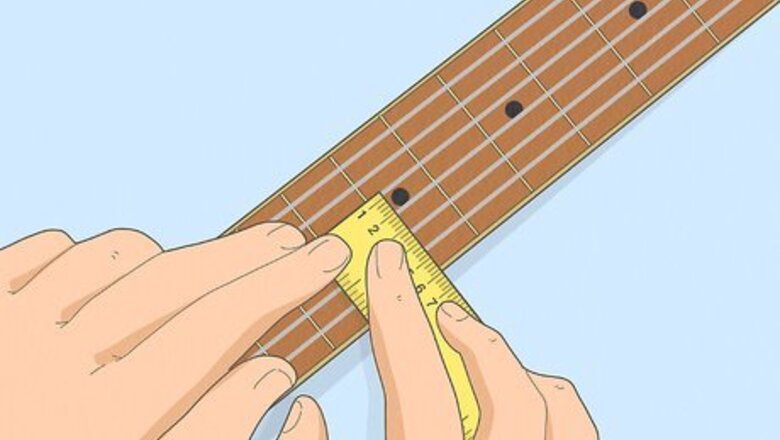
Measure your old inlays and order new ones that match. Use a ruler to get the basic dimensions of your old inlays. For standard dot inlays, measure from one side to the other to get the diameter. If you've got standard dot inlays, you likely won't have any issues with fit. However, if the guitar has trapezoid or block inlays, fit might be a problem. Some inlay manufacturers will list the types of guitars their inlays are designed to fit. Have the model name of your guitar and the year it was made handy.
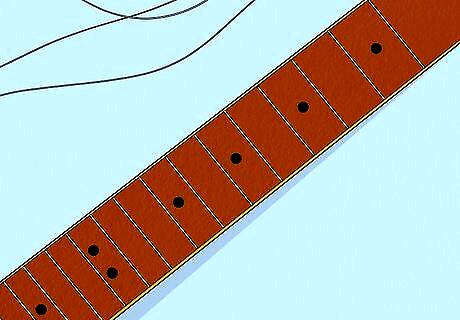
Take off all of the strings. Before you can take out the old inlays and replace them with new ones, you need open access to the fretboard of your guitar. Remove all the strings, even the ones that aren't near any of the inlays. This will give you a flat, open space to work. It's also a good idea to clamp your guitar neck to your workspace or brace it so that it won't move while you're working. If the neck shifts while you're drilling, for example, you could destroy it.
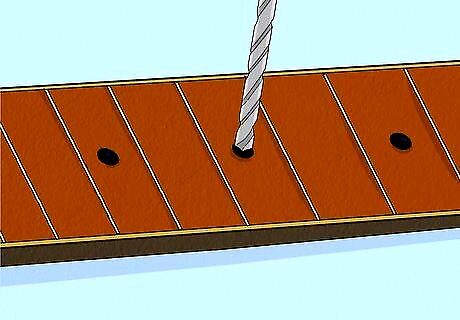
Drill a hole through the center of the old inlays. Choose a small drill bit (a 5 mm will typically work). Use your drill to carefully drill a hole in the center of the old inlay so you can pull it out without damaging your fretboard. Go slowly so you can feel when you've drilled through the plastic of the inlay and hit wood. Check frequently — although the depth varies depending on the style of your neck, you shouldn't have to drill very deeply. If you have a guitar with larger inlays (trapezoids, such as those on a Les Paul, or blocks), you might not be able to remove the old inlays using this method. However, it's still worth drilling through just to get a sense of how deep the inlay is and what's underneath it.
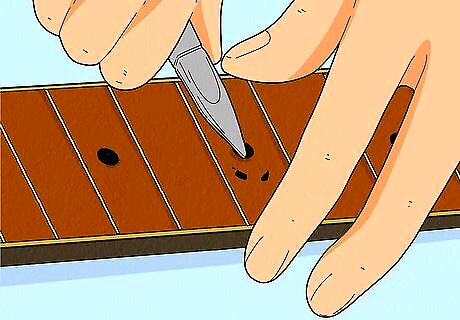
Remove the old inlays with a set of needle-nose pliers. Insert one end of the pliers into the hole you created in the middle of the old inlay, then press against the side of the inlay at an angle to pop it out. You may need to do this more than once if only part of the inlay pops out on the first try. Blow or lightly brush away any dust or debris from the old inlay so it doesn't damage your frets or your fretboard. Then repeat the process with all of the inlays on your fretboard. You can also spin your needle-nose pliers in the holes just to make sure they're thoroughly cleaned out and nothing from the old inlays has been left behind.
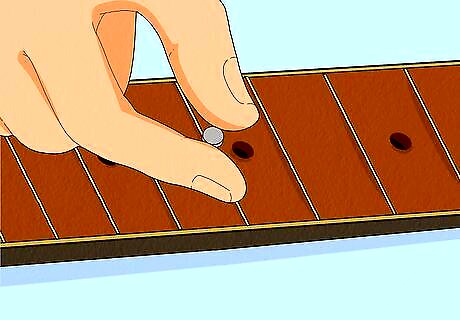
Measure the thickness of the old inlays if necessary. You don't necessarily have to do this step unless you notice that the old inlays are significantly thicker than the new ones. Figure out the difference so you can determine what you need to add to the new inlays to get them to fit properly and not sink deep into the hole. A ruler gives you a precise measurement. Typically, though, you don't need that much detail. Just compare the old and new inlays. If the old ones are a lot thicker, you might add a shim made of thin, light wood to the bottom of the new inlay and see if that gets them closer to the same thickness.
Fitting New Inlays
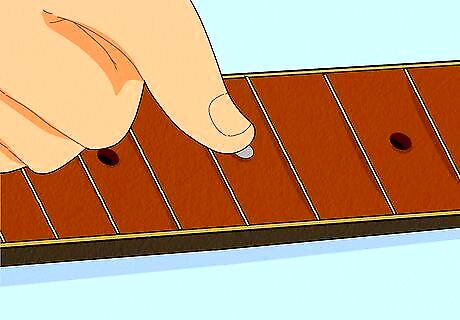
Press the new inlays into the holes to make sure they fit. Often, you can simply pop the new inlays right into the holes. If they're a little tight, use your drill bit to slightly enlarge the hole so the inlays will fit. Turn the drill bit by hand — the drill itself will take away too much too quickly and could damage your fretboard. Check the inlay frequently to make sure you don't take away too much of the hole. Just do a couple of turns with the drill bit, then see if the inlay fits. If it still doesn't fit, do another couple of turns and try again.
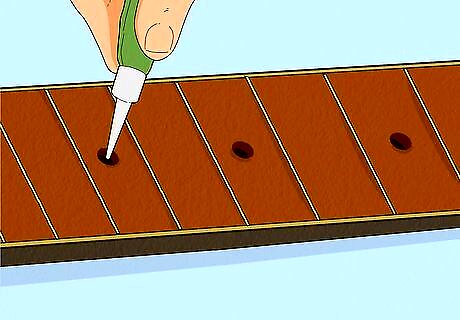
Put a drop of superglue in the hole and push the new inlay into place. A small drop of super glue is all you need to hold the inlay in place. If you use too much, it will ooze out the sides of the inlay and could damage your fretboard. Set the new inlay in place, letting it rise a little over the top of the fretboard. If you push it in too deep, below the level of the fretboard, it won't look right. If the fit of the inlay in the hole is particularly snug, you might need to use the end of the handle of your needle-nose pliers to gently push it in. Once you've got the first inlay secured, repeat the process with each of the other inlays until you're done.
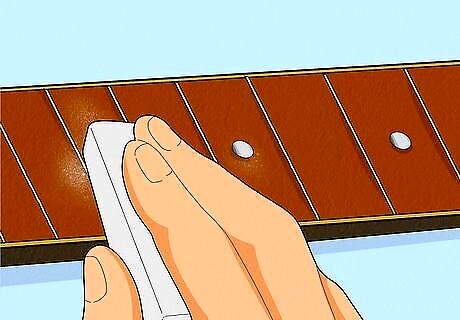
File down the tops so they're even with the fretboard. Ideally, your inlays will be at the same level as your fretboard. By gently sanding them with a nail file or sandpaper, you can get them at the same level so your fretboard is smooth. A block file for nails with fine sandpaper works well to sand down the tops without damaging the fretboard itself. Take care as you sand down the tops of the inlays not to sand the fretboard itself in the process. Use a light touch. If you're using regular sandpaper, use the finest grit possible, 600-grit extra fine or even finer.
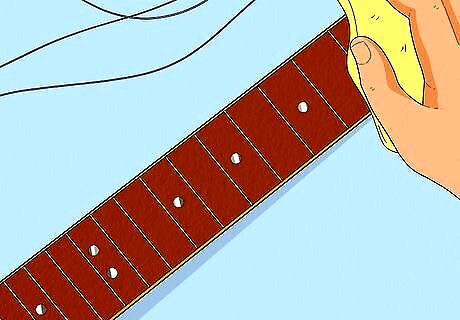
Clean and polish the fretboard. After you're done sanding, gently wipe all the dust off your fretboard. Take care that there isn't any dust gathered along the edges of the frets. Then, rub in a fretboard oil to give it a like-new shine. You can buy oil specifically formulated for fretboards at guitar shops, but any wood or furniture polish also works just as well.


Comments
0 comment