views
Removing the Old Pads
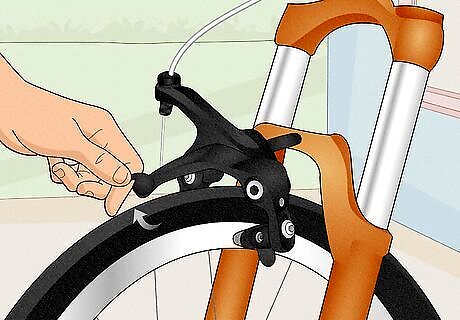
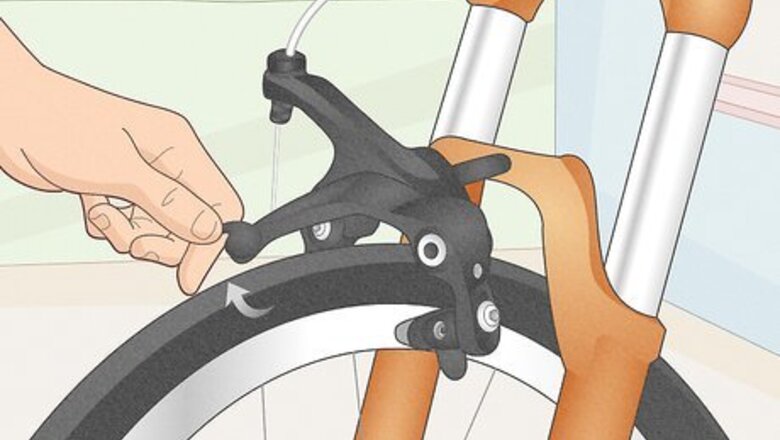
Hit the quick-release lever on the brake calipers to widen them. Most road bikes have a quick-release lever on the brakes for easy changing. Look for a lever on each brake housing. Push this lever up to open the brakes and make them easier to work on. If the bike doesn’t have a quick-release, look on the side of the calipers for an adjustment knob. Turn the knob counterclockwise to widen the brake pads as much as you can. Also hit the quick-release lever if you remove the bike wheel so there’s room to take the wheel off.
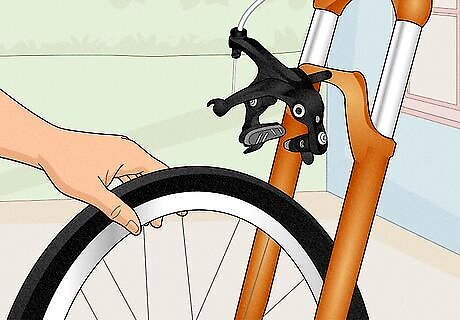
Take off the wheel if you don’t have enough room to work on the brakes. Road bikes are usually designed so you don’t have to take the whole wheel off to change the brake pads. If you hit the quick-release and the pads are still too close to the wheel frame, or there is no quick-release lever, then you’ll have to remove the wheel. Most wheels have a quick-release lever on the axle, so push this up to release the wheel. Then pop the wheel out of the axle. If the bike doesn’t have a quick-release for the wheel, then use a wrench and unscrew the nut on the axle. Then slide the bolt out and remove the wheel.
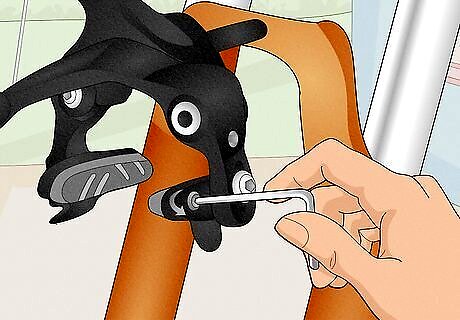
Unscrew the retaining screw on the brake shoe to loosen the brake pad. The brake shoe is the platform that the pad attaches to, and it has 2 screws. The larger one holds the brake shoe in place, and the smaller one secures the brake pad. Take an Allen key and turn the smaller, retaining screw counterclockwise to loosen it. You can remove the screw entirely, or unscrew it about 75% to free the brake pad. The size of the Allen key might vary, but 2 mm is a common size for bike brakes. If you do remove the screw, keep track of it so you don’t lose it. You’ll need it to put the new brake pad on.
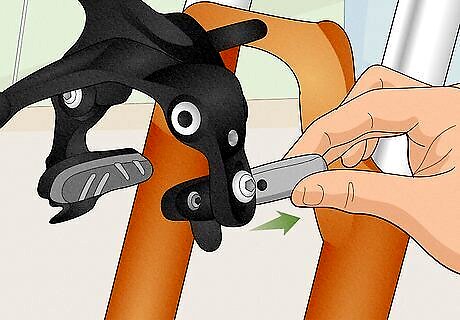
Slide the brake pad backwards out of the shoe. With the screw loosened, the brake pads will slide out of position. Push the pad from the front and pull it out through the back of the shoe. If the pad is stuck, try pulling it with a pair of pliers or pushing it with a screwdriver. If you still can’t get the pad out, then you might have to loosen the screw more or take it out entirely.
Installing New Pads
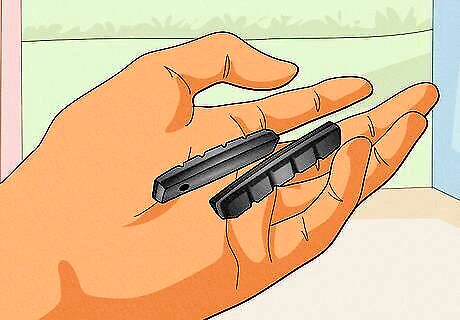
Get new brake pads made of a strong material. Generally, the size for bike brake pads is universal, so the main difference is which material you'll use. You have several choices, so pick the one that suits your needs. Cheaper bike pads are made of resin. These will work fine but wear out quickly. Metal brake pads tend to not stop the bike as well, but they last much longer and work just as well in wet or rainy weather. Ceramic brakes usually perform very well. However, their shape could warp over time. If you need any guidance, ask an employee at a bike shop for help.
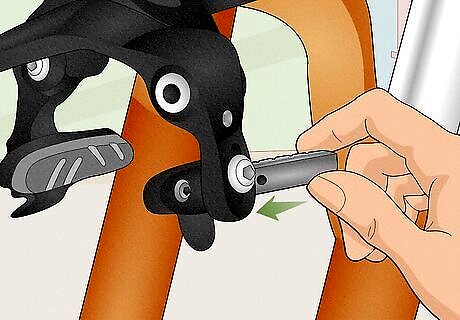
Point the new brake pad forward so it faces the right direction. Brake pads usually have an “R” or “L” on them to indicate which side of the bike they go on, as well as an arrow to show which direction is the front. Check for these markings and hold the brake pad so it’s facing the right direction. The brake pad should be parallel to the tire rim.
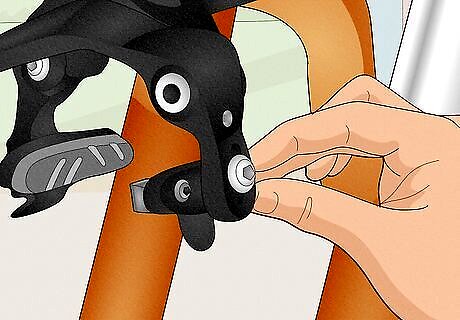
Slide the new pad into the caliper. Insert the pad into the back of the brake shoe and push it forward. Slide the pad until it’s completely in the shoe. You might hit some resistance as you insert the pad further. You can use pliers or a screwdriver to help get the pad in position. If you have a lot of trouble getting the pad into position, double check the pad markings to make sure it’s facing the right direction.
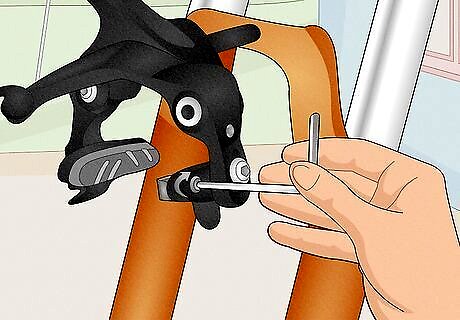
Tighten the retaining screw on the caliper. When the pad is all the way in, the retaining screw should go back in easily. Use the same Allen key and turn the screw clockwise to tighten it. Continue turning until the screw is all the way in. If the screw won’t go in all the way, you may not have slid the pad in enough. Try pushing it some more to get it into the right position.
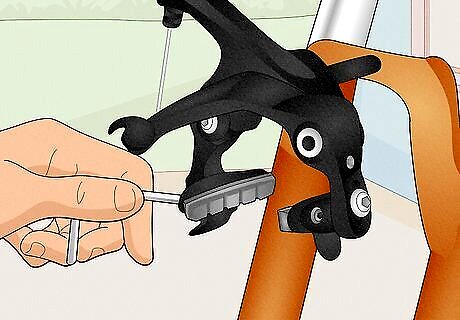
Repeat the process for the 3 other brake pads. Since bikes have 4 brake pads total, you’ll have to repeat this process 3 more times. The second brake pad is on the other side of the caliper, directly across from the first one you replaced. The other 2 are on the other wheel in the same spot. This should only take a few more minutes, so follow the same procedure to get your bike brakes up and running. If you had to remove the wheel, then you’ll have to also adjust the new brake pads.
Adjusting the Pads
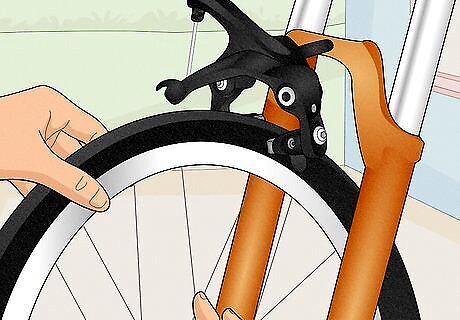
Put the wheel back on if you removed it. Take the bike wheel and sit it back into the axle. Then push down the quick-release lever to lock it back in place. If you don't close the calipers, your brakes may not work properly. If the bike doesn’t have a quick-release lever, then slide the bolt back into the axle and tighten the nut around it to lock the wheel in place. If you didn’t remove the wheel, you probably don’t have to adjust the brake pads. Be sure the wheel is seated all the way into the frame. Otherwise, your brakes won't line up properly.
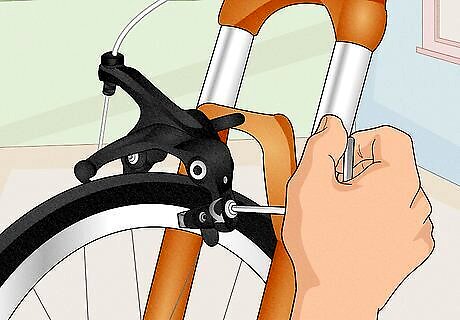
Release the brake shoes by loosening the larger retaining screw. The larger retaining screw secures the brake shoe. Unscrew it with an Allen key until the shoe loosens enough to move up and down. You’ll need a larger Allen key than the one you used to remove the brake pad. Test a few to make sure you have the right size. Don’t remove that screw completely or the brake shoe will fall off. If you also have to replace the brake shoes, you can undo this screw entirely to take the shoe off. Then screw the new shoe into this slot.
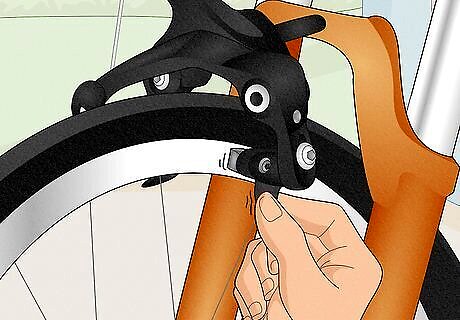
Slide the brake pads so they’re aligned over the wheel rim. With the brake shoe loose, you can slide it up and down. Adjust the shoe so the pad is aligned perfectly over the wheel rim, where it’s supposed to touch. Also make sure the shoe is straight and that no parts of it touch the bike tire. If the pad touches the tire, not only will the bike not stop properly, but the tire could pop. Make sure no part of the pad or shoe touches the tire at all, even when you're pressing the brakes down.
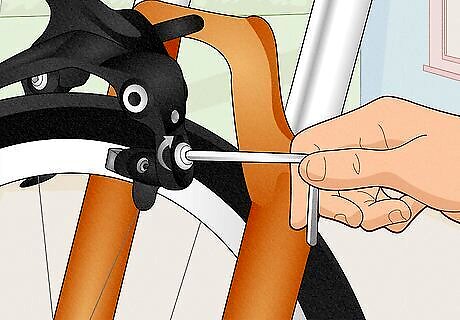
Tighten the retaining screw to lock the pads in place. Once the pad is in the right position, get your Allen key again. Tighten the screw by turning it clockwise. This locks the shoe in place.
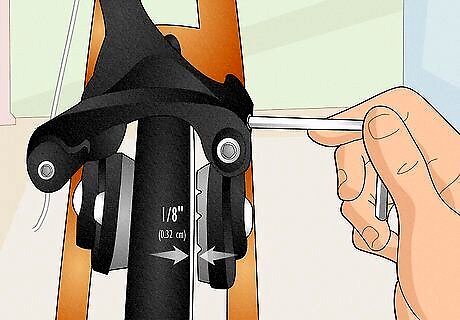
Turn the adjustment knob so the pads rest ⁄8 in (0.32 cm) from the rim. Look on the side of the brake calipers for a knob. This opens and closes the brake pads. Once you’ve adjusted both brake pads on the caliper, turn the knob clockwise to tighten them. Adjust them so they rest about ⁄8 in (0.32 cm) from the bike rim. This leaves enough space so the pads won’t grind, but it’s close enough so you can still stop well. This is a standard distance, but you can adjust this if you want more or less sensitivity on your brakes. It’s important to make sure the pads don’t touch the rim unless you’re pressing the brakes. Otherwise, the pads will grind and wear out quickly. If you hear any noise while the wheels are spinning, the pads may be touching the rim.
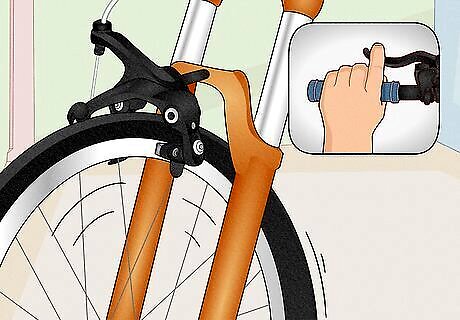
Test the brakes to make sure they stop the wheels. Replacing your brakes improperly can be dangerous, so always check your work when you're done. First go over all the screws you loosened and make sure they're nice and tight. Then lift up the front of the bike and spin the wheel. Hit the brake to make sure the wheel stops all the way. Do the same with the rear wheel to confirm that the brakes are working properly. Never try to ride the bike if the wheels aren't stopping properly. Take the bike to a specialist for repairs.


Comments
0 comment