

Noting What is Needed to Replace the Clutch

Be careful. Do not attempt to perform this task if you have absolutely no experience working with a car.
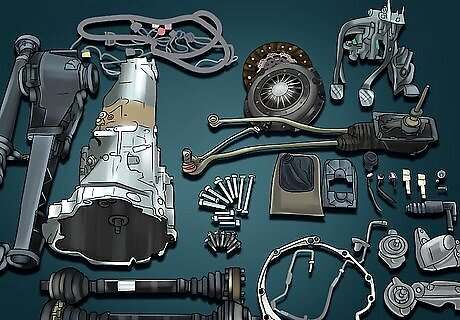
Have the right equipment and parts before you begin. There are few essential things needed to carry out the process. All of these are listed below under "Things You'll Need" and you must have them; otherwise, do not attempt this exercise.
Removing the Clutch
Disconnect the ground cable from the battery - 10mm.
Remove the driveshaft. You can ignore this step, as it's not necessary.
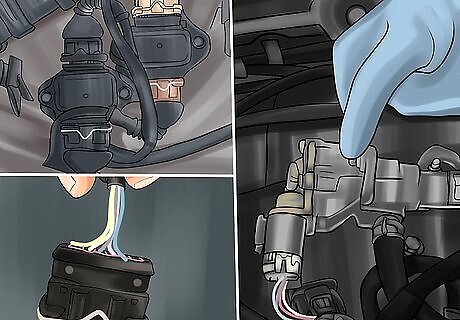
Remove the airbox. Disconnect the following: Disconnect the MAF connector. Disconnect the Power Output Stage connectors. Disconnect the Solenoid Valve for Wastegate Bypass Regulator Valve connector. Disconnect the EVAP canister purge regulator valve connector. Disconnect hoses. Pull the airbox out.
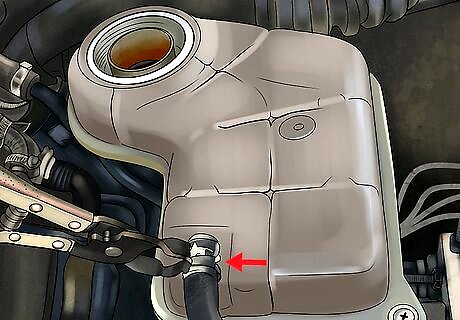
Remove the coolant tank and set aside. Remove three screws from the top (Phillips). Lift up and disconnect the sensor from the bottom (be careful). Remove the top coolant line and plug. Leaving the bottom hose (big hose) connected, rotate the tank around about 135 degrees and lay it down. Coolant tank sitting position and O2 sensor connectors.
Disconnect the second O2 sensor connector. This is located under the coolant tank (leftmost connector). Free the wiring from any ties.
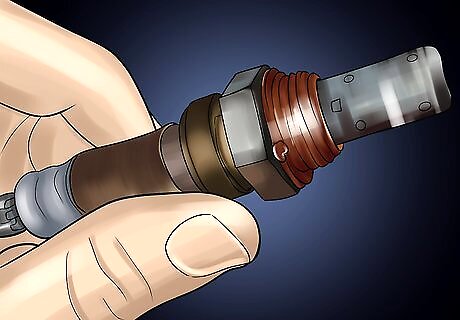
Remove the O2 sensors. The manual does not say to do this, but it was done in this tutorial. Trying to remove the cat is difficult enough without having to worry about breaking the O2 sensors too. Take a 22mm wrench and use a little elbow grease. You'll probably have to track down the connector for the primary O2 sensor, or you might possibly twist the wires enough to break them (you might notice the jacket/insulator opens up.)
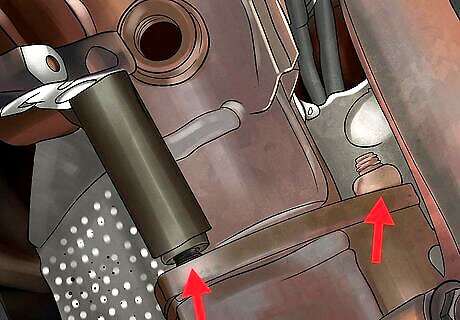
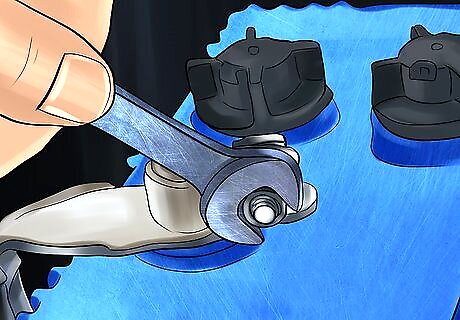
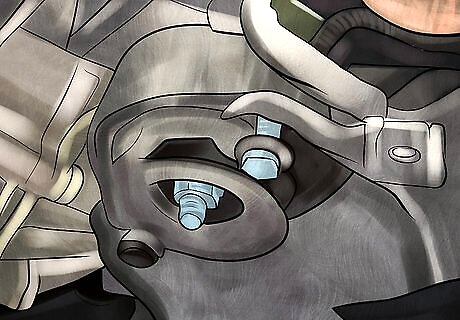
Remove the nuts from the cat-to-turbo connection. Three 17mm nuts. The shorty wrench will come in handy for the bottom nut. The nuts and O2 sensor have been removed.
Remove the trans-to-engine bolts that you can get to from above. There are three accessible from above (left, middle, and right),16mm.
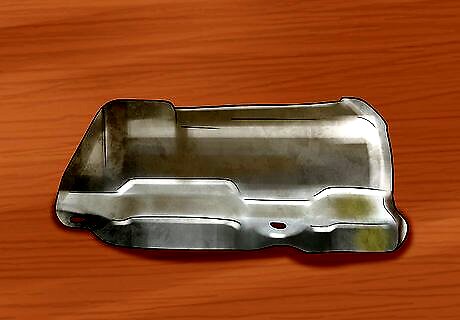
Remove the engine pan and cover from underneath. You'll find 10 screws: 3 front, 3 back, 2 in each wheel well.
Remove the bracket for engine pan/cover. This will be 2 bolts (13mm approx.).
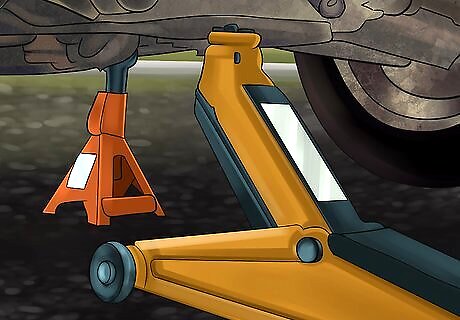
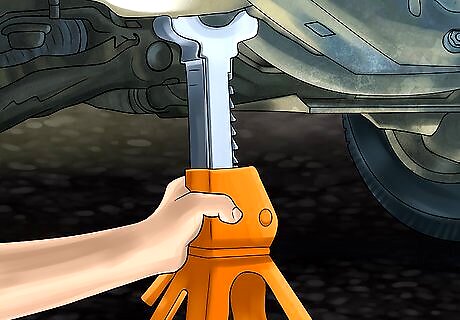
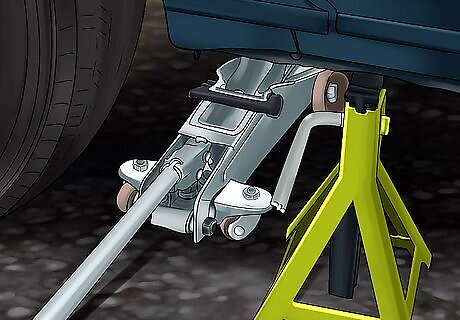
Jack the car up and put on the jack stands. Find a good place to put the jackstands, or you might end up with two slight dents in the floorboard of your car. Have the car up in the air.
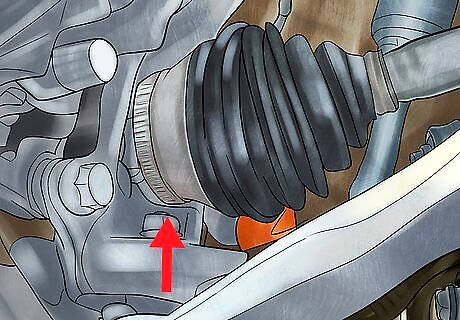
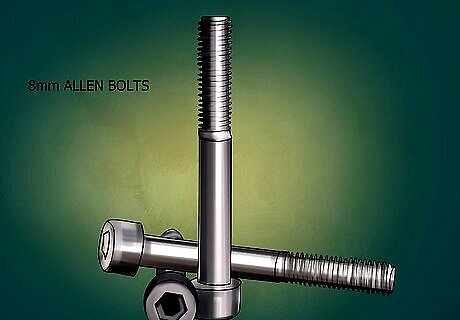
Remove the heatshield from the passenger side drive axle. Three 6mm Allen bolts, two accessible with an Allen socket (left and right) and the top bolt requires an Allen wrench.
Place slight pressure on the trans with a jack. Do this while the car is supported on jack stands.
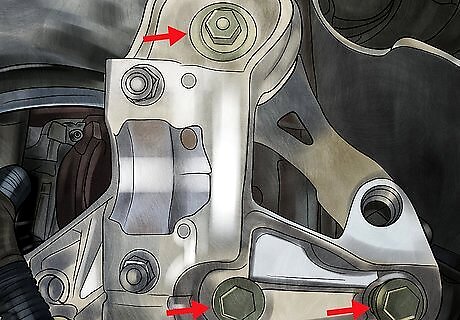
Unbolt the passenger side mount and support, leaving the mount connected to support. You'll find two 13mm bolts, and three 8mm, again, two accessible with an Allen socket (left and right) and the top bolt requires an Allen wrench. Also remove the spring mount from the downpipe. You can let the jack pressure off the trans now, it will be fine without.

Loosen the clamping sleeve on the downpipe-to-exhaust connection. You're supposed to be able to slide the clamping sleeves forward, but if you can't get it to budge, you may end up having to pull the downpipe out of it instead.
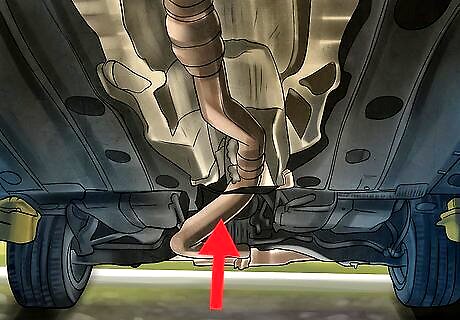
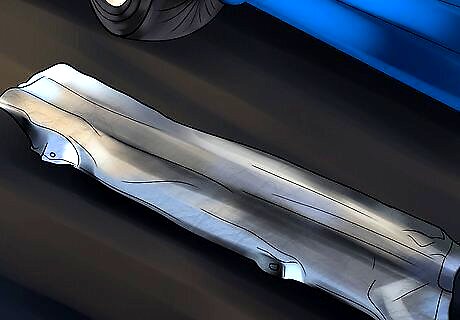
Remove the cat/downpipe by pulling it out from under the car. Don't make the mistake of trying to get it out from the top. Catalytic converter and downpipe.
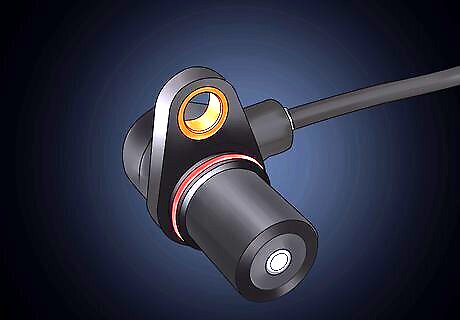
Remove the RPM sensor from the transmission. Your car may not have this. If it does, it will be located on the driver's side of the transmission, above the flywheel (about the two o'clock position if looking at the front of the trans).
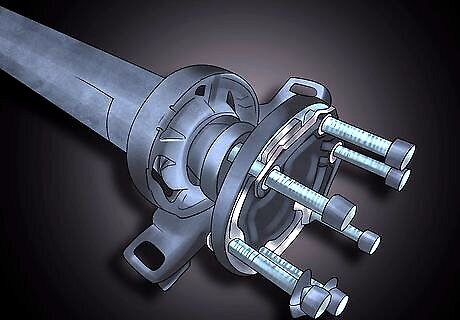
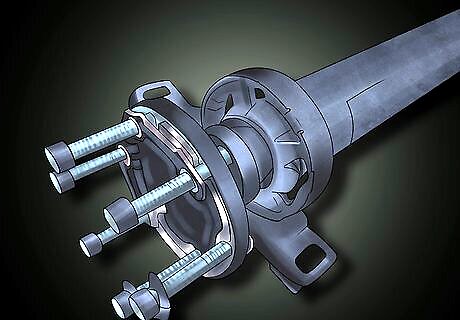
Disconnect the drive axles. (One of the "fun" parts of this repair.) The shafts are bolted in with six 12 point torx-head bolts. You could try a regular 6point T-40 torx bit to remove them, but it is highly recommended that you try to get the 12 point bit to reduce the chance of rounding one of these things off.
Disconnect the speed sensor and reverse light connectors on the driver's side of the trans. Make sure that no other connectors are attached.

Remove the starter, two 16mm bolts and one 6mm Allen bolt. The wires can stay connected. This can be done one of two ways: The long and painful way, or the short and painful way. Long way: Remove the bumper, remove the A/C belt, remove the A/C pump, remove the starter. Short way: Attempt to get at with a 6mm Allen bolt with an Allen wrench by maneuvering your hand and arm through the A/C lines. When finally out (wait until you have to put it back in), remove the two starter bolts, slide the starter forward and attempt to lay it aside somehow.Replace the Clutch for a 2001 Audi A4 Quattro Step 23.jpg
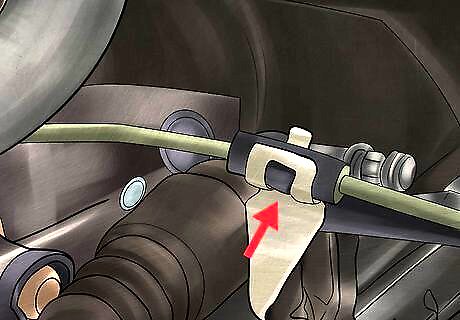
Disconnect the shift rod. You'll find one 10mm bolt.
Disconnect shift pivot rod. You'll find one 8mm (may be a 6mm) Allen bolt. Space is tight, requiring the use of an Allen wrench. When it's out to the point that the Allen wrench hits the trans tunnel, remove the Allen wrench and try turning the bolt or washer on the backside with your fingers.
Remove the heatshield for the driveshaft. Your car may not have this.
Remove the driveshaft from the trans. There will be six T-40 Torx bits, let it hang on the heat shield.
Remove the four engine-to-trans bolts on the bottom (all 16mm). There should be just two left holding it together afterwards.
Place the transmission jack under the trans. Put pressure on it.
Remove the driver's side trans mount-to-support bolt (8mm Allen bolt). Leave the support bolted to the trans.
Remove the last two engine-to-trans bolts.
Slide the trans and trans jack back. Slide them back just enough for the bell housing to clear the pressure plate.

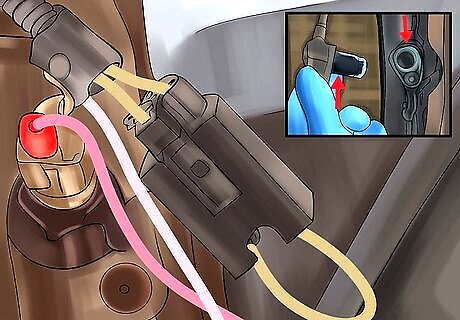
Lower the trans just enough to get access to the clutch slave cylinder. While lowering the trans, do not let the input shaft hit the pressure plate "fingers"! The clutch cylinder is held in with a 6mm Allen bolt, and will take a little bit of wiggling to get it out. Careful, it's made of plastic. Do not remove the line, and do not press the clutch pedal.
Make sure that all drive axles are clear of the trans and lower it. You might have to pull the trans off the jack to slide/drag it out from under the car, or you can just leave it under the car, and slide it out of the way.
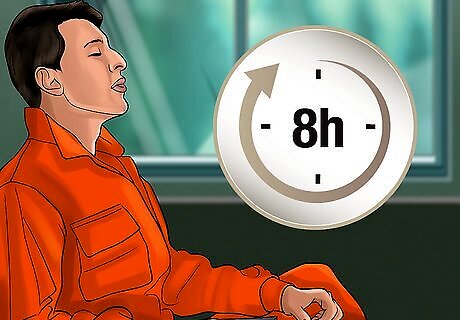
Take a break before proceeding to the next stage. So far, all of this has probably taken you about eight hours of work.
Fitting the New Clutch and Flywheel
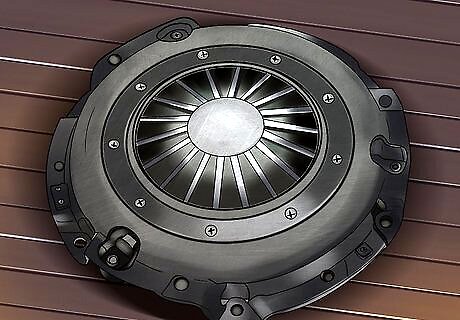
Remove the six 6mm Allen head bolts from the pressure plate and remove it and the clutch plate. A screwdriver might be needed to gently pry it off. Be careful, the pressure plate is the only thing holding the clutch plate in, and it will fall if you're not paying attention.
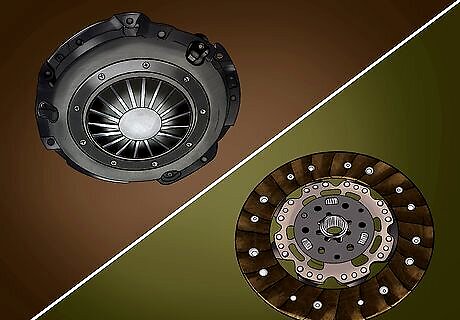
Bust out the impact wrench to loosen the six 17mm flywheel bolts. You probably don't need the impact, but you will spend a very long time trying to get the bolts loose without one. Install the clutch and flywheel. Look at the flywheel and you'll notice the bolt holes are irregular. The flywheel only goes on one way. When you have all 6 bolts in, torque them down. You could hold a screwdriver between a flywheel tooth and the block while tightening. The manual calls for 44 ft lbs + 90 degrees. The shorter bolts for the new flywheel probably don't require the 90 degree turn. Check with APR to be sure.
Put the clutch disk and pressure plate on. The clutch disk has to go in a certain way (the taller middle side goes towards the pressure plate) Start putting the bolts in, but don't tighten yet. You need to center the clutch disk in the pressure plate. Eyeball it if you don't have the alignment tool. Torque the bolts in stages in a triangular fashion when it's centered.


Comments
0 comment