

Setting Up Your Work Area
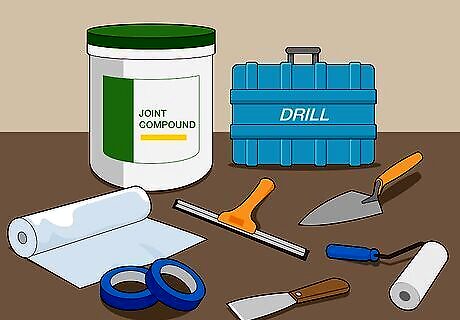
Gather your materials. Retexturing walls is a job that most DIYers can handle, but if you don't already have all the supplies you'll need, head to the hardware store. Make sure to get: Joint compound (also called taping compound or drywall mud). How much you'll need depends on how much wall area you need to cover. Painter's tape Plastic drop cloths An electric drill and mixing attachment A trowel A putty knife A texture brush or squeegee (optional) A paint roller (optional)
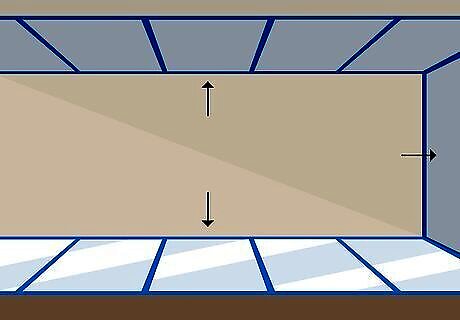
Protect surfaces you don't want to texture. If there is any trim (like crown molding or wainscoting) on the wall you're working with, cover its edges with painter's tape to keep the texturing materials from getting on it. If you do not plan to texture your ceilings, you should also cover the edges where the ceiling meets the wall. Cover the floor of the room in plastic drop cloths to make clean up easier. If there is any furniture in the room you are working in, remove it.

Clean and dry your walls. Drywall mud won't adhere properly if your walls are dirty. Take a clean towel, warm water and a gentle all-purpose clear, and wipe the walls down. Let them dry thoroughly before continuing.
Apply a primer. If you are applying drywall mud to an existing gloss or semi-gloss finish wall, it will adhere to the wall much better if you use a primer first. This will give the drywall mud something better to stick to. Apply a layer of primer, such as Kilz, before continuing.
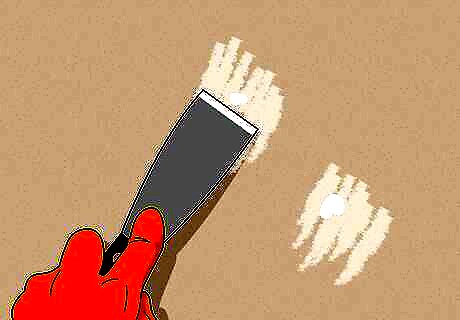
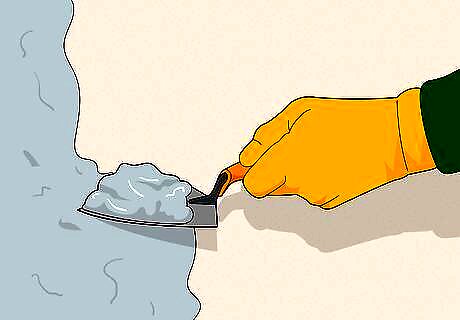
Fill in any uneven spots with joint compound. If there are any puncture marks, holes, dips, or other problem spots on your wall, smooth them out before retexturing. Dip a putty knife in joint compound, and smooth the compound directly onto the problem spot to fill it in. Scrape the putty knife over the putty at a 45 degree angle to smooth it out.
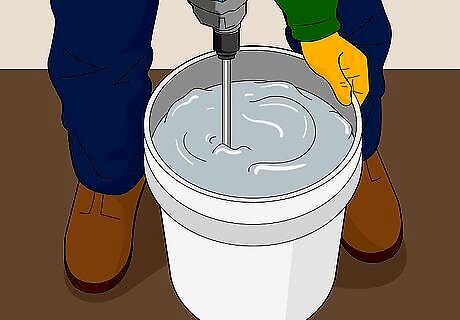
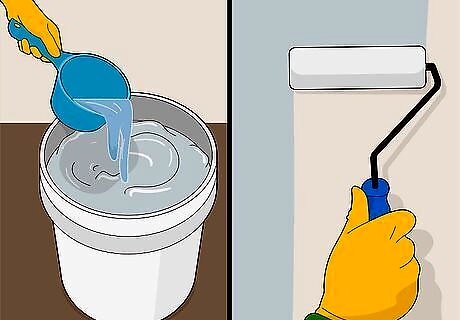
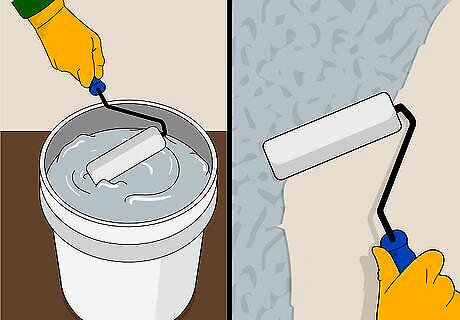
Thin premixed drywall mud with water. Take a 5 gallon (18.9 L) bucket of premixed drywall mud and add 1 inch (2.5 cm) of water on top. Use your drill and mixing attachment to stir until the mix is the consistency of batter. Hold the bucket down while mixing to keep the compound from sloshing over the sides. Keep in mind that you can also mix the drywall powder with water yourself. This also allows you to get it to the desired consistency.
Selecting a Texture Pattern
Add a heavy texture over an existing one. If you want a thicker texture on your walls, you can work right over whatever is currently on them. Dip your trowel into the compound you mixed, and drag it onto the wall. When the trowel is clear, load it again. Place it near the edge of the first stroke, and drag the second trowel load in a different direction. Keep doing this until the entire wall is covered.
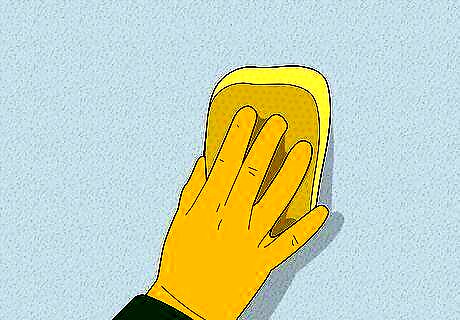
Simulate a stucco finish, if you want a more subtle texture. If your current wall texture is relatively smooth and you'd like to keep it that way while still introducing some variation, the stucco look may be for you. Load up your trowel with compound and cover a small area. Press a sponge against the area repeatedly, leaving behind a lightly textured surface. Keep working in small patches until the whole wall is covered.
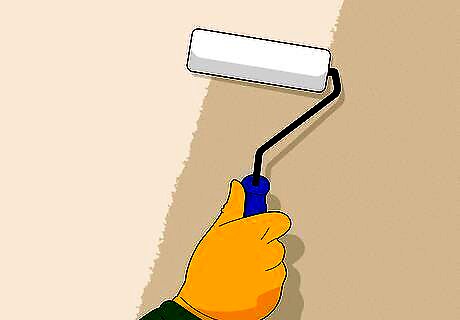
Skim-coat your walls for a super smooth texture. Take your compound and thin it out even further with water to make a runnier mixture. Use a paint roller to apply the compound all over the wall. The thinner compound will level out existing texture without adding much on top. To complete the smooth finish: Scrape over the compound on the wall with a trowel or putty knife at a 45 degree angle. After the compound has dried, sand the wall. Make sure to wear a ventilator, since this will produce a lot of dust.
Try the knockdown texture if you want to work quickly. This method is popular because it is fast and leaves a pleasantly randomized texture. Dip a paint roller into the drywall mud, then apply it to the wall. Let it partially dry, then go back over the highest “peaks” of the texture and gently smooth them down with a putty knife.
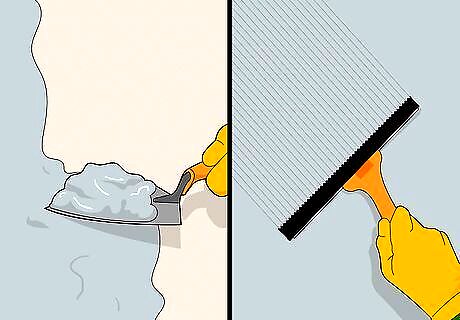
Create a bolder pattern for a more vibrant texture. Use a texture brush (a round brush with a handle available in most hardware stores) or cut notches at regular intervals into the rubber portion of a standard squeegee. Apply drywall mud to the wall with a trowel, then smooth it out. While the mud is still wet, run the brush or squeegee over it to create a pattern of lines. For example, you could: Run the brush or squeegee in parallel rows to create a pattern of even lines. Run the brush or squeegee diagonally one direction, then another, to create a crosshatch pattern.
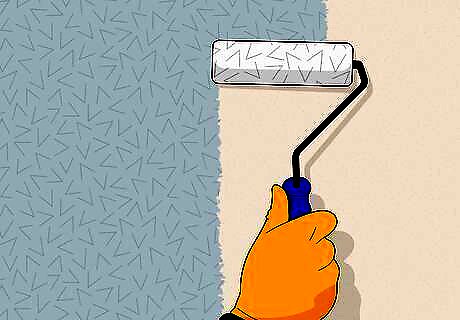
Use a texture roller for an easy solution. Texture rollers are available in many patterns, so you're sure to find one that suits your style. Pick one up from a hardware store, coat it with drywall mud, then roll it over your walls. Be sure to match up the pattern and roll in a consistent direction so you get an even result.

Let the drywall mud dry. Whichever texture pattern you choose, you'll need to let things set about 24 hours before continuing. If your region is very humid, it may take longer for the wall to dry. Aiming a fan at the wall can help speed things up. Once the mud has dried, you can paint it however you like.


Comments
0 comment