views
- If the video you want to rip has DRM copyright protection, you might need to decrypt the DVD first.
- When ripping, create an MP4 file using the H.265 or H.264 compression format to ensure your video can play on any device.
- If you don't hear sound in your video, make sure you select the correct audio track prior to ripping.
Ripping on Windows
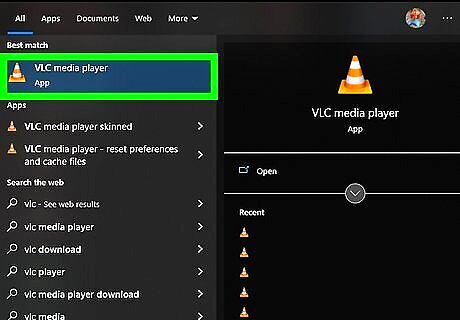
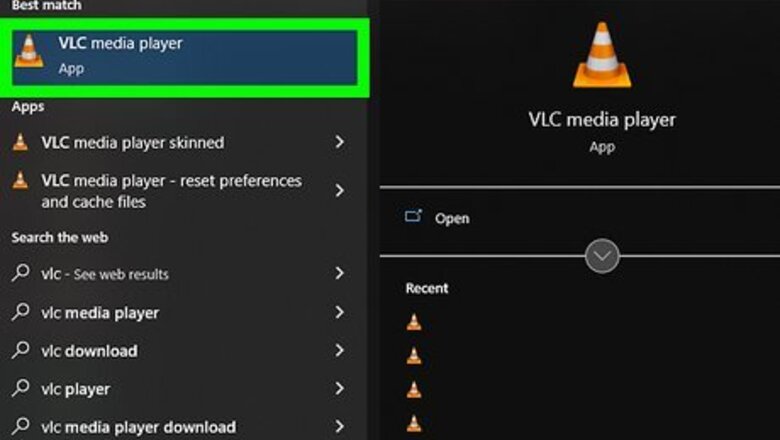
Open VLC Media Player. Double-click the traffic cone on your desktop, or click the VLC Media Player link in your Windows menu. If you haven't already installed VLC Media Player, you can get it from https://www.videolan.org/vlc. VLC Media Player comes with libraries that make it possible to play (and sometimes rip) copyright-protected DVDs. If the DVD you want to copy uses a more advanced copyright protection method, you can try a third-party DVD decryption tool like AnyDVD, VideoProc, or DVD Decrypter.
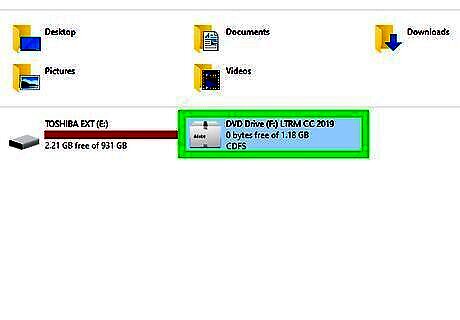
Insert your DVD into your computer. Open your computer's DVD tray, place the DVD in the tray with the logo side facing up, and close the tray. If any windows open when you do this, close them before proceeding.
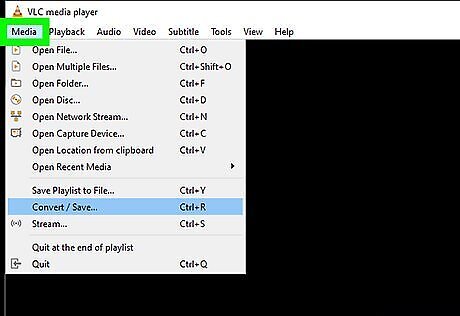
Click the Media tab. This option is in the top-left corner of the VLC window.
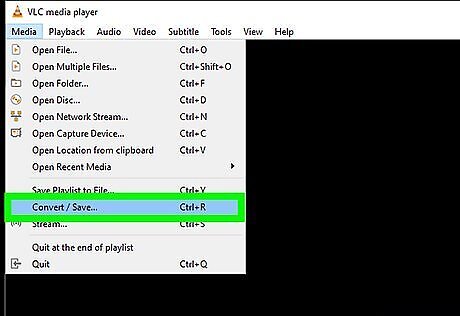
Click Convert/Save…. It's near the middle of the Media drop-down menu. You can also press Ctrl + R to open this menu.
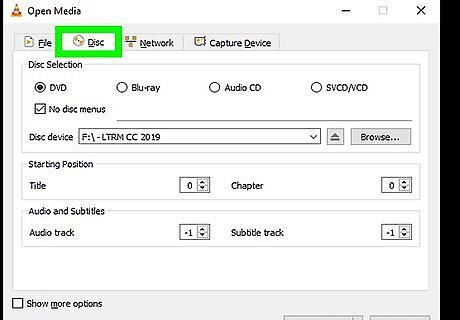
Click the Disc tab. You'll see this at the top of the window.
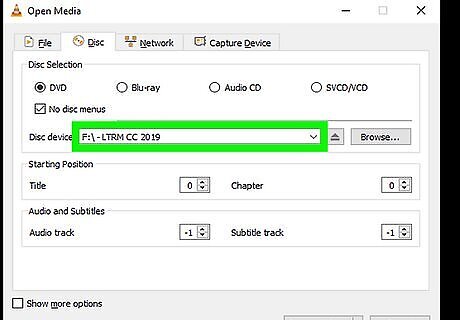
Select your DVD drive. If you don't see your DVD drive in the "Disc device" field, click the menu to select it now.
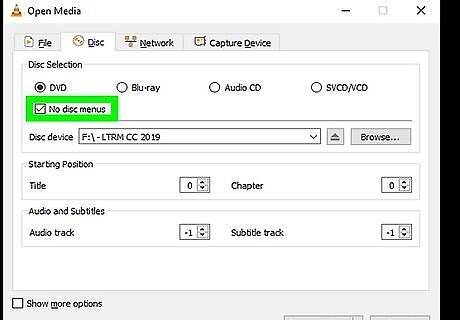
Check the "No disc menus" box. VLC sometimes gets confused by the menus on DVDs, especially with commercial movies. If you don't disable disc menus, VLC may only RIP the title screen on a loop instead of the entire DVD. You may also want to choose other options here, such as a starting from particular title or chapter. This can be helpful if you only want to rip part of the DVD.
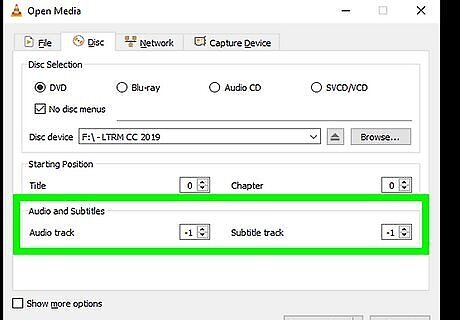
Select an audio track. To make sure the video you rip contains the audio you want, you'll need to select an audio track number from the "Audio track" menu. If you're not sure which audio track to select, you can play the DVD in VLC, click the Audio menu, select Audio Track, and toggle through the track numbers until you have the right one. For example, some movies have multiple audio tracks in different languages. To rip with the right language, you'll want to find the track number for your preferred language, then select that number from the "Audio track" menu.
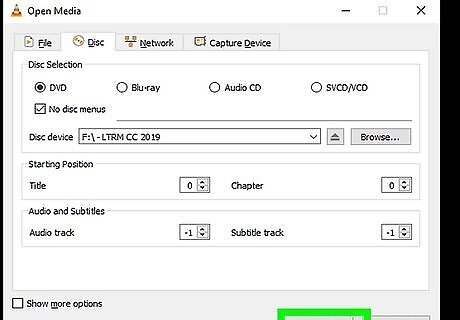
Click the Convert/Save button. It's at the bottom-right corner of the window.
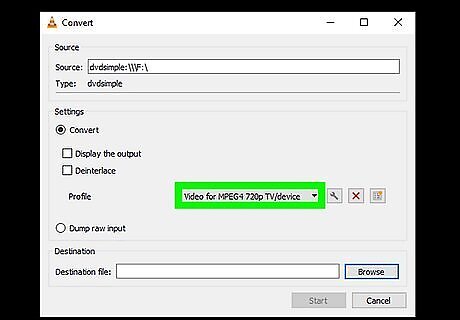
Select a profile. By default, VLC will choose "Video - H.264 + MP3 (MP4)," which should be fine for most DVD movies. However, you can get the same great quality with a smaller file size if you choose Video - H.265 + MP3 (MP4) instead. H.265, also known as HEVC, is also best for very high-resolution video, including 4K and 8K.
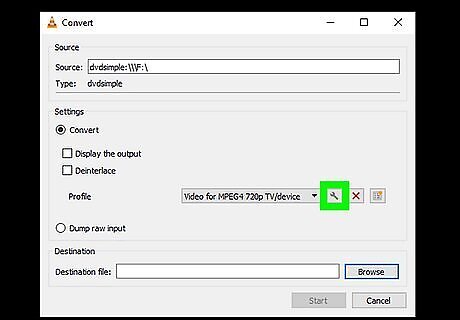
Click the wrench icon to choose additional preferences. You'll see this to the right of the drop-down menu. Here you can configure how the audio will rip, as well as include subtitles. Click the Audio codec tab. You can keep the defaults if you'd like by checking the "Keep original audio track" box. If you'd prefer, you can choose a different audio format. For example, for a high-quality audio file, you might choose MPEG-4 Audio (AAC), set the bitrate to 320 kb/s, and set "Channels" to 2. Click the Subtitles tab and check the box if you'd like to copy the original subtitles to the ripped video. It's best to keep the other options set to their defaults if you're not sure which settings to choose. Click Save when you're finished.
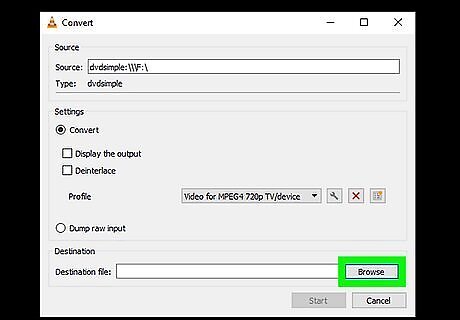
Choose a destination and name your .mp4 file. Click the Browse button at the bottom, then choose a location to which you'd like to save the ripped video file. Then, type a name for the file, and make sure it ends with .mp4. If you don't add .mp4 to the end of the file name, VLC will just play the DVD instead of ripping it. Click Save when you're finished.
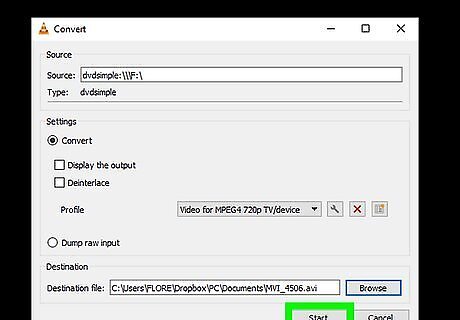
Click Start to rip the DVD. It's at the bottom of the Convert window. Your DVD will begin to convert to an MP4 format. This process will take anywhere from a few minutes to a few hours, depending on your computer's speed and the size of the DVD. The video progress bar at the bottom of VLC Media Player's window will show how much of the video has been converted.
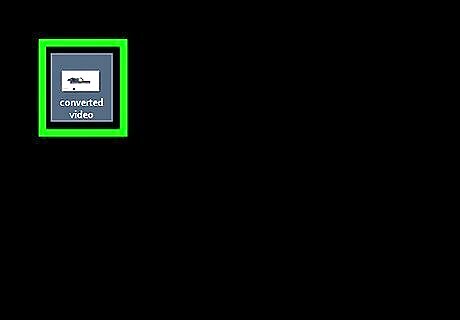
Play your converted file. Once the DVD finishes ripping, its converted file will appear in the location to which you ripped it. You can double-click the file to play it in your computer's default video player. If VLC doesn't rip the entire DVD, has missing audio, or other technical issues, check to make sure you have the latest version of VLC installed and try again. If you can't rip the DVD with VLC, try using Handbrake.
Ripping on a Mac
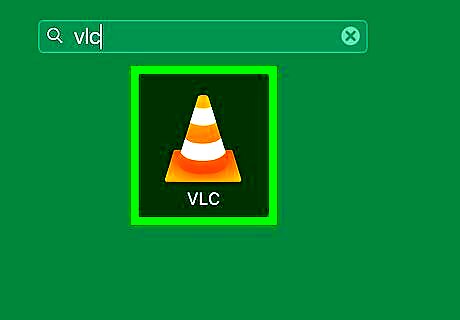
Open VLC Media Player. You'll find it in your Applications and on the Launchpad. If you haven't already installed VLC Media Player, you can get it from https://www.videolan.org/vlc. Many Mac users report not being able to hear audio after ripping a DVD with VLC Media Player on a Mac. If you've already tried ripping a DVD and you don't hear the audio track, try again with these steps. If these steps don't help, you can use Handbrake instead of VLC, as it will make the ripping process much easier. When you install HandBrake, it will automatically use VLC's libdvdcss libraries to decrypt copy-protected DVDs.
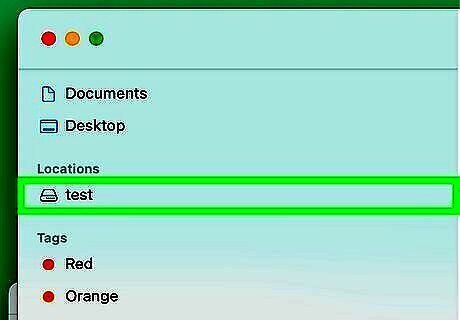
Insert your DVD into your computer. Open your computer's DVD tray, place the DVD in the tray with the logo side facing up, and close the tray. If any windows open when you do this, close them before proceeding. VLC Media Player comes with libraries that make it possible to play (and sometimes rip) copyright-protected DVDs. If the DVD you want to copy uses a more advanced copyright protection method, you can try a third-party DVD decryption tool like DVDFab or VideoProc.
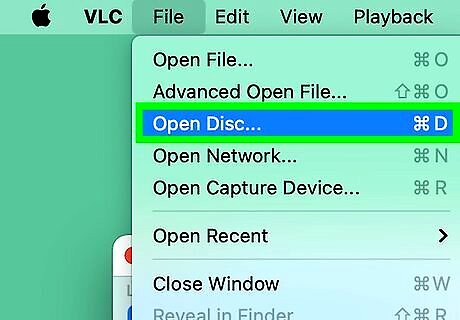
Click the File menu and select Open Disc…. Alternatively, you can press Command + D.
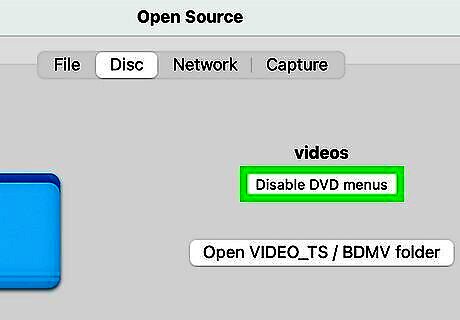
Click Disable DVD menus. This button is in the upper-right side of the window. You'll want to do this especially if you're ripping a commercial DVD—otherwise, VLC may just rip the title screen rather than the entire DVD. Once you click this option, you'll be able to enter a title and beginning chapter number manually.
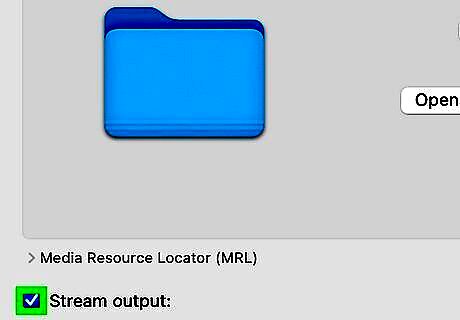
Check the "Stream Output" box. This option is in the bottom-left corner of the window.
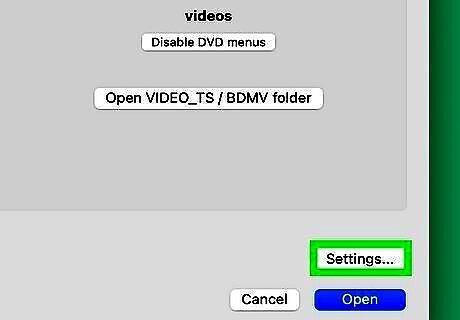
Click Settings. It's on the right side of the window. Doing so will open your DVD's conversion settings.
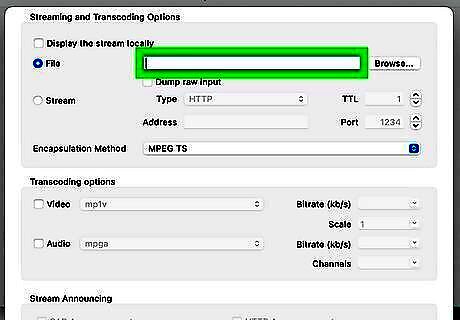
Select the File option. It's at the top of the window. This ensures that your DVD's rip will be output as a video file on your computer. If both "File" and "Stream" are selected, click the "File" checkbox again to select it as the sole output.
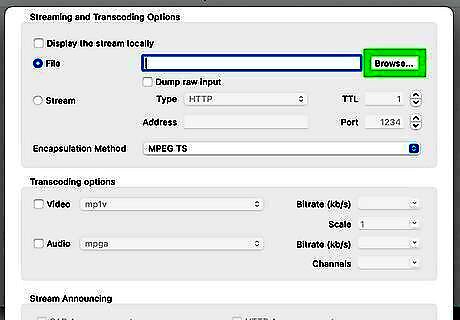
Click Browse…. It's in the upper-right side of the window. This will bring up a window where you can select a save location for your DVD file and choose a name for the file.
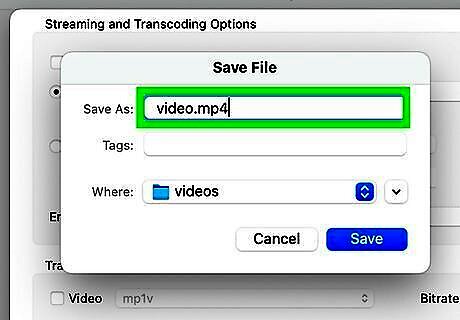
Enter a name for the file ending in .mp4. Make sure to include the file extension .mp4 if you want to save the DVD as an MP4 video file. This ensures that the correct type of file is created. For example, to save your DVD file as "Batman", you would type in Batman.mp4.
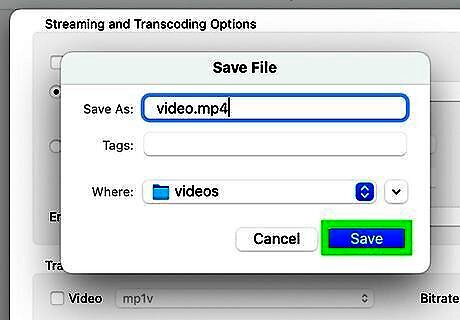
Select a save location and click Save. Click the "Where" drop-down box, then click a folder (e.g., Desktop) in the drop-down menu. When you click Save, the ripping location will be set.
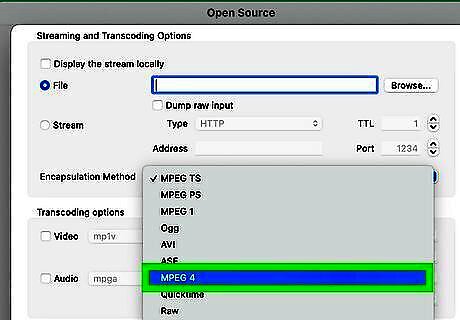
Select MPEG 4 as the encapsulation method. MPEG 4 is typically the best option, especially if you want to be able to play the video on various devices.
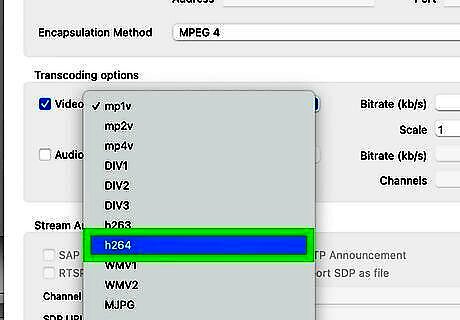
Edit the video settings. These settings will determine your DVD file's video: Check the "Video" checkbox, then choose H.265 for the best level of compression with the highest possible quality. If you have trouble creating an H.265 file later, try again by selecting H.264 instead. For the video bitrate, you can keep the default settings, or a different bitrate. For example, you might choose 5000 kb/s for a 720p video, or 8000 kb/s for 1080p videos. kb/s. If "1" is not selected in the "Scale" box, select it now.
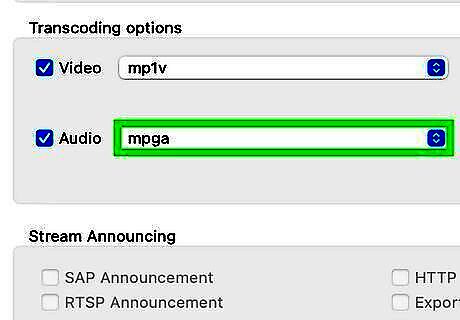
Edit the audio settings. Place a checkmark in the "Audio" box if not already selected to ensure your video has sound. You can then keep the default settings or choose a different format. For an HD video with audio, you might choose AAC or MPEG-4 Audio (AAC), and set the bitrate to 320 kb/s. If "2" is not selected from the "Channels" menu, select it now to ensure you capture stereo-quality audio.
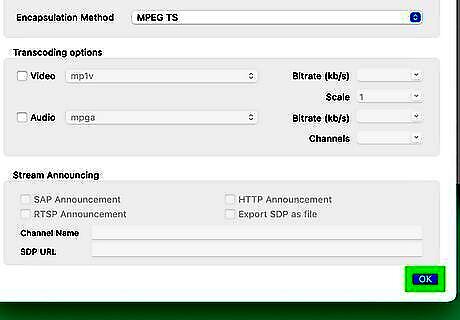
Click OK, then click Open on the original window. This will prompt VLC to begin ripping the DVD file to your specified save location. This process can take anywhere from 15 to 40 minutes per half-hour of video.
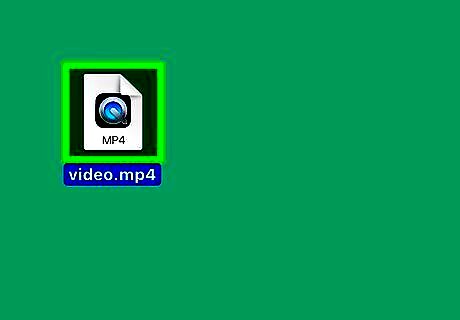
Play your converted file. Once the DVD finishes ripping, its converted file will appear in the location to which you ripped it. You can double-click the file to play it in your Mac's default video player. If VLC doesn't rip the entire DVD, has missing audio, or other technical issues. Check to make sure you have the latest version of VLC installed and try again. If the DVD still can't rip, it may have copy-protection on it. In which case, you will need to purchase DVD decryption software to copy the contents of the DVD.







Comments
0 comment