
views
Learning about Fuses and Multimeters
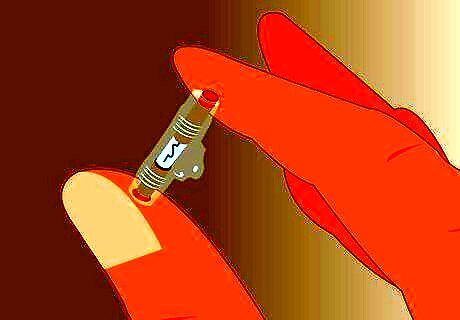
Understand fuses. Fuses are really just wires that are designed not to last, but their purpose is to prevent damage to more valuable electrical equipment or prevent fires (especially in homes) caused by power surges. If too much power runs through the fuse, it will "burn out," quite literally, and open the circuit, preventing the current from flowing through the circuit. There are several varieties of fuses, but their differences are primarily in appearance. Here is a description of the two you are most likely to see: The cartridge fuse is a cylindrical fuse that has been common in a wide variety of devices for many years, from homes to small electronic devices. They have metal contact or terminal points on either end and consist primarily of a tube that contains the wire. The blade fuse is a common type of automotive fuse that has come into use in the last 20-30 years. They vaguely resemble the plug of a power cord, with two metal prongs emanating from a plastic housing that contains the wire. Previously, most vehicles also contained small glass cartridge fuses. Blade fuses plug conveniently into banks, and relatively little space is required to house a large number of them together.
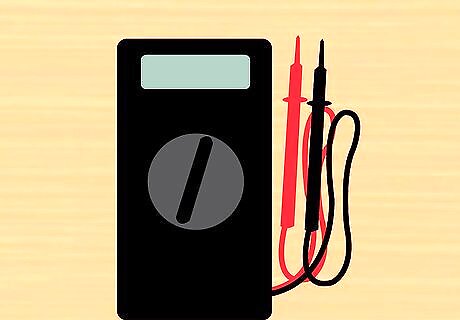
Learn how a multimeter works. Multimeters measure AC and DC voltage, electrical resistance, and the flow of current. For testing a fuse, you can either use it to measure the continuity (which tests if the circuit is complete) or the ohms (which tests resistance). A multimeter has a positive and negative lead. When testing resistance in a circuit, the meter will transmit a small quantity of electricity from its own battery and then measure the amount that passes through the circuit or object.

Understand why you must test fuses. Testing fuses is the simplest way to examine what is going on in the electrical systems of your car or home, and for that reason, it is a vital skill to possess. It is easier to test fuses than it is to test other electrical equipment. Other components in your car or home involve complex wiring systems that run on for some length. In addition, most car parts can only be tested at repair shops, and to do so will usually cost quite a lot of money. Testing fuses with a multimeter is comparatively simple to do, and the equipment involved is cheap and easy to operate. Many types of fuses allow for visual confirmation that the fuse is still functional. They are made clear so that you can see if the wire remains intact. If the translucent area is blackened, it is usually because the fuse has burned out. However, some fuses will create that blackened stain after only slightly overheating, and that may have even been the result of an unnoticed incident weeks or months earlier. If a device is not working, you should test the fuses. If the fuses are all still working, there is likely a more serious problem and it may be time to call on an expert.
Testing the Fuse
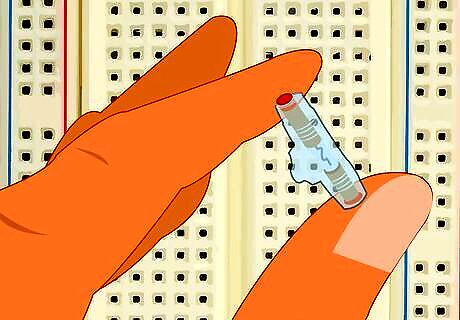
Turn the equipment off and remove the fuse. Make sure the device, equipment, or vehicle is turned off before the fuse is removed. To remove the fuse, simply pull it straight out of the slot.
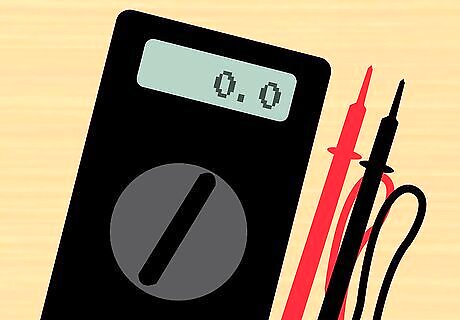
Turn the meter on and set it to measure continuity. Turn the dial on the multimeter so it points to the continuity setting, which looks like 5 curved vertical lines. Before you test the fuse, put the positive and negative leads together and listen for the meter to beep to ensure it’s working properly. If you want to measure the ohms, use the multimeter setting that has the omega symbol (Ω).

Put one lead on each end of the fuse and look at the display. Because the fuse is little more than a single wire—and no complex parts to worry about—it does not matter which side receives the positive or negative lead.
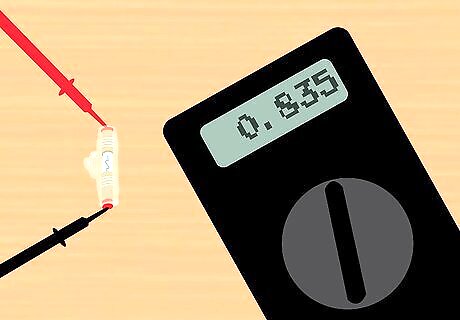
Test the fuse. Listen for the multimeter to beep continuously as you hold the probes against the fuse. If you don’t hear any noise coming from the meter, then the fuse is blown and should be replaced. If you’re using a digital multimeter set to measure resistance, touch the probes together to get an initial reading. Then put the probes on either side of the fuse and check if the reading is similar. If it is, then the fuse works properly. If you get no reading or “OL”, then the fuse has blown. If the multimeter reads "Open" or "Not complete," it means the fuse is broken.


Comments
0 comment