
Choosing and Soaking Your Fabric
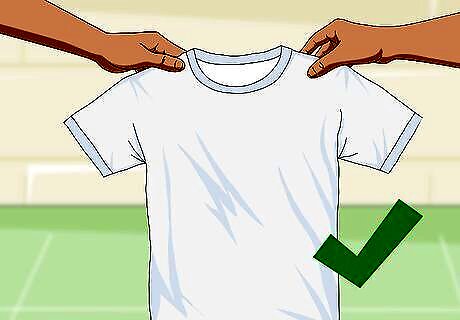
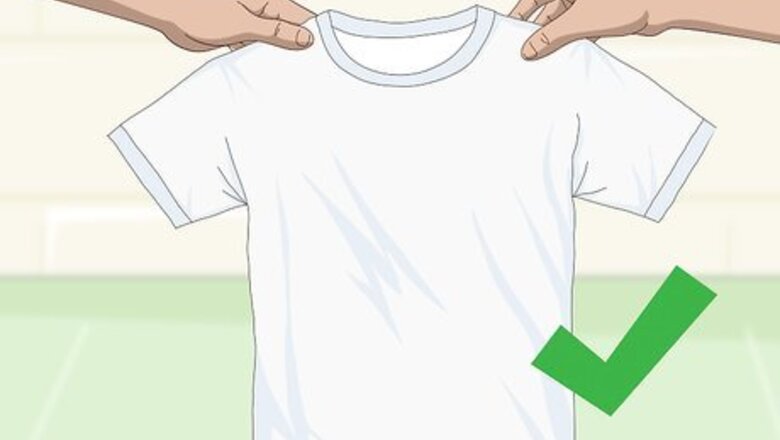
Choose a white fabric item to tie dye. T-shirts are the most popular item to tie dye, but you can also tie dye scarves, socks, bandanas, etc. Cotton will work fine for a temporary option, but if you really want the color to last, use something that is made from wool, silk, or nylon. Food coloring is an acid-based dye. It does not work well on cotton, linen, and other plant-based fabrics.
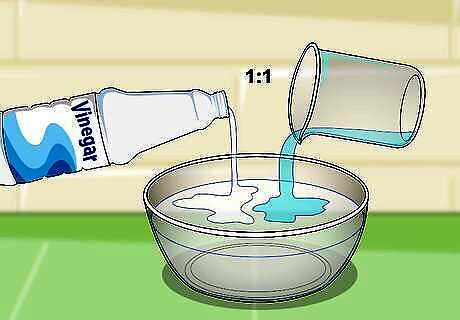
Mix equal amounts of white vinegar and water. Pour equal amounts of water and white vinegar into a bowl or bucket. The vinegar may smell bad, but it really helps the dye adhere to the fabric. If the smell bothers you, work outside. For smaller amounts of fabric and child-sized shirts, use 1/2 cup (120 mL) of water, and 1/2 cup (120 mL) of white vinegar. For larger amounts of fabric and adult-sized shirts, use 2 cups (475 mL) of water, and 2 cups (475 mL) of white vinegar.
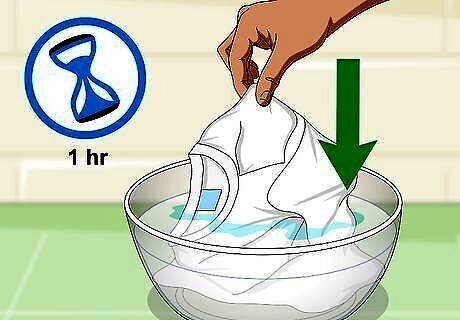
Soak the garment in the solution for 1 hour. Place the fabric that you are going to tie dye into the vinegar-water solution. Press down on it so that it is completely submerged, then leave it alone for 1 hour. If the fabric keeps floating to the surface, weigh it down with a heavy jar.
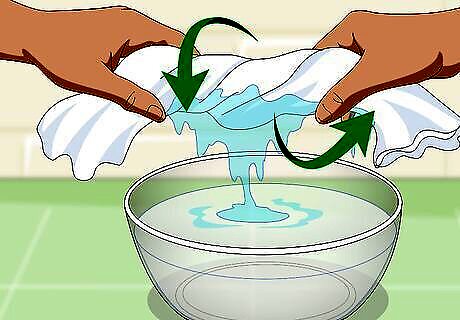
Wring out the excess vinegar-water solution. Once the hour is up, take the fabric out of the vinegar-water solution. Squeeze, twist, or wring it until you get all of the excess vinegar-water out of it. The item needs to be damp when you tie dye it, so move onto the next step quickly.
Tying Your Fabric
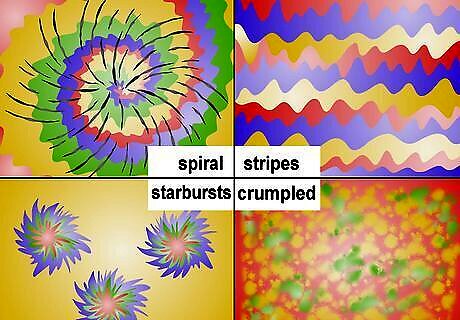
Decide what sort of pattern you want. The areas that you tie will end up white. The areas that you leave untied will end up colored. If you have a lot of folds in your fabric, be aware that those areas might not get dyed either. Some of the patterns you can try: Spirals Stripes Starbursts Crumpled
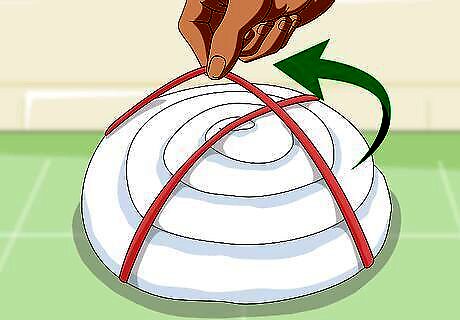
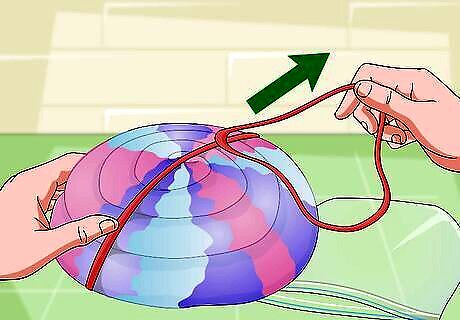
Twist the fabric into a spiral if you want a traditional swirl pattern. Pick a point on your garment; it does not have to be in the middle. Pinch the fabric, making sure that you go through all layers. Twist the fabric into a tight spiral, like a cinnamon roll. Wrap 2 rubber bands around it to form a X and to hold the spiral together. This method works best on T-shirts. You can make several mini swirls on a large T-shirt.
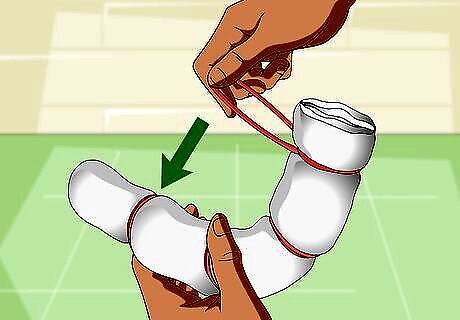
Wrap rubber bands around your fabric if you want stripes. Roll or scrunch your fabric into a tube. You can roll it vertically, horizontally, or even diagonally. Wrap 3 to 5 rubber bands around the tube. The rubber bands should be tight enough to squeeze and indent the fabric. You can space them evenly or randomly.

Pinch and tie tufts of fabric if you want mini starbursts. Spread your garment out flat. Take a fistful of fabric, then tie it off with a rubber band to create a little tuft. Do this as many times as you want over your shirt. Each tied off portion will make a starburst. This technique works best on T-shirts.
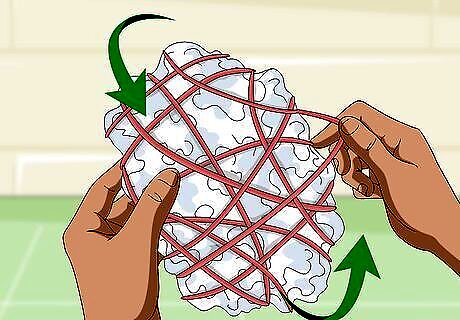
Crumple the fabric up and tie it if you want a random pattern. Crumple the fabric up into a ball. Wrap 2 rubber bands around it to form a cross. Add more rubber bands, if needed, to help hold the bundle together. The rubber bands need to be tight enough to scrunch the fabric together into a tight ball.
Dyeing Your Fabric
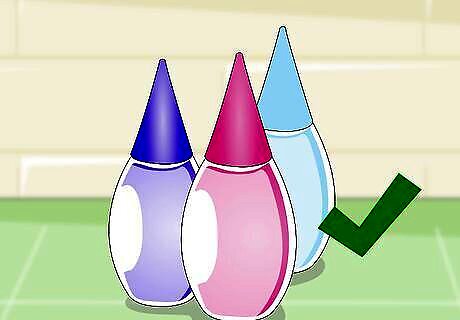
Choose 1 to 3 colors that go well together. When it comes to tie dye, less is more. If you use too many colors, they will blend together and form a muddy color. Instead, choose 1 to 3 colors that you like. Make sure that the colors look nice together when mixed. Don't use opposite colors, like red and green. For a bright combination, try red/pink, yellow, and orange. For a cool combination, try blue, purple, and pink.
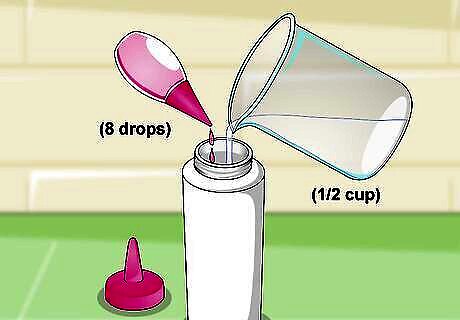
Fill a water bottle with 1/2 cup (120 mL) of water and 8 drops of food coloring. You will need 1 water bottle for each color that you are using. Close the water bottle, and shake it to mix the dye. Don't be afraid to mix colors together to great new ones. For example, red and blue make purple. Refer to the food coloring packaging for the appropriate amounts. If your water bottle has a standard, flat cap (as opposed to a sports-type nozzle), poke a hole in the cap with a thumb tack. You can use plastic squeeze bottles instead. You can find them in the baking section or the tie dye section of a craft store.
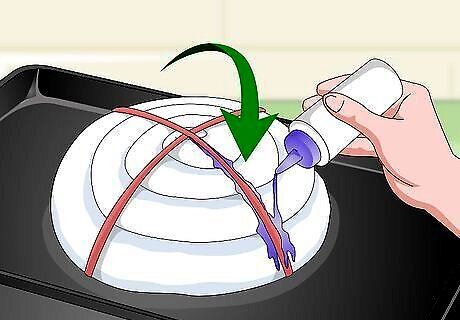
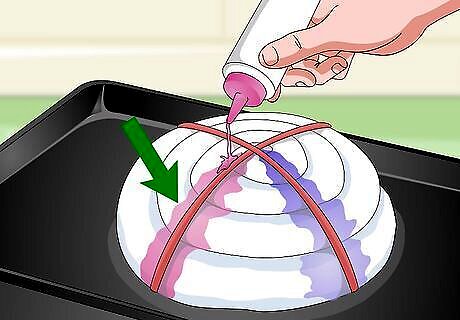
Choose your first color and squirt it onto your first section. Place the fabric on a tray or in an empty bucket. Squirt the dye onto the first tied-off section. Make sure that the color fills the entire section. Because the shirt is already wet from the vinegar-water solution, the dye should spread quickly. Food coloring can stain your hands. You might want to wear plastic gloves for this step.
Repeat the process for the other tied-off sections. Use 1 color for each section that you tied off. You can do a random pattern, or you can do a specific pattern, such as blue-pink-blue-pink. If you are using just 1 color for the entire piece, then use that color for each section.
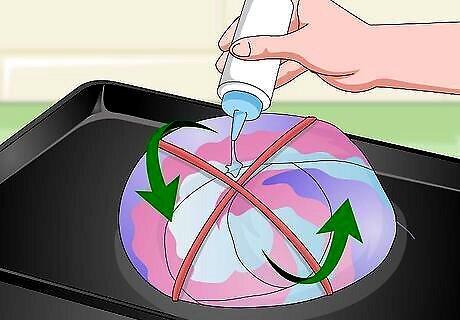
Tie dye the back of the fabric, if needed. Once you are done tie dyeing your fabric, flip the bundle over and check the back. If there are any white patches on the back, fill them in with more color. You can use the same pattern as you did for the front, or you can use a different one.
Finishing Your Piece
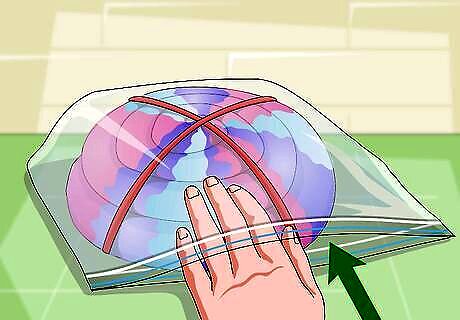
Wrap your dyed fabric in a plastic bag. Place the fabric into a plastic bag, then tie the bag shut. Be sure to press out all the air inside the bag. You can also place the fabric into a large, re-sealable plastic baggie (i.e. Ziploc bag), and then zip the bag shut.
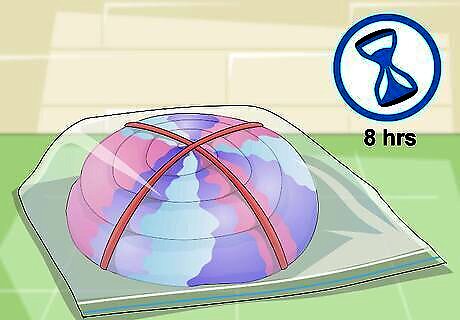
Leave the fabric in the bag for 8 hours. During this time, the dye will set into the fabric. Try not to move the bag during this time, or you might mess up the colors. It would be best if you left the bag in a warm, sunny location. This way, the heat of the sun can set the dye into the fabric better.
Take the fabric out of the bag and remove the rubber bands. If you are having trouble getting them off, cut them off with a pair of scissors. Once again, food coloring can stain your hands, so you should do this with a pair of plastic gloves. If you need to set the fabric down on anything, cover the surface with plastic wrap, wax paper, or aluminum foil first so that you don't stain it.
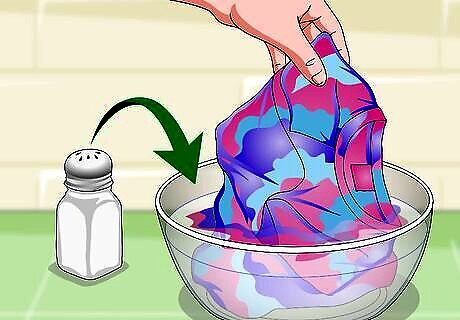
Soak the fabric in a salt-water solution. Mix together 1/2 cup (150 g) of salt and 1/2 cup (120 mL) of water. Dip the fabric into the salt-water, then pull it out and wring out the excess water.
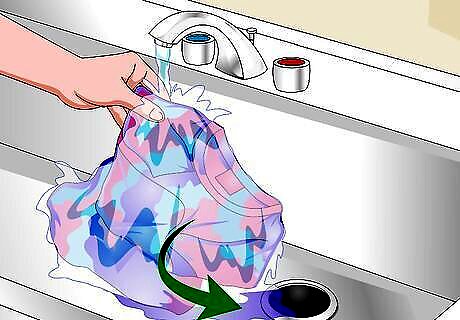
Rinse the fabric with fresh, cool water until the water runs clear. Hold the item under a faucet, then turn the faucet on. Let the water run until it turns clear. You can also dip the item into a bucket filled with water, but you will need to keep changing the water until the water stays clear after dipping the item into it.
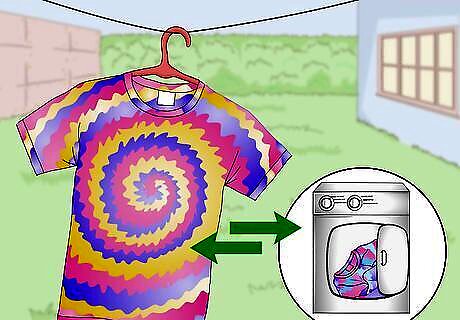
Allow the fabric to dry. You can hang the fabric up to air dry, or you can toss it into the dryer to speed up the process. The heat from the dryer might even help set the dye into the fabric better. Be aware that the colors will be faded once the shirt dries. This is the nature of using food coloring as a dye. Do not use a dryer if you used silk, wool, or nylon.
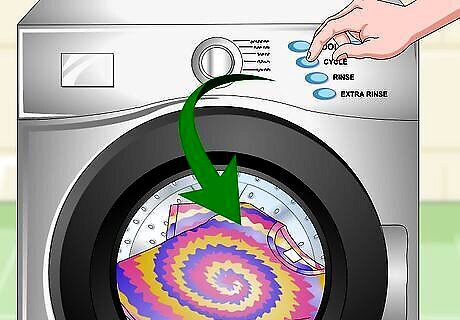
Wash the shirt separately for the first 3 washes. Food coloring is more of a stain than a dye. It is not as permanent as actual clothing dye, and it will fade over time. It may also release color the first few times that you wash it. In order to prevent staining the rest of your laundry, you should wash the garment separately for the first 3 washes.


Comments
0 comment