
Getting Digital Copies of Your Documents
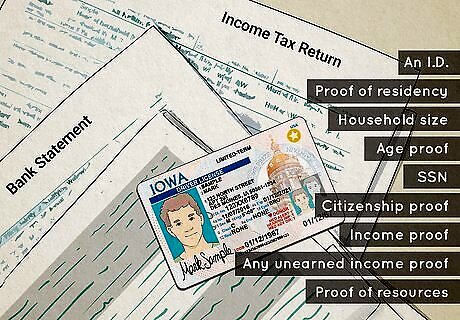
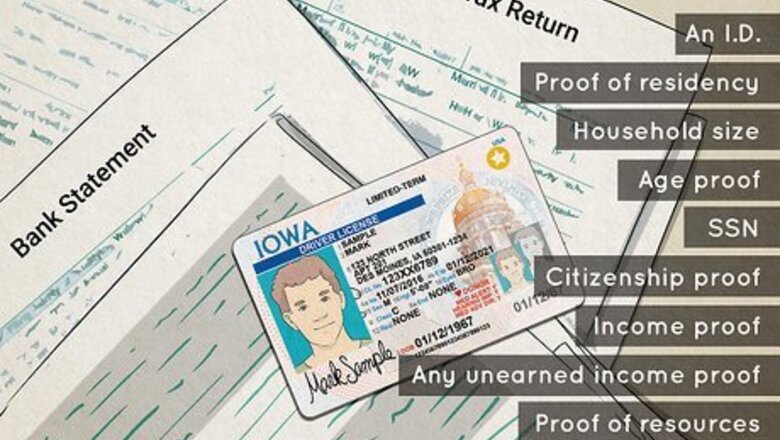
Get all of your supporting documents together. In many states, the more documents you can provide the SNAP administrators, the faster they’ll be able to approve you for benefits. Here are some of the documents you may need, many of which could be used for more than one category: An I.D.: this could include a driver’s license, passport, naturalization certificate, or birth certificate. Proof of residency: you can use a copy of your current lease, a rent release, a written statement from your landlord, mortgage records, or school records. Documentation showing the size of your household: this can be a written statement from your landlord, a community organization, or a person who is not a member of your household. Proof of age for all members of your household: these can be either birth certificates or baptismal records. Social security numbers for all members of your household: you’ll have to provide either copies of your social security cards, or official correspondence from the Social Security Administration. Proof of citizenship: if administrators have a reason to doubt your citizenship, they may want to see your birth certificate or naturalization records. Proof of earned income: for any members of your household who are working, you’ll need to show evidence of how much money you’ve made in the past year. These can include your most recent income tax returns, a letter from your employer listing your earnings and how many hours you’ve worked, or your current pay stubs. Documents for any sources of unearned income: these might include statements from family court, official correspondence from the Social Security Administration or Department of Veterans Affairs, or a statement from your bank or credit union. Proof of resources: these can include bank records or statements from other financial institutions.
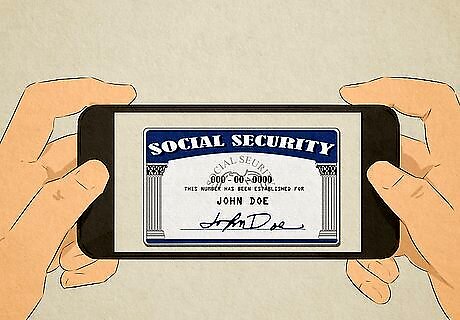
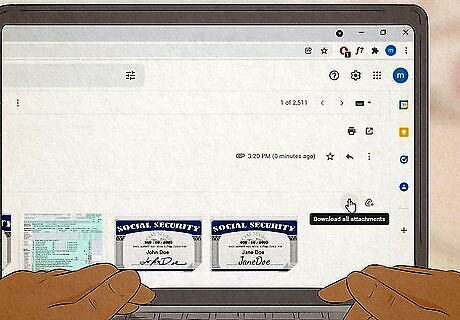
Take photos of your documents. If you have a smartphone or other kind of phone that has access to the internet, you can use your mobile device. These photos will serve as digital copies for all of your documents. Make sure that your photos are clear, and that all of the text on the documents is readable. You can also use a scanner to get digital copies of all of your documents. Many public libraries have these available for free, and have staff on-hand to help you if you need help.
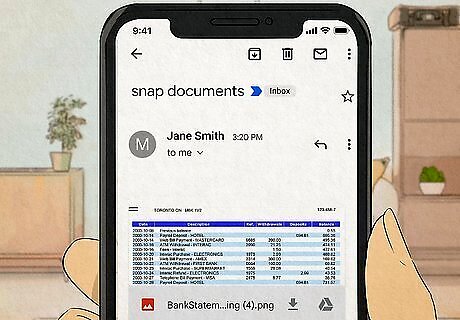
E-mail the photos or scans to yourself. You'll need to email the photos or scans of your documents to yourself so you're able to access them on a computer and upload them to your state's SNAP benefits portal. Most phones will come with an option to e-mail a photo, if you click on the photo in your camera roll. You may need to send multiple e-mails if there is a storage limit on how many photos you can send at once.
Uploading Your SNAP Documents
Download your photos from your e-mail onto a computer. When you download them, you should be given an option to rename each photo’s file with a title that explains what each photo contains. Or, you can write down each file’s name, along with a note letting you know what each photo is. Depending on how your state’s web portal works, you may be able to directly upload photos from your phone’s camera roll onto the SNAP application site, and won’t need a computer. If that’s the case, you will be redirected to your phone’s photo library when you click on the ‘Upload documents’ section of the SNAP application. If you need help getting to this application site, read on.
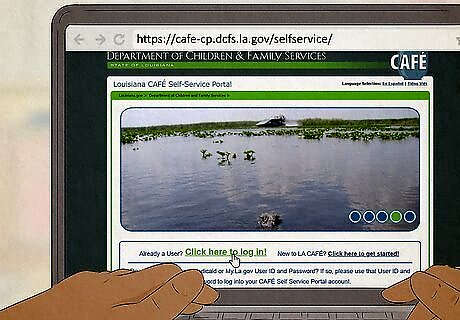
Log into your state’s web portal for SNAP benefits. Each state has its own SNAP web portal, administered by that state government. If you don’t already have an account, you should follow the instructions there to set one up. You can get to the web portal for SNAP benefits by clicking on the name of your state below: Alabama, Alaska, Arizona, Arkansas, California, Colorado, Connecticut, Delaware, Florida, Georgia, Hawaii, Idaho, Illinois, Indiana, Iowa, Kansas, Kentucky, Louisiana, Maryland, Massachusetts, Michigan, Minnesota, Mississippi, Missouri, Montana, Nebraska, Nevada, New Hampshire, New Mexico, New York, North Carolina, North Dakota, Ohio, Oklahoma, Oregon, Pennsylvania, Rhode Island, South Carolina, South Dakota, Tennessee, Utah, Virginia, Washington, Washington D.C., West Virginia, Wisconsin, Wyoming
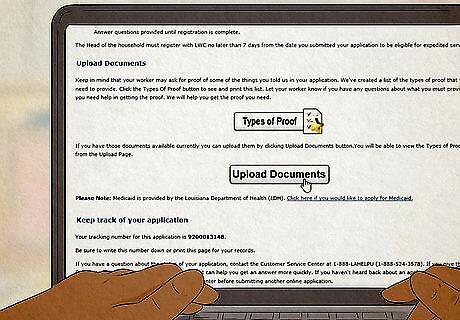
Navigate to the document upload page. This page should be displayed clearly as part of your SNAP application.
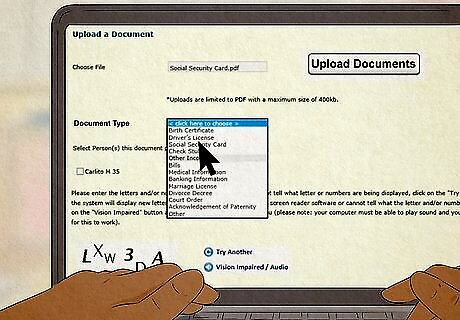
Use the drop-down menu to select the kind of document you’re uploading. For example, if you’re trying to upload a copy of your birth certificate, pick the option “Birth Certificate,” or, “Proof of Citizenship.”
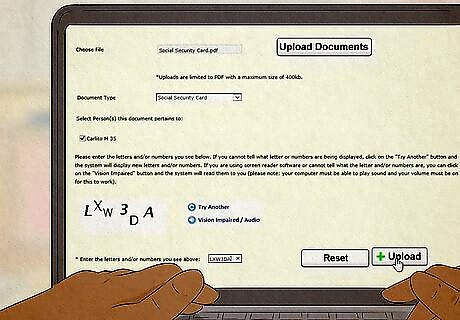
Upload your document. Click on the “Upload” or “File” button, and select the document you’d like to upload from your computer. If you titled your document, you can enter it into your computer’s search bar. If not, you’ll likely find your document in the “Downloads” folder.

Repeat this process for all of your documents. You may want to make a list and tick off all of the documents as you upload them, so you can be sure that you’ve given your SNAP administrations all of the information you have.

Submit your application. When you’re done uploading all of your documents, and have filled out all other information in the application, hit the submit button at the end of the application. Your benefits should be approved within 30 days.


Comments
0 comment