views
macOS
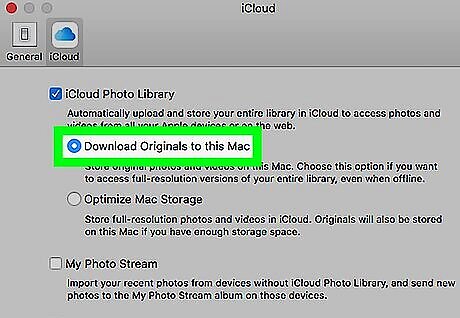
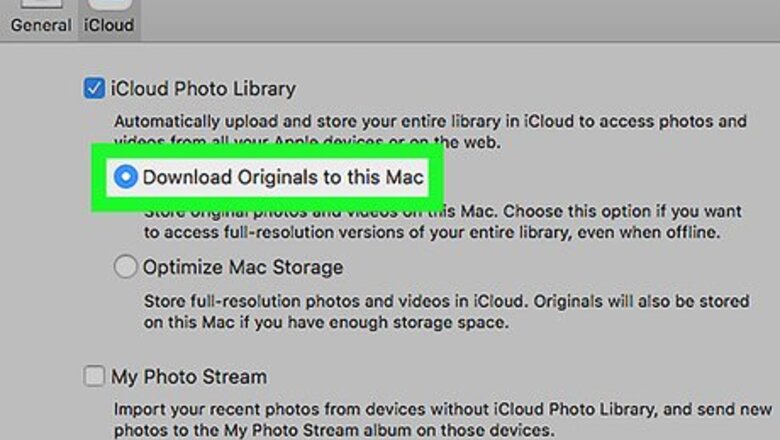
Turn on iCloud Photo Library. If you're already using the iCloud Photo Library, skip to the next step. Otherwise, here's how to enable the Photo Library on your Mac: Open the Photos app (it's in the Applications folder). Click the Photos menu. Click Preferences… Click the iCloud tab. Check the box beside “iCloud Photo Library.” Close the window. Select either Download Originals to this Mac or Optimize Mac Storage.

Open the Photos app. It's in the Applications folder. You'll be able to drag any photos from your computer to this app to automatically add them to iCloud.

Open a Finder window. You can do this by clicking the two-toned Mac logo in the Dock.
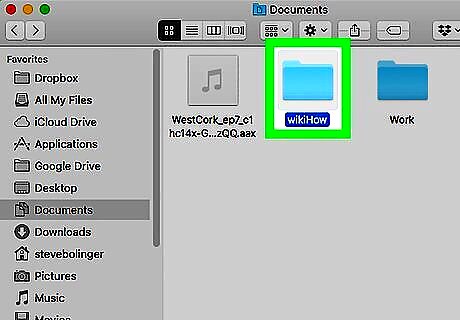
Double-click the folder that contains the photos you want to upload. If the folder is inside of another folder (e.g. Downloads, Desktop), select that folder from the left column, then double-click the folder that contains the photos.
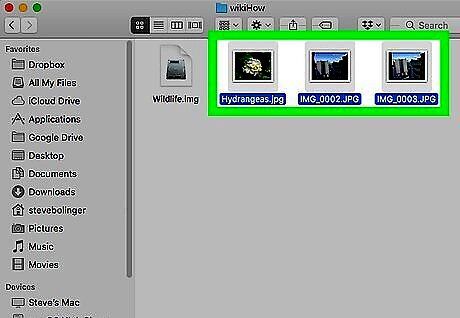
Select the photos you want to upload. To select multiple files at once, hold ⌘ Command as you click each photo.
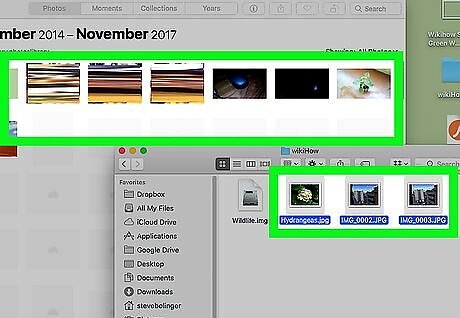
Drag the selected photos to the Photos app. The photos will now upload to your iCloud account.
Windows
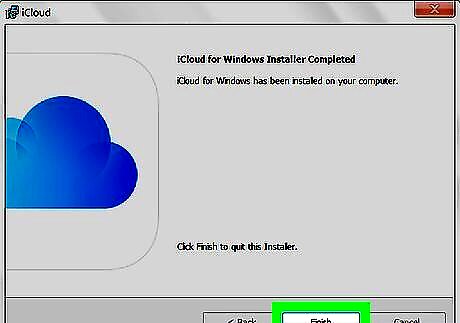
Install iCloud for Windows. If you don't already have the Windows iCloud app installed, you can download it from https://support.apple.com/en-us/HT204283. To learn how to download and set up iCloud for Windows, see Using the iCloud for Windows.

Press ⊞ Win+E. This opens the Windows File Explorer.
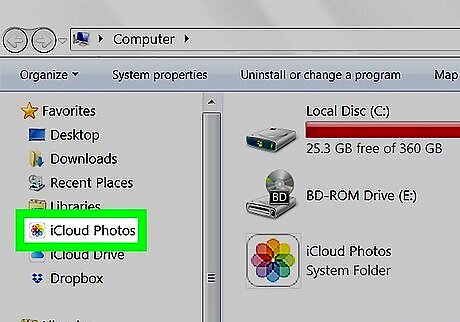
Click the iCloud Photos folder. It's in the left panel.
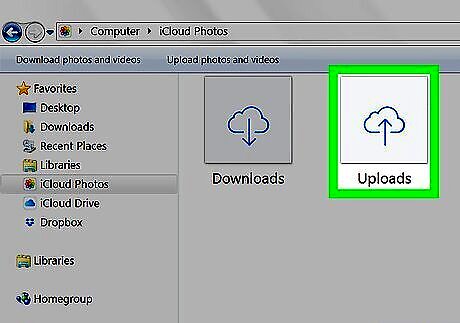
Double-click the Uploads folder. It's in the right panel. This is the folder where you'll copy your photos.

Press ⊞ Win+E. This opens another File Explorer window.
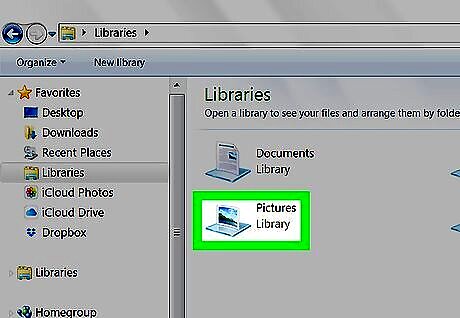
Navigate to the folder that contains your folders. Use this new Explorer window to do this. You'll usually find your photos in a folder called Photos or Pictures.
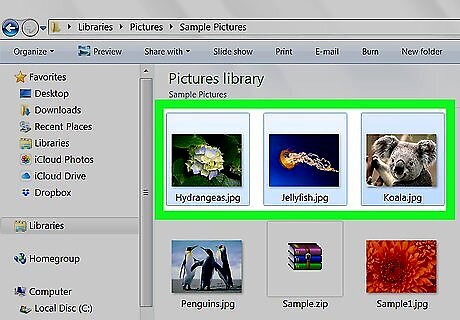
Highlight the photos you want to upload. To select multiple photos, hold Control as you click each file.
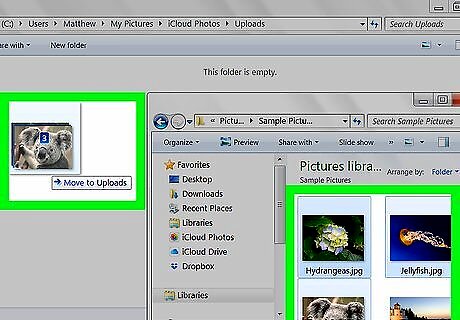
Drag the highlighted photos to the Uploads folder in the other Explorer window. Once the photos are copied to folder, iCloud will upload the photos to the cloud.


Comments
0 comment