
views
Brainstorming Ideas for Your Comic Strip

Focus on a topic you are passionate about. To get inspiration for your comic strip, you may think about a topic you are engaged in and passionate about. This could be the secret life of cats or your relationships with your sibling or your best friend. Try to home in on a topic that you feel you can create characters about and draw in a comic. It may be easier to do this if you're familiar with the topic already and can use things or people around you as a model. If you decide to do a comic strip about the secret lives of cats, you may use your own cat as inspiration and imagine what she may be thinking or feeling throughout her day. If you decide to create a comic around your relationship with your best friend, try to think about a specific event or situation that illustrates your relationship well. You could then base your comic on this event, using you and your best friend as characters in your comic.
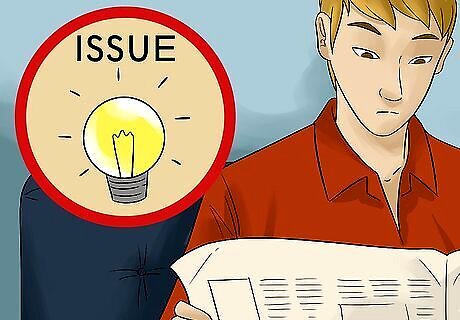
Use a current event or issue. You may be inspired to create a comic strip to address a current event or issue you feel passionate about, such as abortion rights or raising the wage gap for women. Look through your local newspaper or read the national news and use your comic strip to address a current issue that you feel you can address in a creative way. You may also have personal experience with a current event or issue that you want to use as the set up for your comic. Perhaps you have personal experience with abortion or are a refugee and want to address political issues around refugee status through your comic. Tapping into your personal take on a political or social issue can make the comic feel more intimate and engaging.

Create your own version of an existing character. This could be an existing comic book character, like Superman or Wonder Woman, that you then use as a model for your own version of a hero. Or, you may be inspired by a character on your favorite television show or in your favorite movie. Riff off existing characters to create your own comic strip idea and characters, adjusting or improving on the existing ones. You may notice that there are certain characters or concepts missing from comics, such as female superheroes that are of color, or characters who are queer. You could then use an existing comic character and adjust the character so it better represents a certain group that is missing from mainstream comics. If you want to create a superhero comic strip look at television and movies. Think what is missing from the picture. The superhero can draw attention to your writing if it has something people have never seen before.
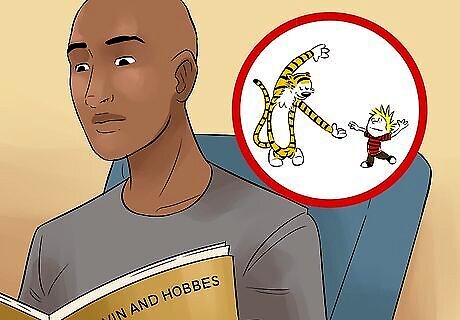
Look at examples of comic strips for inspiration. If you are still stumped for ideas, you may want to review several examples of comic strips. Examples include: “Zorphbert and Fred”, a kid friendly comic about two aliens who disguise themselves as dogs. “JL8”, which focuses on Superman, Batman and other popular super heroes when they are children going to elementary school. “Calvin and Hobbes”, a popular adult comic about a young boy and his friend, a talkative tiger. “Cyanide and Happiness”, another popular comic for adults that explores current events and age old issues with a dark sense of humor.
Structuring Your Comic Strip
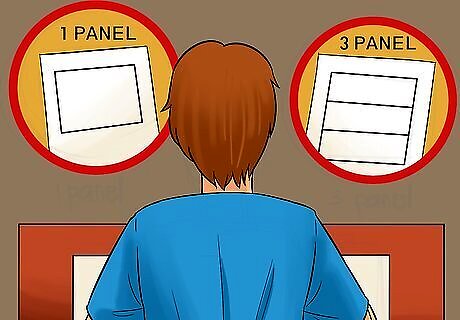
Decide how many panels you are going to include. A comic strip is typically broken into squares, or panels. The characters and setting are then drawn in the panels. You will need to have at least one panel to create your comic, but there is no limit to how many panels you can include. Some comic strips, like the popular adult comic “Bizarro”, use only one panel to tell a story or create a joke. You can also create a comic strip that uses one long panel, with lots of characters and text. You may decide to start with a three panel comic, where you have three panels to tell a short story or a joke in your comic strip. Limiting yourself to three panels can help you to get a better sense of your story and keep the joke in the comic short and punchy.
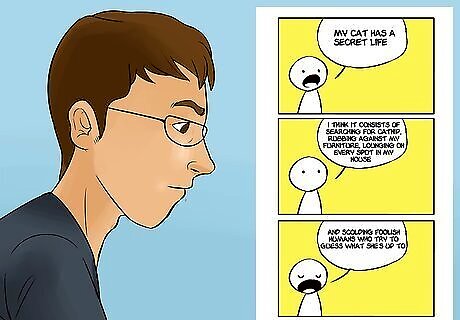
Use the gag-a-day structure for a shorter comic. If you are trying to create a funny comic strip, you may decide to use the gag-a-day structure. This structure is good for jokes that are self-contained and not part of a larger storyline. Many comics use the gag-a-day structure, as it is short, easy to plan out, and fun to draw. This structure may be ideal if you have never made a comic strip before and would like to try your hand at a self-contained comic. Most gag-a-day comics consist of three panels: the introduction, the build-up, and the punchline. This structure is very similar to the structure of telling a joke, which is why many gag-a-day comics are funny or humorous. An example gag-a-day structure may be: Panel 1, Introduction: “My cat has a secret life,” Character says. Panel 2, Build-up: “I think it consists of searching for catnip, rubbing against my furniture, lounging on every spot in my house…” Panel 3, Punchline: “And scolding foolish humans who try to guess what she’s up to.”
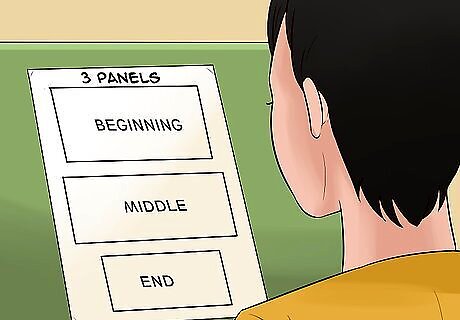
Try using the three act structure for a longer comic strip. If you would like to write a comic strip that is more storyline based, with many characters and a storyline that spans a longer period of time, you may want to use the three act structure. Many storyline comics will have a story arc and characters who develop over many panels or periods of time. Using the three act structure can help you get a better sense of your story as a whole. The three act structure consists of three acts. These acts can occur over multiple panels or even multiple comic strips, which may become part of a comic book. Act 1 is the “Beginning” section, where information is given to set up the story or provide context. Act 2 is the “Middle” section, where your characters try to achieve their goals and deal with conflict. Act 3 is the “End” section, where your character changes or shifts in some way and there is a resolution to the conflict.
Creating Your Characters and Your Setting
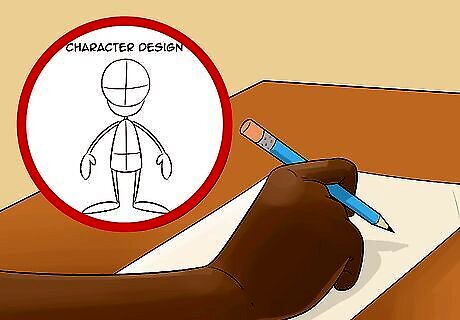
Describe the key attributes and traits of your main character(s). Many comics start with character and expand out to the structure and the premise. Try to describe your characters in detail so you have a good sense of them once you sit down to draw your comic. You may have a good idea for a fun character who is going to be the main focus of the comic or several characters who will interact in the comic. Or, you may use yourself as a character in your comic as well as individuals you know well, or use completely made up characters. Consider the key attributes and traits of your characters. Are your characters all the same age, gender, or color? Maybe one character is a grumpy old man or a beautiful witch. Maybe you have two characters that appear the same physically but have different perspectives on a subject. Write down physical details of your characters, from their hair color to eye color to the clothes they are wearing in the comic. You should also write down personality traits of your character, describing your characters as happy, upset, angry, confused, or argumentative. It may also help to sketch out your main characters on a piece of paper. Try to be detailed in your sketches and include the key attributes of your characters in the sketches.
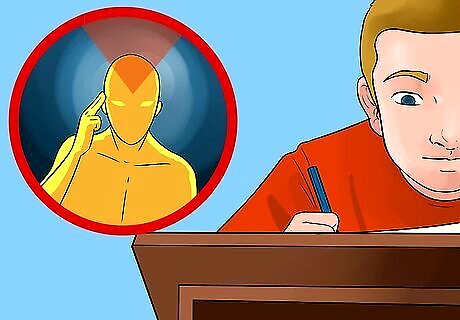
Give your characters unique features or abilities. Maybe your main character can read minds or glows in the dark. Perhaps your character has the gift of infinite wisdom or is immortal. Imbuing your characters with unique features will help them stand out and make them interesting. You may decide to have one character who is “normal” or has no special abilities and one character who has a cool, special ability. You could then have these two characters bounce off each other and explore their differences or use their differences as the punchline of a gag in your comic.
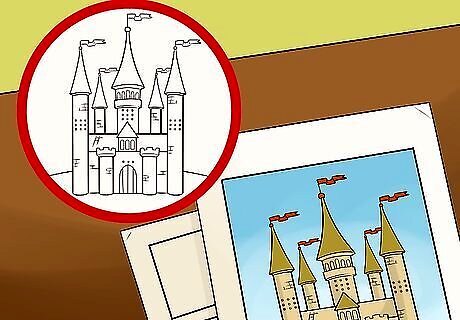
Determine the setting for your comic. Some comics have elaborate and detailed settings, especially superhero characters. But some comics are more character focused and do not pay much attention to the setting. The characters may use props or objects in the comic but interact on a blank white background. You may decide to have a more character focused comic, with very little setting in the background. Or, if your comic is more world focused, with an elaborate storyline, you may include details of the setting. If your comic is set in medieval times, for example, you may have backgrounds of castles, rolling hills, and lush vegetation.
Drawing the Comic Strip
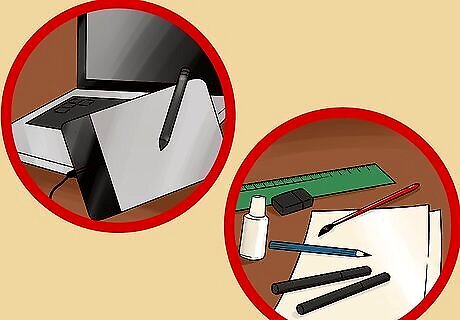
Decide if you are going to draw the comic by hand or on the computer. Drawing the comic by hand can take more time, but it will also allow you to get a hands on experience and be creative. To draw the comic, you will need the following supplies: Standard 8 ½” x 11” white paper A pencil and a black pen A ruler A stapler An eraser Colored pencils, pens, or paints A foam board 20” x 30” x 3” An X-ACTO knife Wite-out or correction fluid If you decide to use a computer, you can use a computer program to create the comic. There are online comic generators you can access as well as sketching computer programs that you can access on your computer.
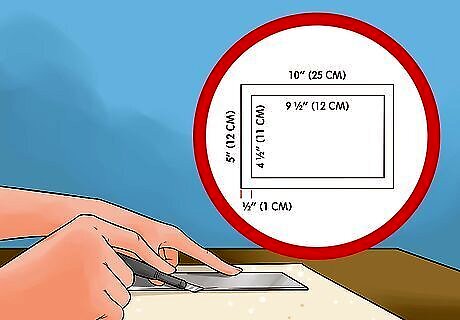
Create the panels. Use the foam board to make a template so your panels are the same size and shape. You will then trace the template on the white paper to create your panels. Start by measuring a 10” x 5” (25 x 12 cm) rectangle on the foam board. Then, use the X-ACTO knife to cut out the rectangle. Make sure an adult does the cutting, as X-ACTO knives can be a hazard for small children. Then, use the ruler to measure a half-inch (1 cm) inside the edges of the rectangle and cut out another rectangle that is 9 ½” x 4 ½” (24 x 11 cm). You should have a ½” (1 cm) wide frame, which will act as your template. Place the template lengthwise on the piece of white paper and use it to create the panels. If you are doing a three panel comic strip, for example, you will use a pencil to trace the inside border of the template on the paper three times, including a small amount of space between each panel.
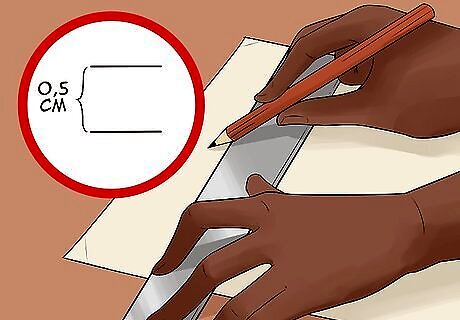
Make a grid for the text. If your comic strip is going to have text in it, you may want to use the ruler to create a grid for the text in pencil. Once you have placed the text in the panels, you will then erase the grid so the text appears straight and spaced out evenly. Starting at the top of the panel, lightly trace horizontal lines about a quarter-inch (.5 cm) apart with a pencil. Make enough lines to fit your text. This will be based on how large you write the text and how much text you are including. If you are not sure how many lines you will need, you can include extra lines and erase them later. Repeat this in each panel that is going to have text so you have lines to refer to when you put the text in the panels. Once the text is in the panels, you can add word bubbles to them.
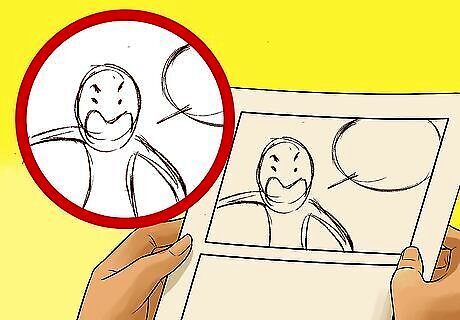
Draw your characters, text, and setting into the panels with a light hand. Using your structure for the comic strip as a guide, draw in your characters, setting, and any props. Do this in pencil with a light hand so you can erase and fix any mistakes. You can also go over the pencil with pen or marker once you are done to make the lines more permanent. Some comics will put the text bubbles in the panels first, before they put in the actual text. This is done because that way, there is enough space in each panel for the characters, the setting, and the text bubbles. You can decide if you want to add in the text first, and then the text bubbles or do the text bubble first. If you write in the text first, using the grids, make sure you leave enough room around the text for the text bubbles.
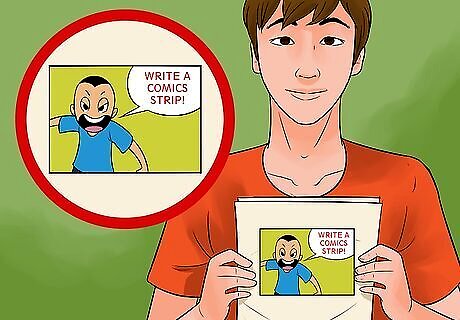
Add color to the final comic strip. Once you have all the elements in your comic strip, you should erase any pencil marks, creating a clean comic in marker or pen. You can then add color to the comic strip using colored pencils, marker, or paints. Use the pen lines as guides so the color does not bleed into each other or overlap. To color the comic strip, you should outline inside the pen lines first and then color in the details. Try to use the same colors in each panel for consistency. For example, if a character's shirt is green in the first panel, make sure it is green in the second and third panels. You may decide to use surreal colors to add some interest to your comic. For example, making the sky purple instead of blue and making your main character a magical creature who has red skin. This kind of approach to color is a great way to add some unique elements to your comic. Just make sure you keep the unique elements consistent throughout the comic so it appears consistent and well put together.


Comments
0 comment