views
Creating a Transparent Background
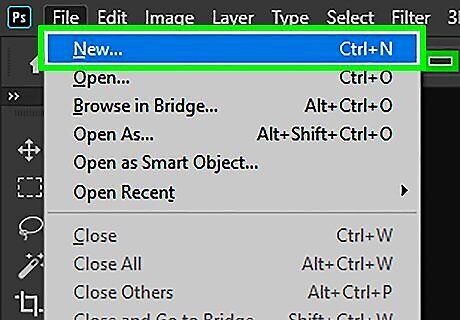
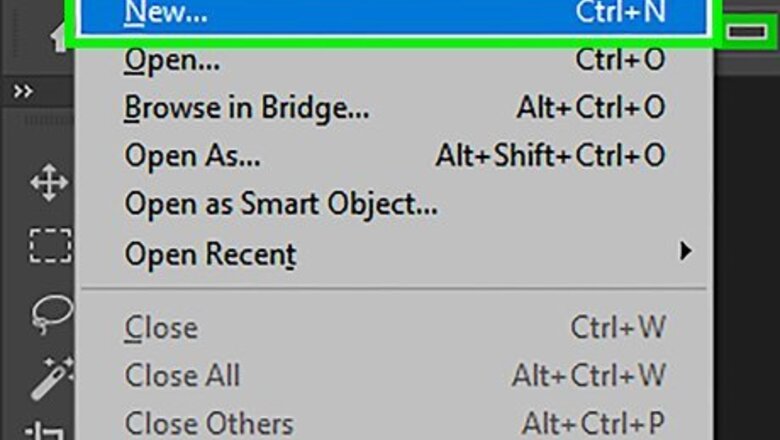
Click "File"→"New". Go to File in the top menu and select "New." A new window will pop up where you can assign the properties of your new Photoshop document.
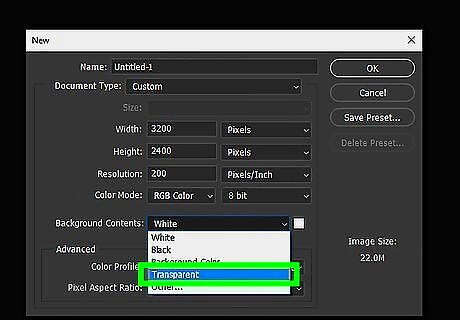
Select "Transparent". A menu will pop up and under the section which says "Background Contents", where you should choose "Transparent". The button appears at the very bottom of the new document pop-up window.
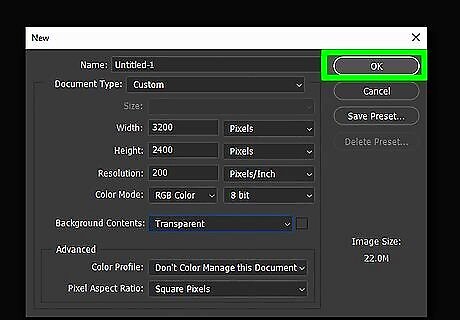
Click OK. Press the OK button.
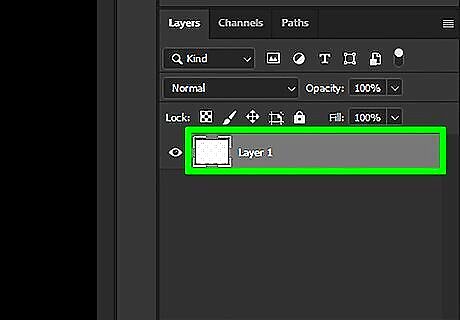
Check the layers. Look at the Layer Window or the Layers tab in your document properties bar (it should already be open by default). The background layer should look like a checkered gray and white box (indicating that it is transparent).
Making Layers Transparent
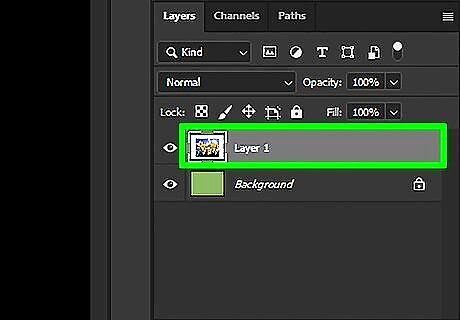
Select the layer. Select the layer that you want to make transparent by clicking on it from the list of layers in the Layers tab.
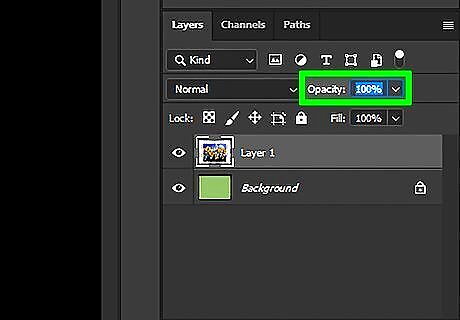
Select the opacity. Click on the numeric box that appears next to Opacity at the top of the Layers tab. The default opacity is 100 percent.
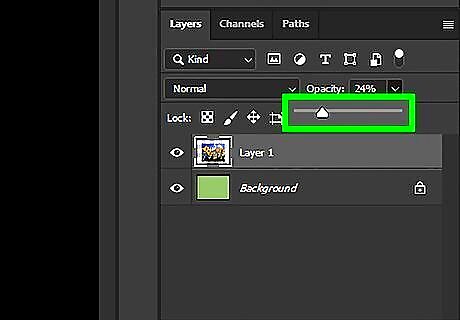
Lower the opacity. Drag the arrow on the opacity meter that appears to change the opacity of the layer. If you want the layer to be completely transparent you should change the opacity to 0 percent.
Creating Transparent Selections
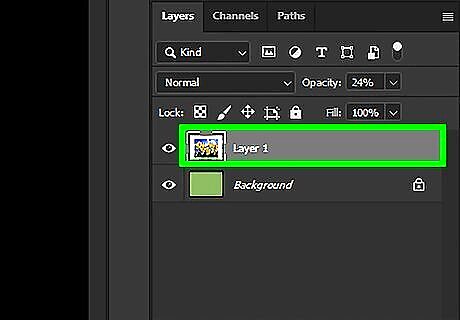
Select your layer. Select a layer that is not transparent, but make sure that the layers underneath it including the background layer are transparent.
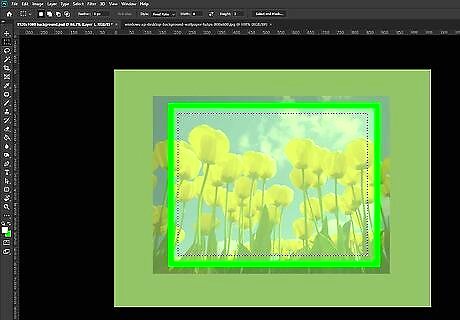
Select the area to alter. Create your selection using one of the selection tools.
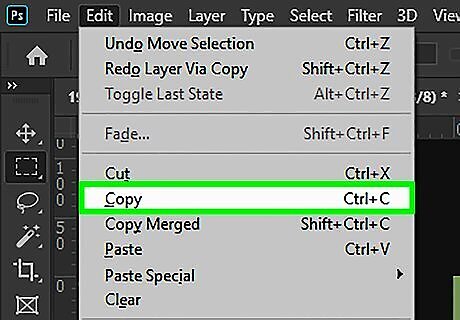
Copy the selection. Click copy.
Delete the selection. Press delete. You should now have a hole in the image.
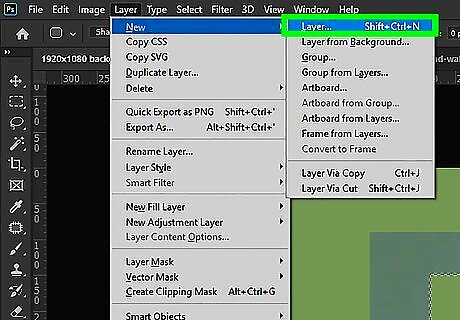
Create a new layer. Paste your copied selection onto a new layer.
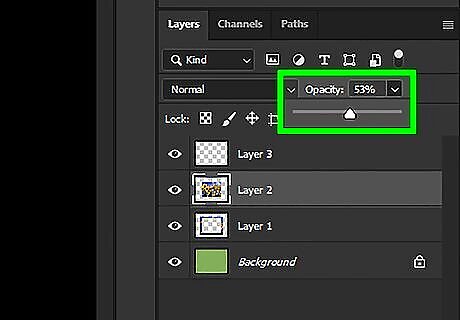
Lower the opacity. The area inside the selection that you had made will become transparent.
Making Transparent Drawings
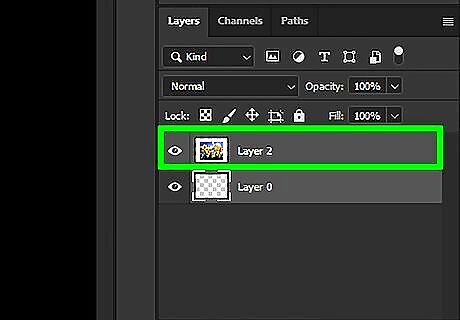
Create or select your layer. Select a layer (must have more than 0 percent opacity, preferably should be 100 percent opaque). All of the underlying layers must be transparent.
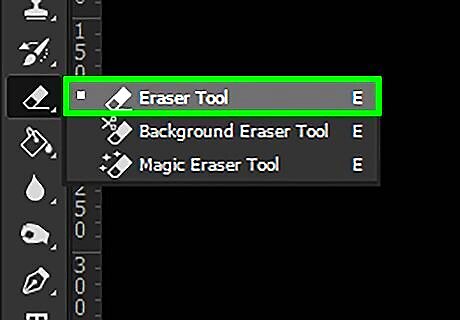
Click the Eraser tool. Pick the Eraser tool from the tool bar.
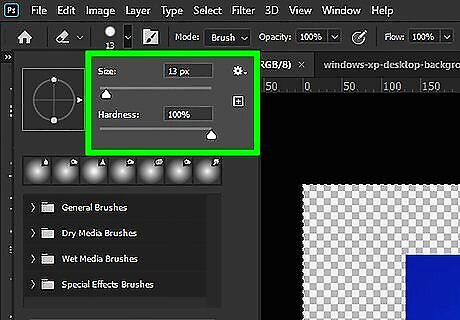
Change the settings. Choose the size and shape of the eraser using the Options bar that appears when you have the Eraser tool selected.
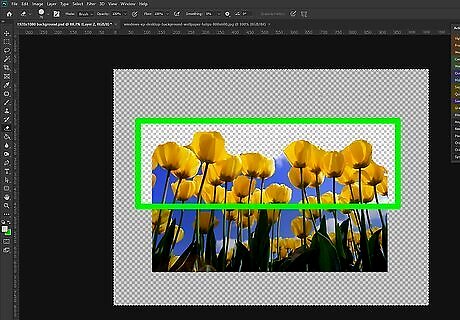
Draw using the Eraser tool. Essentially, you will be deleting the areas that you "draw" in, exposing the transparent layers underneath.


Comments
0 comment