views
Cleaning the Wound
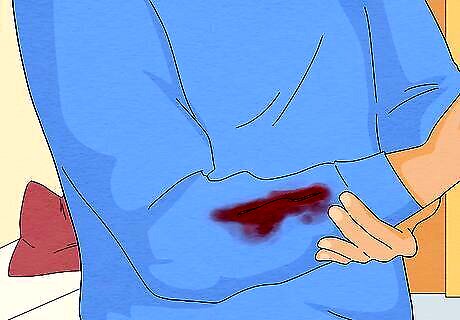
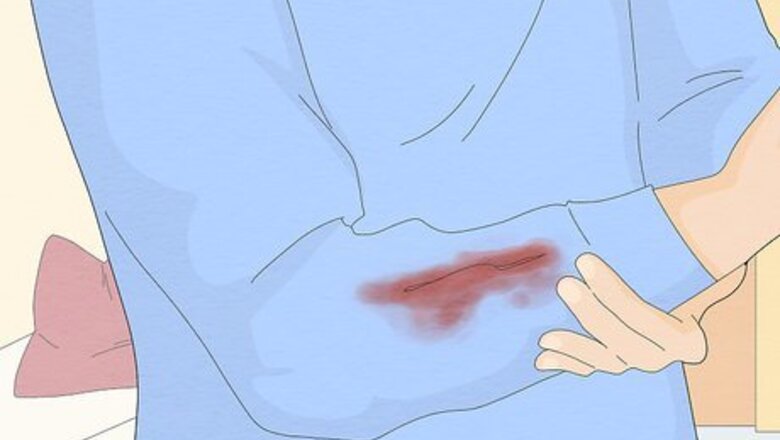
Know when the wound needs immediate medical attention. Although most minor wounds can be bandaged with a Band-Aid and most moderate skin wounds with dressings and medical tape, some are too serious for home care. For example, skin wounds that also involve seriously broken bones need immediate medical attention, as do major injuries to blood vessels that won't stop gushing blood. Wounds to the arms and legs that cause numbness or loss of sensation below the injury may indicate nerve damage, which is also an indication to seek medical care. Severe loss of blood will quickly make you feel weak and tired (and maybe pass out), so tell someone around you of the seriousness of your injury right away, or call emergency services for assistance. If you have a deep skin wound to your abdomen, your organs may be injured and bleeding internally, so try to get to an emergency medical facility as quick as you can — but get someone to drive you because you might lose consciousness, or call an ambulance.
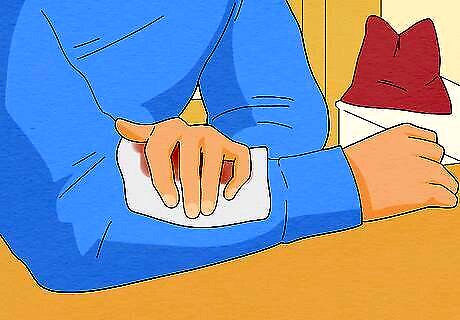
Control the bleeding. Before you clean and bandage a wound, try to get any bleeding under control. Using a clean, dry bandage (or any clean absorbent cloth), apply very gentle pressure over the wound to control the bleeding. In most cases, the pressure on the wound will promote blood clotting and the bleeding should stop within 20 minutes, although it may continue to ooze a little for up to 45 minutes. The bandage or cloth will also help prevent bacteria from entering the wound and causing infection. In severe cases, a tourniquet can be made by using a neck tie or long piece of cloth to tie a tight knot just above the wound. If significant bleeding continues even after you apply pressure for 15-20 minutes, the wound may need immediate medical attention. Continue applying pressure and get to a doctor's office, emergency room, or urgent care center. If the bleeding is difficult to control, the person may be on blood thinners or have underlying clotting issues. In these cases, the person should be brought to the attention of a medical professional. Before coming in contact with the wound, put on sanitized medical gloves if available. If gloves aren't available, wrap your hands in some sort of clean barrier such as a plastic bag or multiple layers of clean cloth. Use your bare hands to apply direct pressure to the wound only as a last resort because contact with blood can spread infectious diseases. Furthermore, use soap and water to disinfect your hands before contacting the wound, if possible. Doing so will minimize the possibility of transferring bacteria from your hands to the exposed injury.
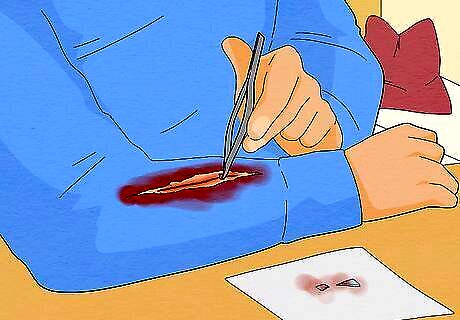
Remove any visible debris. If there are large pieces of dirt, glass, or other objects embedded in the wound, try to remove them with a clean set of tweezers. Rinsing the tweezers in rubbing alcohol first will help to prevent the transfer of bacteria and other microbes. Take care not to cause further damage by pushing the tweezers into the wound itself. If you're dealing with a gunshot injury, don't probe around the wound and try to pull out the bullet — leave that for medical professionals. If you are struggling to remove large pieces of debris from the injury site, consider leaving it for healthcare professionals rather than trying to handle it yourself. Pulling out large debris that is entangled with blood vessels may trigger more bleeding. Some first-aid experts recommend waiting to remove all debris until after you've rinsed the wound. If you see only small bits of dirt or grime, this might be the better way to approach the situation, since rinsing will likely wash away the small stuff.
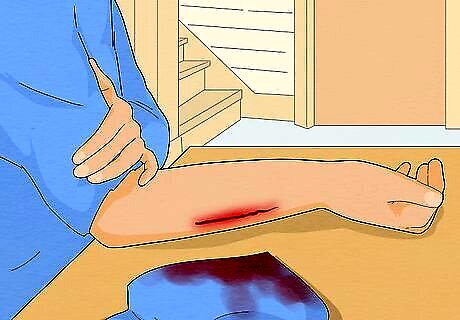
Remove or cut clothing away from the wound. To get better access to the wound once the bleeding is under control, remove any clothing and jewelry from the general area of the injury. This should be done so that if the wounded area swells, the tight clothing or jewelry won't affect blood flow. For example, if you're dealing with a bleeding hand wound, remove the wrist watch above the wound. In terms of clothing, if you can't remove it from around the wound, then consider cutting it away with blunt-nosed safety scissors (ideally). For example, if you're dealing with a thigh injury, remove the pants or cut them away from the wound before trying to clean and bandage it. If you can't get the bleeding under control, you may have to use the ripped clothes or belt to make a tourniquet, which puts pressure on the arteries above the wound. However, tourniquets should only be used in emergency life-threatening situations and for short-periods of time because tissue starts to die within a few hours of not getting any blood. Once clothes are removed to clean and bandage the wound, they may need to be used as a makeshift blanket to cover the injured person and keep them warm.
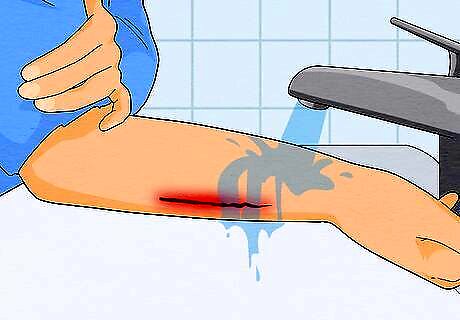
Rinse the wound thoroughly. In the best case scenario, wash out the wound thoroughly with saline solution for at least a few minutes until it looks free of dirt and debris. Saline solution is ideal because it decreases the bacterial load by rinsing it away and is typically sterile when bought packaged. If you don't have access to saline solution, then use clean drinking water or tap water, but make sure you let it run over the wound for a few minutes. Squeezing it out of a water bottle works well for this, or hold the wound under the tap if possible. Don't use hot water; instead use lukewarm or cool water. Saline solution can be purchased commercially. Some experts recommend using a mild soap, such as Ivory dish-washing liquid, to get the wound as clean as possible, but sometimes soap can irritate injured tissue. If you're cleaning a wound near the eye, be careful not to get soap in the eye.
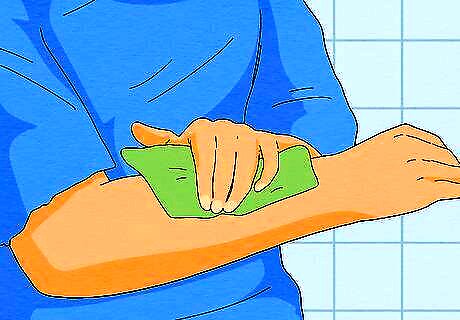
Clean the wound with a washcloth or other soft cloth. Using very gentle pressure, pat the wound with a clean cloth to make sure that it is completely clean after you've flushed it out with saline solution or regular running water. Do not push too hard or scrub too vigorously, but make sure you've removed any remaining debris. Keep in mind that gentle scrubbing may cause a bit more bleeding to occur, so reapply pressure to the wound after the cleaning. Apply an antibacterial cream to the wound at this stage prior to bandaging, if available. Antibacterial creams or ointments, such as Neosporin or Polysporin, help prevent infection. The cream will also keep the dressing from sticking to the wound. Alternatively, you may wish to add natural sanitizer to the wound, such as iodine solution, hydrogen peroxide, or colloidal silver (which is the only one that won't sting). Evaluate the wound after cleaning. Some wounds need stitches to heal properly. If you notice any of the following signs, seek medical attention rather than trying to bandage the wound yourself: the wound appears to be quite deep, it has jagged edges and/or it won't stop bleeding.
Bandaging the Wound
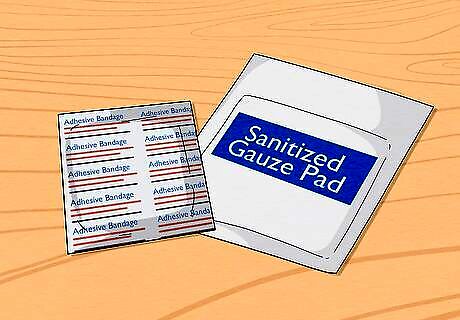
Find an appropriate bandage. Pick out a sanitized (still in its wrapper) and appropriately sized bandage for the wound. If it's a smaller cut, then a bandage with self adhesive (such as a Band-Aid) is likely best for the job. However, if it's a larger cut not appropriate for a Band-Aid, the you'll need to use a larger piece of dressing. You may have to fold or cut the dressing so it just covers the wound. Be careful not to touch the underside of the dressing (the side that will lay against the wound) in order to reduce the risk of infection. If you don't have an adhesive bandage and plan on taping the dressing in place, leave a little extra material on the edges so the tape doesn't stick directly to the wound. If you don't have actual dressings and bandages available, you can improvise using any clean cloth or piece of clothing. Lightly smearing the wound with antibiotic cream is beneficial not only to deter infection, but it will prevent the bandage or dressing from sticking directly to the wound. A bandage or dressing that sticks is likely to cause more bleeding when it's removed. Butterfly bandages are helpful for holding the edges of a wound together. If you have a butterfly bandage, place it across the cut (rather than lengthwise) and pull the edges of the wound closer together.
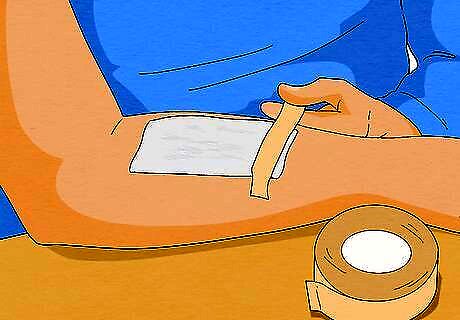
Secure the dressing and cover it. Use non-stretch, water-resistant medical tape to attach the dressing to the skin on all sides. Make sure the tape contacts healthy, uninjured skin. Avoid using industrial tape like duct tape or electrician's tape, which may tear the skin when you remove it. Once the dressing is taped over the wound, completely cover the dressing with a clean elastic wrap or stretchy bandage for further protection. Make sure that you don't wrap the bandage too tightly and cut off circulation to the wound or any part of the wounded person's body. Secure the elastic outer bandage with metal clips, safety pins, or tape. Consider placing a layer of plastic between the dressing and the outer bandage if there is strong likelihood that the wounded area will get wet. The extra layer of plastic will also provide additional protection from bacteria and other infectious agents. If the wound is located on your head or face, you may have to wrap the bandage around like a bandana and tie it tightly enough to keep it in place
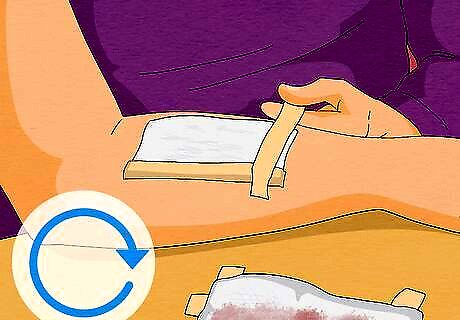
Change the dressing daily. Replacing the old dressing with a fresh one each day keeps the wound clean and promotes healing. If the outer elastic wrap bandage remains clean and dry, then you can reuse it. If your cut was small enough to use a Band-Aid, then change that daily as well. Over the course of a day, if your dressing and/or bandage gets wet, then change it immediately and don't wait for the following day. Wet dressings and bandages promote infection, so always try to keep them clean and dry. If a dressing or Band-Aid is stuck to a newly formed scab, then soak it in warm water to soften the scab and make the dressing or bandage easier to remove. To prevent this problem, use a nonstick bandage if available. Signs of healing include reduced inflammation and swelling, less or no more pain and the formation of a scab. Healing of most skin wounds occurs within a few weeks, but deeper cuts can take up to a month to fully heal.

Keep an eye out for signs of infection. Despite efforts to keep your skin wound clean and dry, sometimes it can become infected. This is common if you were cut deeply by something rusty or dirty, or if you were bitten by an animal or person. Signs that indicate that your skin wound is infected include: increased swelling and pain, discharge or yellowish or greenish pus, the skin turns red and is very warm to the touch, high fever, and/or a feeling of malaise. If you notice any of these signs within a few days of your injury, see a doctor right away. They will likely prescribe antibiotics or other treatments to fight the infection. Any red streaking of the skin around the wound may indicate an infection in the lymph system (system that drains fluid from tissues). This infection (lymphangitis) can be life threatening, so prompt medical care should be sought. Consider a tetanus shot. Tetanus is a serious bacterial infection that can develop from an infected wound, especially if you were punctured by a dirty object. If you have not received a tetanus booster within the past 10 years, you should see a doctor and get caught up on your shots.


Comments
0 comment