views
Planning Your Enclosure
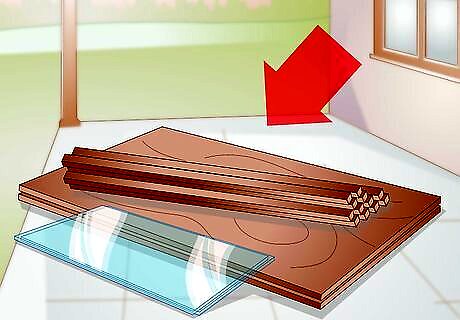
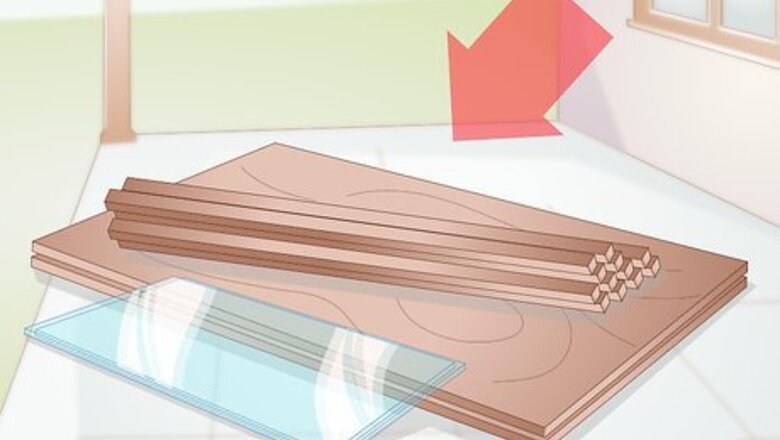
Gather your materials. You'll want to make sure you have everything you need before you begin. In addition to the actual building materials, you'll also need several tools, including a power drill, a router, measuring tape, screws, hinges, and one or two hook-and-eye latches for the enclosure's opening. Wood is the primary structural material. You'll be using it to assemble most of the enclosure. High-pressure particleboard with a laminate coating, pre-built shelving, or high-quality plywood are all ideal types of wood for the enclosure. Be sure you stain the wood before beginning. You'll also need to choose between glass or thermoplastic for the panels of your enclosure. Glass and plastic both help retain heat inside the enclosure, though plastic may be more effective.
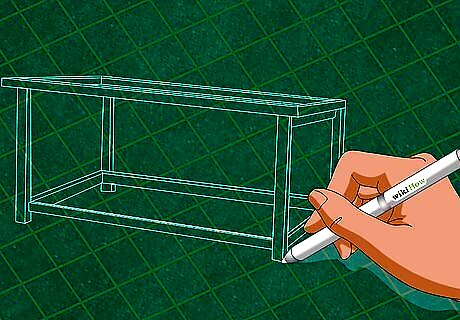
Plan the size of your enclosure. Before you measure and cut any pieces, you'll need to decide how large your enclosure should be. This will be determined by the size of your snake. If your snake is still growing, size your enclosure to its estimated adult size, which a breeder or snake expert at your local pet store should be able to tell you. Generally speaking, most snakes need at least enough space to stretch out across the cage. Smaller sized snakes like garter and grass snakes can be kept in smaller enclosures, so long as they have enough room. Medium- to large-sized snakes, including king snakes, rat snakes, milk snakes, and gopher snakes, require larger enclosures. Be aware that climbing snakes will do better in a taller enclosure, while burrowing snakes will do better in a longer enclosure.
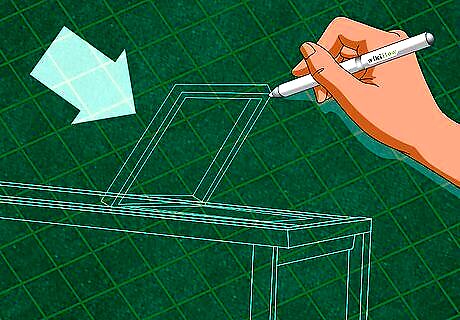
Determine where to place the opening. Generally speaking, if your snake is venomous or is capable of moving particularly fast, it's best to put the opening on top of the enclosure. This will help prevent escape attempts while the enclosure is open for feeding or cleaning. If your snake is not venomous and does not move quickly, you can put the opening on the side of the enclosure. Having a side-opening enclosure allows you to stack your snake's habitat between other enclosures (if you have more than one). You will not have this option if you put the opening on the top of the enclosure. If your snake will need an artificial heat source, it may be easiest to put the opening on top of the enclosure. If you're using a glass panel, you may be able to simply place the heat lamp directly on the glass.
Building the Enclosure
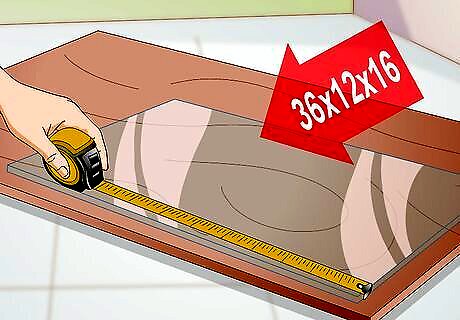
Measure your building materials. Before you can actually build the enclosure, you'll need to measure its components. It's important to be as precise as possible with your measurements since a gap in the enclosure could make it easy for your snake to escape. Smaller snakes can be kept in a 10- or 20-gallon tank. This measures out to either 20 inches by 10 inches by 12 inches (51 by 25 by 30.5 centimeters), or up to 24 inches by 12 inches by 16 inches (61 by 30.5 by 40.5 centimeters) Medium-to-large sized snakes typically need between 30- and 55-gallon tanks. This measures out to 36 inches by 12 inches by 16 inches (91.5 by 30.5 by 40.5 centimeters) or up to 48 inches by 13 inches by 20 inches (122 by 33 by 51 centimeters). The glass or plastic panel you use as a window for the front of the enclosure should measure a few tenths of an inch (less than a centimeter) shorter than the back wooden panel. This will allow a more precise fit in the grooves that you'll dig out.
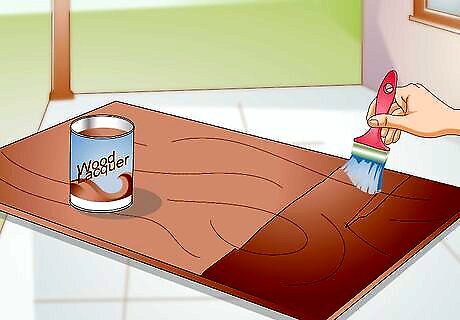
Apply lacquer to the wood. Over time, the wood in your enclosure may begin to rot. It will also get dirty and may be difficult to clean if you do not stain the wood first. Staining will help protect the wood to ensure a longer life for your enclosure.
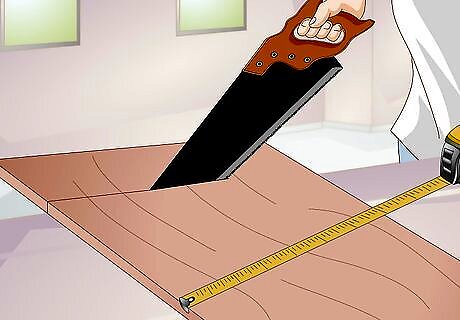
Cut the wood to size. Once you've assessed the size needs of your snake and determined the final dimensions, you'll be ready to cut your wood. It can be helpful to mark the sizes in chalk or pencil before cutting so that you have precise measurements and straight lines to cut along. Make sure you wear personal protective equipment (PPE) while working with wood. This includes safety glasses, gloves, earplugs, a respirator, and a padded kickback apron. Cut each piece as a solid rectangle. You only need to cut the sides, back, top, and bottom. The front face will be a glass or plastic panel held in place by the top, bottom, and sides.
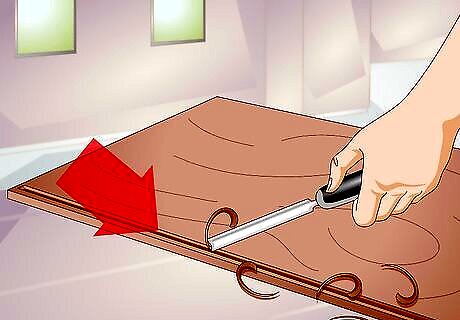
Dig out a groove for the glass. Before you can complete the enclosure's assembly, you'll need to make room for the glass or plastic panel and insert it into place. This will be done using a router to gouge out the wood. Dig the groove 0.5 inches (1.25 centimeters) from the face of what will be the outside wall of the enclosure. You'll need to cut grooves in the front face of the top and bottom pieces as well as down the sides. Slide the glass or plastic panel into each groove to ensure that it fits snugly in place.
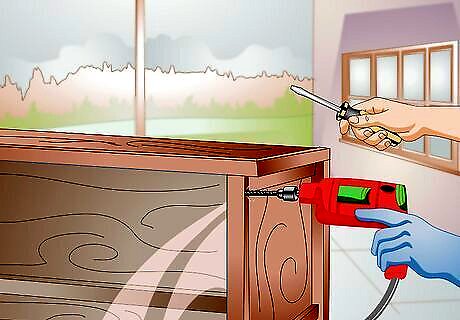
Assemble the enclosure. Use a power drill to bore holes in the sides, back, and bottom of the enclosure, then screw them into place. If your cage will open from the side, attach the back, bottom, top, and one side of the panel, leaving the opening side unattached. Make sure the grooves for the glass or plastic panel line up evenly. Before you attach the top, slide the glass or plastic panel into place so that your enclosure is complete. If you are making a side-opening enclosure, wait before attaching your chosen side's panel. Make sure there are no gaps around the glass or plastic panel. Use an adhesive that's approved for use around pets to seal up any gaps where the panel fits into your wooden frame. You can find these products at your local hardware store or through an online retailer.
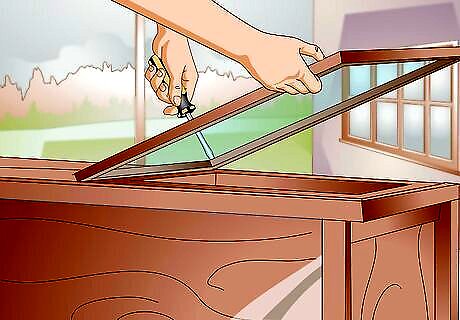
Attach the opening panel. If you're building an enclosure that opens from the top, then you'll be attaching the top panel with hinges. If your enclosure opens from the side, then your chosen side's panel will be the opening that you affix with hinges. Measure where you will need to attach the hinges onto the opening panel (either the top or one side). Then measure where the hinges will attach to the back panel. Use a power drill to bore holes for the hinges, then screw the hinges into place. Attach hook-and-eye latches to each corner of the opening panel. It's typically a good idea to use multiple latches instead of just one since some snakes are strong enough to break through weak doors. Drill several small holes for ventilation in the opening panel (either the top or the side of your enclosure).
Preparing the Enclosure for Your Snake
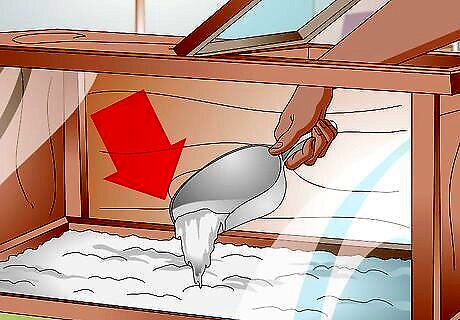
Lay down a substrate. Your snake will feel most comfortable if there is some type of substrate at the bottom of the enclosure. The materials you use, though, will depend on your snake and its traditional habitat in the wild. Snakes that naturally live in the desert will need fine-grain sand for a substrate. For other snakes, unprinted paper (such as unprinted newspaper pages or butcher's paper) can be laid down in shredded layers. Still other snakes will prefer clean leaf litter as a substrate. Talk to a veterinarian or a snake expert at your local pet store to determine what type of substrate would work best for your snake.
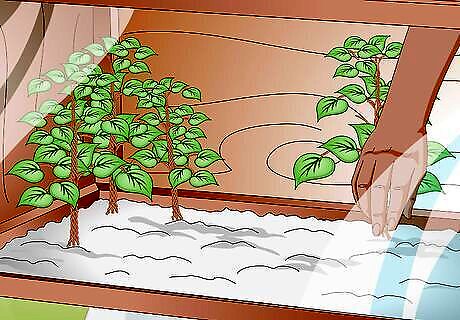
Include vegetation. Most snakes like some type of vegetative cover since they're typically used to having this in the wild. Different snake species are used to different habitats, and the types of plants you provide should reflect what your snake would live with in nature. However, once you've identified the best type of vegetation, you will need to choose between live plants and artificial plants. Chinese evergreen, ferns, small palms, philodendron, bromeliads, and begonias are all plants that are commonly used in snake enclosures. Live plants can be difficult to maintain and frequently carry pests or diseases. For this reason, many experts advise against using live plants and advocate for artificial plants instead.
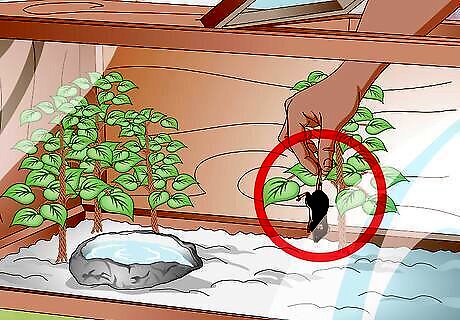
Provide food and water dishes. All snakes need a constant supply of fresh drinking water. Snakes will need food as well. All snakes are predatory carnivores, which means that your snake will need live, frozen, or recently-killed organisms in order to survive. Try to provide a water dish that is large enough for your snake to immerse itself in. Be sure the water dish you purchase is heavy enough that it will not get tipped over as your snake climbs in or out. The food you feed your snake will depend on the diet of that species. Most pet snake species eat mice, rats, gerbils, or hamsters, though smaller snakes may eat insects, frogs, or amphibians. Ask your veterinarian or a snake expert at your local pet store about what type of diet is best for your snake.
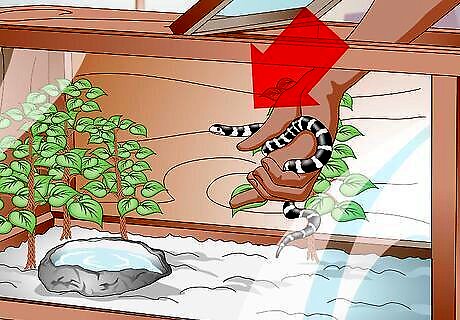
Introduce your snake to the enclosure. Once you've got everything set up, you'll be ready to introduce your pet snake to its new home. Give your snake time to adjust to its new surroundings before you attempt to handle the snake or remove it from the enclosure, as it may be frightened or confused after being transferred to its new home.




Comments
0 comment