views
Laying the Foundation
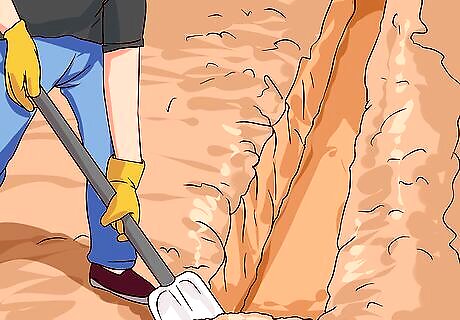
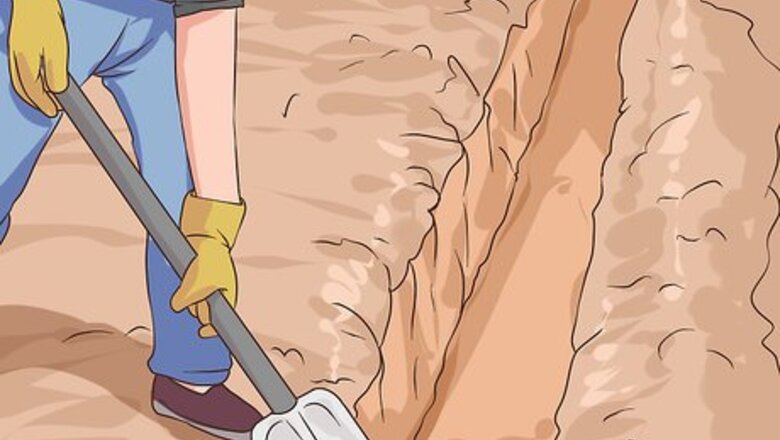
Dig a level trench a foot deep into stable soil. Make the trench straight by staking out the location exactly and using a tight string to make a line between the stakes.
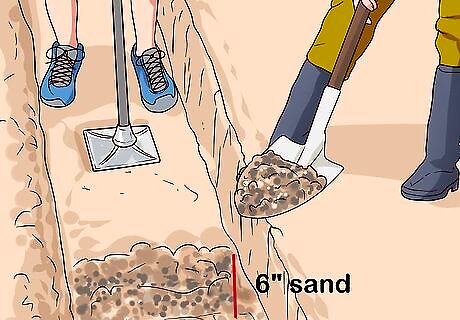
Add 6” of sand or crushed limestone as a base leveling material. Compact the base material. Check base material with a level or measure down from a leveled string line. Add base material to low spots. Repeat compacting.
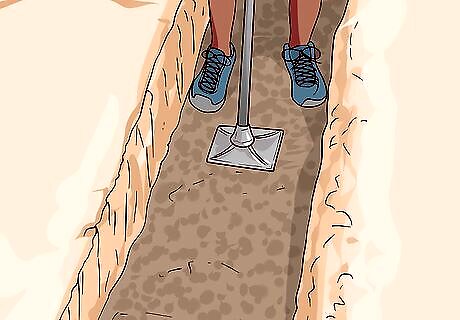
Level the trench from one end to the other.
Building the First Course
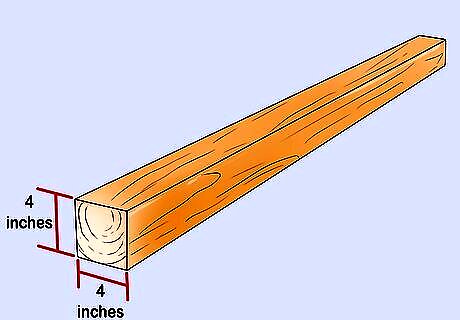
Begin 1st course with a full length 4x4 post. The word “course” means one row or one layer of the materials of which the wall is made.
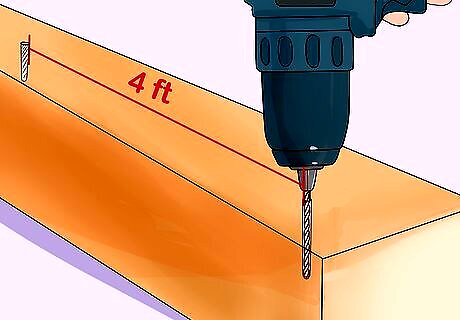
Drill two half inch holes through post centered 4 feet (1.2 m) apart.
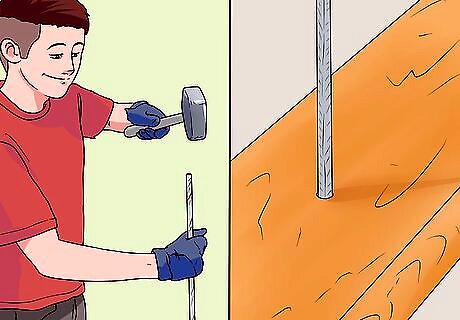
Hammer the post in place with rebar through the holes. Hammer rebar until flush with top of 4x4 post.
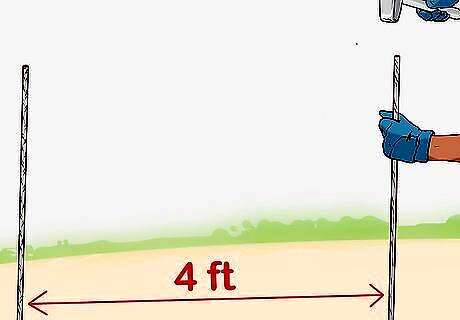
Repeat for the entire length of the wall.
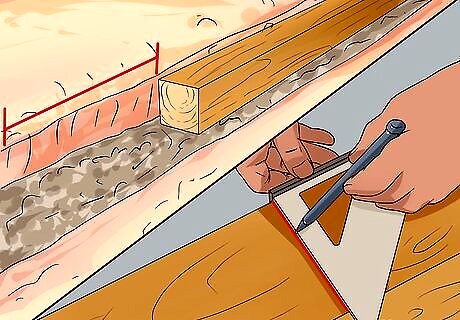
Measure the last post needed. Transcribe measurement onto a post. Mark line around the post with speed square and pencil, and cut the lines with circular saw.
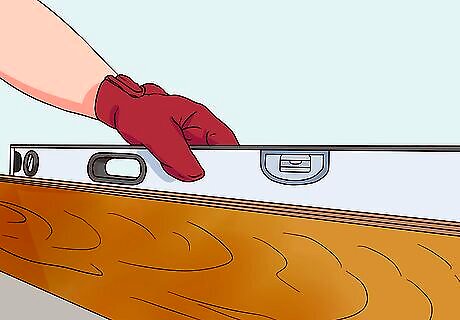
Check each post level horizontally and plumb vertically as subsequent courses will be affected. Add wooden shims if necessary.
Constructing the Wall
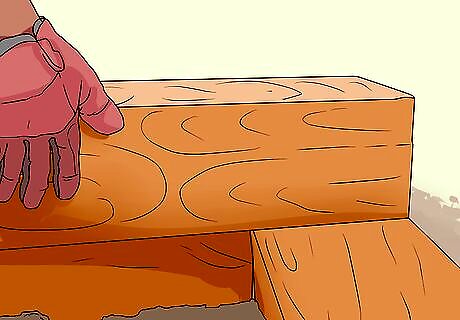
Begin the second course with a post cut to half-length to stagger the joints. Check posts for level and plumb before nailing. Use the 4 pound sledge to hammer 60d wall tie nails through the top of the post into the course below. Install the wall tie nails every 16 inches. Install full length posts to complete the course cutting only the end post.
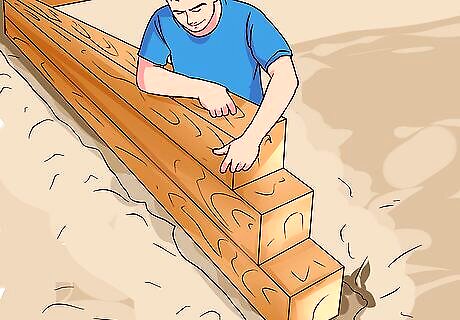
Begin third course/layer with ¼ length post to stagger seams. Keep going until the layer is complete.
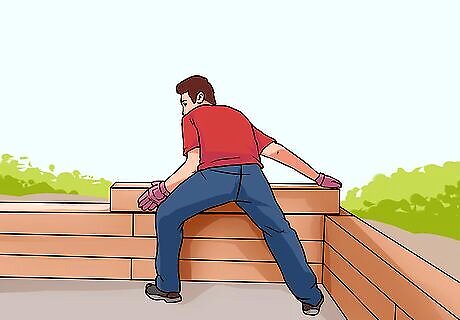
Begin fourth course with ¾ length post to stagger seams. Keep going until the layer is complete.
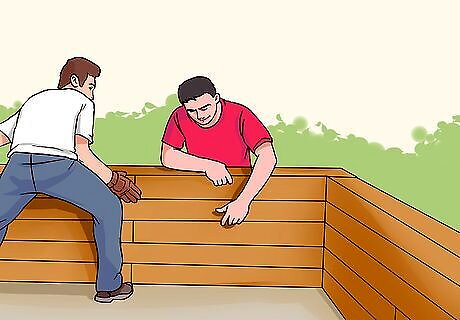
Begin fifth course with full post again.
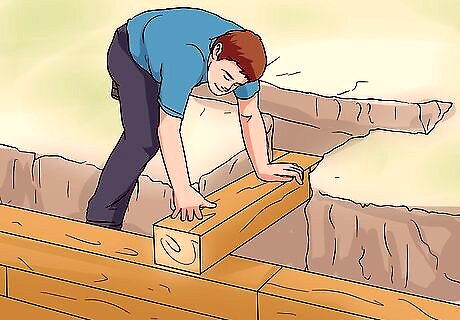
Add T-braces to the wall while being constructed for support. Dig a T shaped trench behind the wall. Build the T-brace horizontally behind the wall with 4x4 posts. Incorporate the base of the T-brace by nailing it flush in between two posts in a course of the wall. Hammer rebar down through the T-brace into the ground. Bury the T-braces. Locate all T-braces below the top of the finished wall so as to not become disturbed or visible.
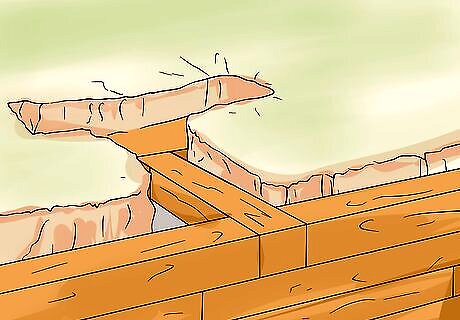
Use the straightest and most visibly appealing 4x4 posts for the final top course the wall.
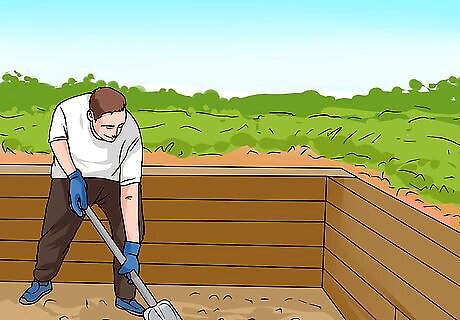
Backfill the wall.


Comments
0 comment