views
X
Research source
Fortunately, you can complete this task with little more than a pressure gauge and an air compressor—or even just a bicycle pump if you’re in a pinch!
Checking the Tank Pressure
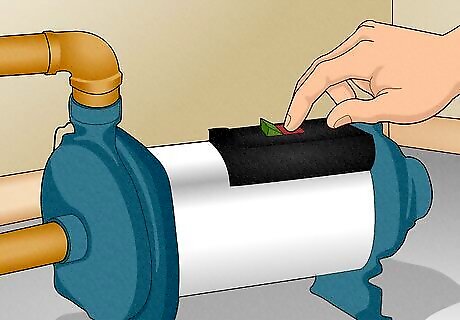
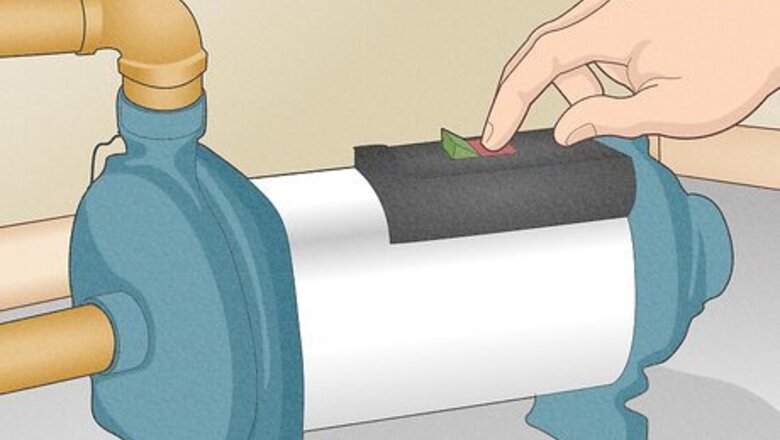
Turn off the power to the pump that feeds water into the tank. Flip the pump’s power switch to the off position. If you want to be extra sure the power is off, unplug the pump (if it’s a plug-in unit) or shut off the breaker for the circuit that powers it (for a hard-wired unit). If you don’t shut off the pump, it will keep adding water to the tank and you won’t be able to accurately check the air pressure.
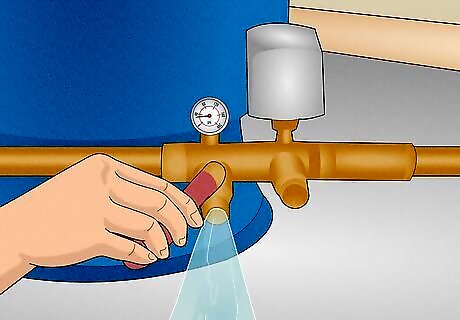
Drain the water from the tank by opening a faucet or release valve. If your tank has a hose bib that branches off of the water outlet line that exits the tank, connect a garden hose to it. Run the other end of the hose to a drain or outside and open the hose bib valve. Alternatively, turn on one or more faucets anywhere in your home—this option may take a bit longer, though. Leave the hose bib or faucet valve open, even after the water stops flowing.
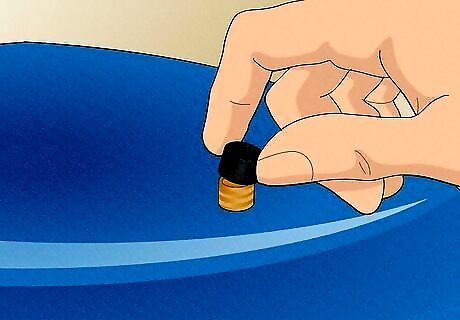
Unscrew the cap that covers the schrader valve on the tank. This is the same kind of black cap covering a threaded valve that you see on bicycle and car tires. It’s usually on the top of the tank, but may be on the bottom or side in some cases. Twist counterclockwise to remove the cap. Set the cap aside in a spot where you won’t lose it. It helps protect the schrader valve from damage and air leakage.
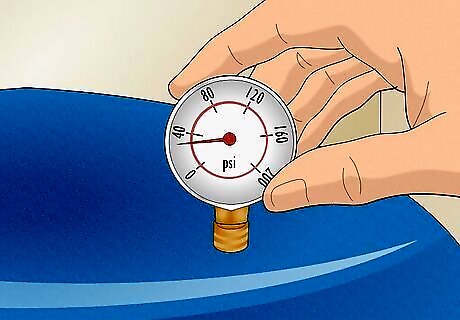
Press an air pressure gauge onto the schrader valve to get a reading. You can use any type of pressure gauge that works with a bike or car tire: a digital gauge, a dial gauge, or a basic gauge with a pop-out rod. Simply press the gauge’s coupling onto the schrader valve until you hear a quick air release, then check the reading. A digital gauge shows a digital readout of the air pressure, while a dial gauge uses an arrow that points to the air pressure level. A pop-out gauge has pressure readings etched into the rod—take the reading from the spot where the rod emerges from the housing. It’s easy to get confused here, but you can’t use the water pump’s built-in pressure gauge to read the pressure inside the pressure tank. The pump’s gauge tells you only what pressure level the pump is creating, not what pressure level the tank is maintaining. That’s why you need to check the tank itself with a pressure gauge.
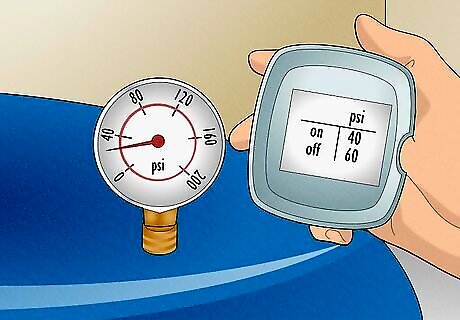
Compare the pressure level reading to the pump’s “cut-on” setting. When drained of water, the tank’s pressure level should be 2 pounds per square inch (psi) (0.14 bar) below the pump’s “cut-on” setting—the pressure level at which the pump turns on to increase the water pressure. In the U.S. at least, the pump’s cut-on setting is likely 40 psi (2.8 bar), which means the tank should be at 38 psi (2.6 bar). If it’s below 38 psi (2.6 bar), the tank needs recharged; if it’s above 38 psi, the tank is likely damaged or malfunctioning in some fashion and should be checked by an expert. Most home water pumps in the U.S. are set to turn on (cut-on) when the water pressure drops below 40 psi (2.8 bar) and turn off (cut-off) at 60 psi (4.1 bar). However, the cut-on/cut-off range can be as low as 20-40 psi (1.4-2.8 bar). Your pump’s current settings should be clearly displayed on the device; check the user’s manual for guidance if needed. Pounds per square inch (or, more accurately, pound-force per square inch) is the pressure measurement used in the U.S. The metric system uses bars or pascals (1 bar = 100,000 pascals).
Adding Air and Testing for Leaks
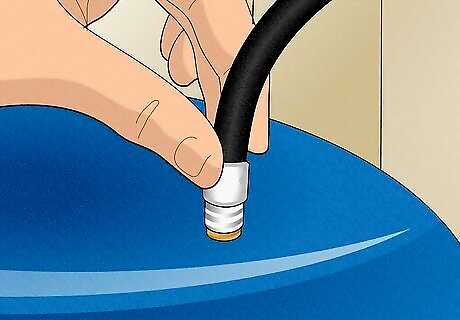
Screw the coupling of an air compressor onto the schrader valve. Turn the coupling clockwise by hand until it’s securely screwed onto the threads of the schrader valve. Don’t over-tighten the connection by using a wrench or other tool; you’ll just break the schrader valve. If you don’t have an electric air compressor, any type of manual bicycle pump can do the job—just more slowly and with more effort on your part!
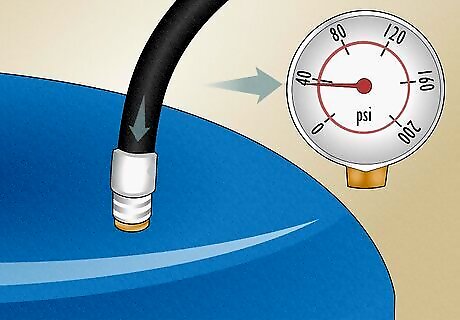
Add air until the tank is at 2 psi (0.14 bar) below the pump’s cut-on setting. Turn on the air compressor and keep an eye on its digital or dial pressure readout. When the readout shows the pressure in the tank is 2 psi (0.14 bar) below the pump’s cut-on setting—for instance, 38 psi (2.6 bar) if the cut-on is 40 psi (2.8 bar)—turn off the compressor. Unscrew the air compressor’s coupling when you’re done adding air to the tank. Unlike air compressors, most manual bike pumps don’t have built-in pressure gauges. That means you’ll have to stop every so often, remove the pump coupling, and use your pressure gauge to check the tank pressure. Keep alternating back and forth until you reach the desired tank pressure.
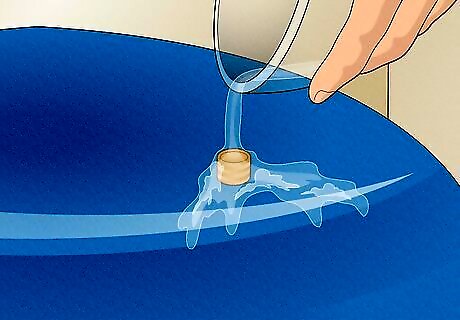
Check for air leaks by putting soapy water on the valve. Add a small squirt of dish soap to a glass of water and stir it up. Dribble or spread the soap solution onto the uncovered schrader valve, making sure it’s coated from tip to stem. If you see active bubbling—new bubbles forming and popping in a specific spot—the valve may have an air leak and should be repaired by a professional. Check for bubbling for around 2-3 minutes before wiping the soapy water off of the valve and tank.
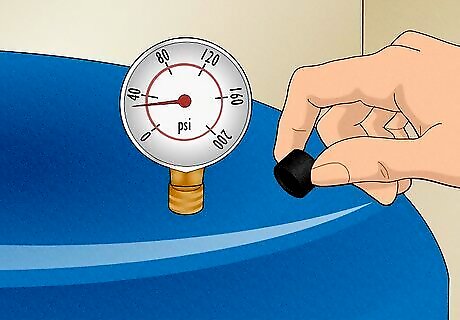
Put the gauge on for one last check, then screw on the valve’s cap. Check the tank pressure once more, just in case you missed an air leak with the soap solution. If the tank is losing pressure shortly after you charged it with air, it needs to be checked out by a pro. If the pressure is holding steady, hand-tighten the cap that protects the schrader valve and proceed.
Restarting the System
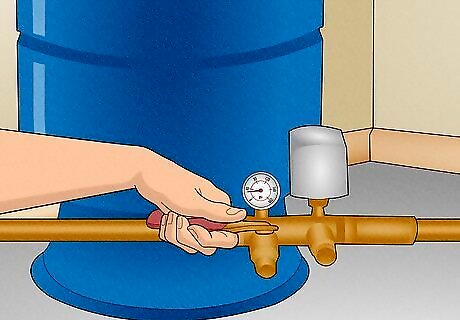
Close the faucet or water release valve and turn the pump back on. Shut the valve or faucet you opened to drain the pressure tank, then restore the power to the water pump. The pump should immediately kick into action and add water (and pressure) to the tank.
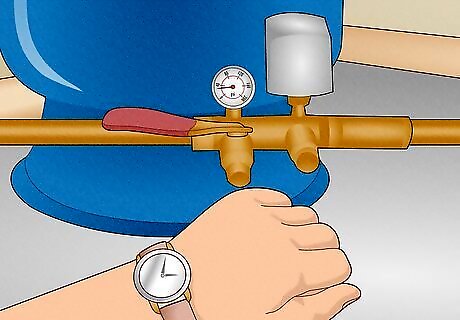
Observe the pump’s pressure gauge during a “cut-on” to “cut-off” cycle. Once the pump shuts down after filling the tank to the set cut-off pressure—for instance, 60 psi (4.1 bar) — wait for the pressure to naturally reduce to the cut-on pressure, such as 40 psi (2.8 bar). The waiting time will vary based on many factors, but is typically no more than 2-3 minutes. While the pump is running, watch its pressure gauge closely—the cut-on and cut-off should occur at the correct pressure levels, such as 40 and 60 psi (2.8 and 4.1 bar) Unlike before, when you used a separate pressure gauge to check the pressure in the tank, now you want to watch the pump’s built-in pressure gauge to observe the pressure level the pump is creating. Most water pumps complete a cut-on to cut-off cycle in 30 seconds or less. If the pump takes significantly longer than this or sounds like it’s straining to do its job, have a professional take a look at it.
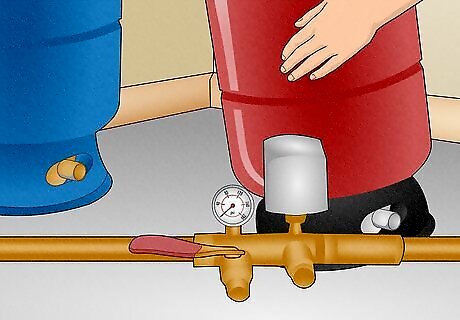
Replace the tank if it’s “short-cycling” or showing other signs of damage. If the pump starts up (cuts on) less than 30 seconds after its last cut-off when you’re not using any water, this is called short-cycling and typically indicates that the tank is damaged and not holding pressure properly. While a professional may be able to repair your tank in some cases, it’s usually best to have them replace the tank with a new one. If you have a “bladder” or “diaphragm” style tank, which separates the air and water inside the tank, the rubber material inside may be damaged. If you have an older style of tank with no separation between the water and air, sediment clogging or structural damage may be to blame. The tank needs to be repaired or replaced in all of these cases.


Comments
0 comment