
Sanding and Priming Your Item
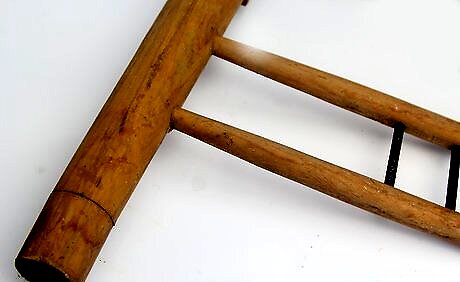
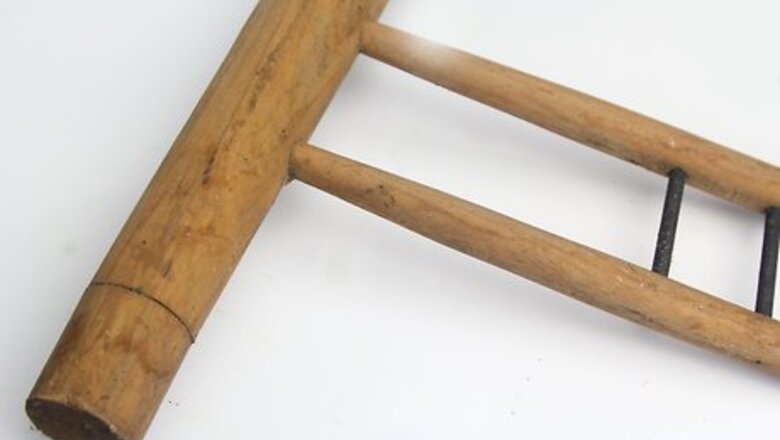
Choose a decorative item or piece of furniture to crackle paint. Crackle painting works on many different surfaces and materials, such as ceramic and canvas. However, it typically looks most realistic on wooden pieces that naturally weather over time. Consider crackle painting an old rocking chair, a decorative crate, or a piece of wall art.
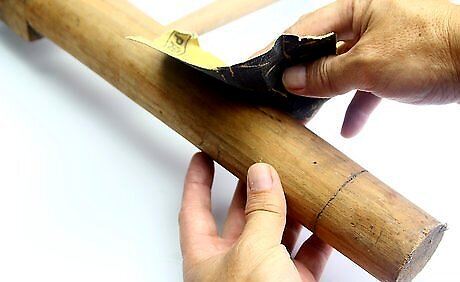
Sand wooden items with 150-grit sandpaper. If you choose to paint a wooden object, get sandpaper that is 150-grit or finer from a hardware or home improvement store. Rub the sandpaper against the item’s surface to make it smoother for painting.
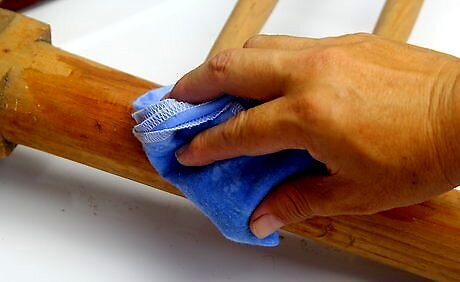
Wipe the item down with a damp cloth. Before painting, you’ll want to make sure your object is clean and free of any dirt. This is especially important for wooden pieces, since you’ll also need to get rid of any lingering sanding dust. Run warm water over a clean cloth for a few seconds and wring out the water. Wipe the entire surface of your item clean.
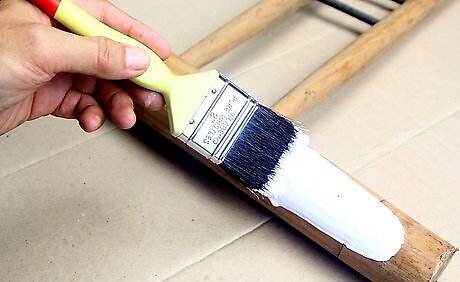
Apply primer to the item. Wait until the item is completely dry to the touch and then get out some paint primer and a paintbrush. Brush one coat of primer onto the item’s surface and allow it to dry fully. This should take somewhere between 1 and 3 hours. Any generic paint primer should work fine, but consider getting a wood primer if your object is wooden so that any cracks in the wood are properly filled in.
Painting the Item
Choose and protect your workspace. Find a location to paint where there’s good ventilation, such as outside or in an open garage. Before getting the paint out, put down sheets of newspaper all over your work surface to keep it and anything else in the area from becoming damaged.
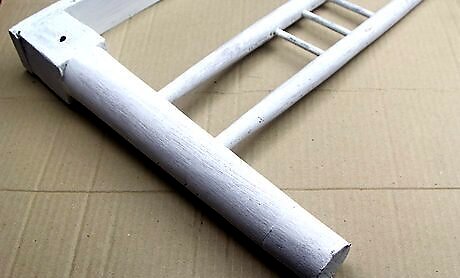
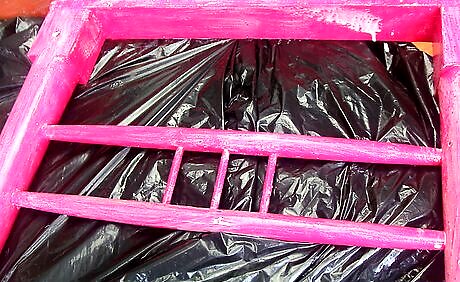
Apply a semi-gloss acrylic base coat and let it dry overnight. After following the primer’s drying directions, choose an acrylic or latex paint to apply as a base coat. This can be any color you want, but it’s best to get a paint that’s semi-gloss or satin. Brush on the paint in the direction of the grain until the entire item is painted. Set the item aside to dry until at least the next day. This will be different than the paint you use for your top coat. Your top coat should have a flat or matte finish, which appears more saturated than semi-gloss or satin. Additionally, the top and base coats should be contrasting colors, such as eggplant and aquamarine.
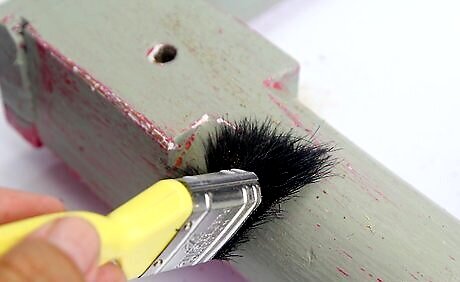
Brush crackle medium or school glue onto the object’s surface. Go to a craft store and either purchase a conventional crackle medium or white school glue, such as Elmer’s. Use a paintbrush to coat the item you’re painting in either the crackle medium or the glue. Crackle medium is more expensive than school glue, but both options typically provide good end results.
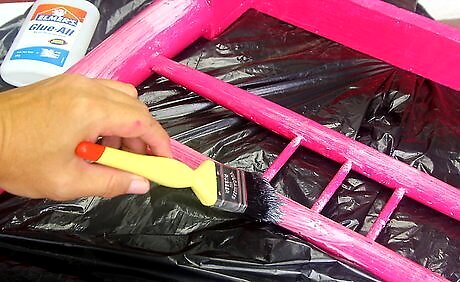
Apply thick layers to get big cracks and thin layers to get small ones. If you’re wanting to create large cracks, put big globs of glue or crackle medium onto your paintbrush before applying it to your object’s surface. Dip your paintbrush into the glue or crackle medium conservatively before applying it to your object’s surface if you want hairline cracks.
Let crackle medium completely dry, but don’t allow glue to dry. If you’re using a crackle medium, give it 1-4 hours to dry. Otherwise, move onto painting your top coat immediately. For the crackling to work correctly, the glue must be tacky when the top coat is applied.

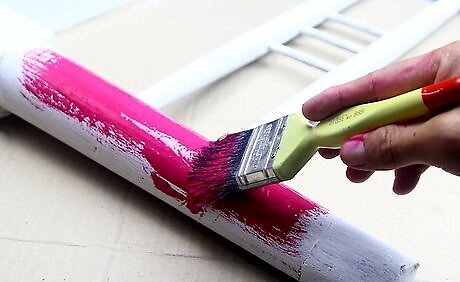
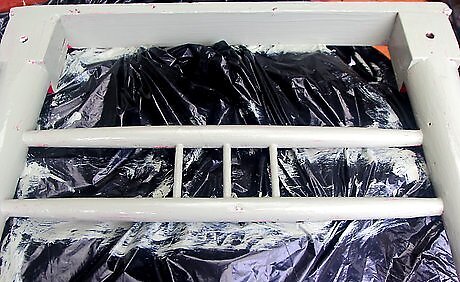
Choose a flat latex or acrylic paint for the top coat. Pick a color that contrasts well with your base coat color to get the best visual effects. For example, if your base coat is bright yellow, you might consider choosing navy blue as a top coat. Allow the paint to dry completely so that the cracks stay intact.

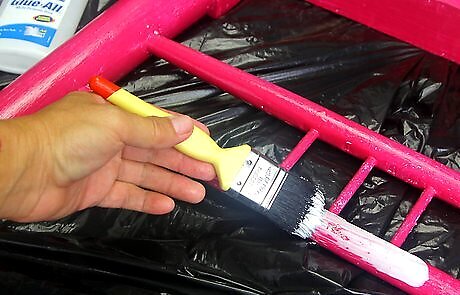
Apply a top coat of flat latex or acrylic paint. Brush one coat only of flat latex or acrylic paint over the crackle medium or glue. Brush your top coat on lightly to get thin cracks and brush on a heavy coat to get large cracks. Use a spouncer brush to sponge-paint the top coat if you want spider web-like cracks.
Give the paint at least 2 hours to dry. If you aren’t sure if it’s dry, lightly touch an inconspicuous part of the object with your fingertip. If it feels dry to the touch, and not tacky, then the paint is dry.
Enhancing and Protecting the Distressed Look
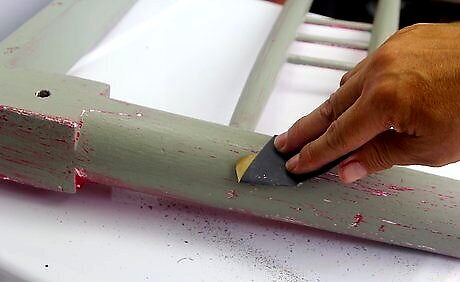
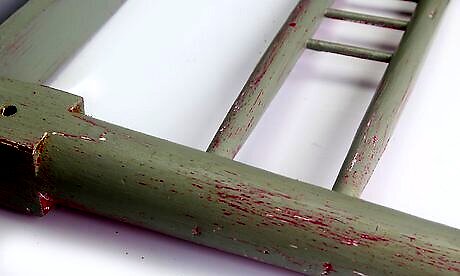
Sand the edges of wooden items to make the base coat more visible. After the top coat is completely dry to the touch, sand the item again with sandpaper. If you want to see a lot more of the base coat, sand the entire item. If you just want to add a little bit more to the distressed look, just sand the item’s edges and curves.
Create depth and texture with aging dust. If your item is still looking too “new,” you can use a paintbrush to brush on some aging dust to give it the illusion of age. Focus on applying the dust in cracks and crevices in order to see more depth and texture. You can purchase aging dust at craft stores and online.
Seal the finish with a clear coat of sealant. Once you’ve gotten your item the way you want it, lock in its finish by brushing on a clear coat of sealant. This is an especially good idea if your item is a frequently used piece of furniture that you want to protect. Follow the sealant drying instructions before using the item. If your item is something that will be touched less often, such as a piece of wall art, consider going without the sealant. This will play up the distressed look.


Comments
0 comment