views
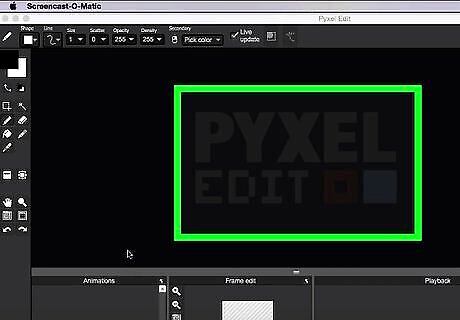
Open your paint program. The program can be as simple as Microsoft Paint or a more in-depth program such as Photoshop.
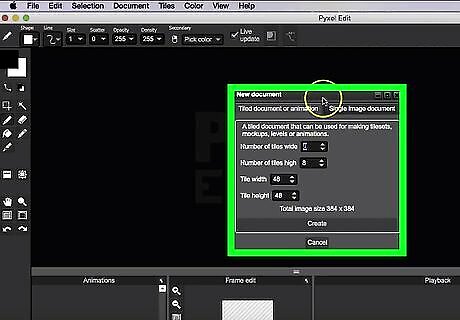
Create a new canvas. There is no size requirement, though the canvas should be large enough to house the sprite you plan on creating. Most paint programs will allow you to change the size of the canvas at any time. While not required, it is recommended to change the background of the canvas to a non-white color that won’t share any colors of your sprite.
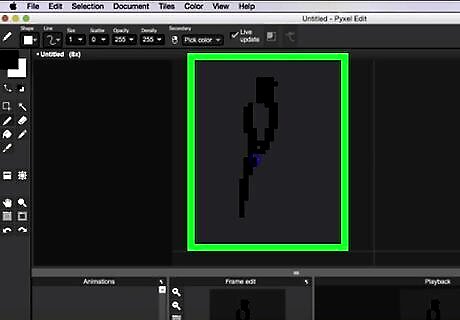
Draw a rough sketch. Choose the pencil tool and begin to place pixels - any color should work, though a brighter color is preferred. This does not need to be anything defined - just a rough image of what you want the final product to be. This allows you to get the size of the sprite down, in addition to deciding on a basic pose for your base. It is recommended to choose a more natural or laid back pose as opposed to a more action-oriented one.
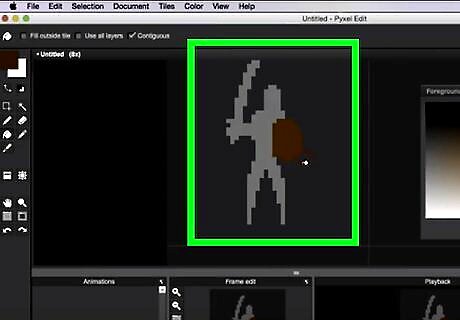
Define the outlines. Choose a different color than the one you used for the previous step. Begin to draw over your sketch with more defined details, using the sketch from the previous step as a guide. This can include arms, legs, clothing, and other various points of interest. Continue until you feel you’ve included everything. If your paint program has the option for multiple layers, it is recommended to do this step on a new layer above the the sketch’s layer.
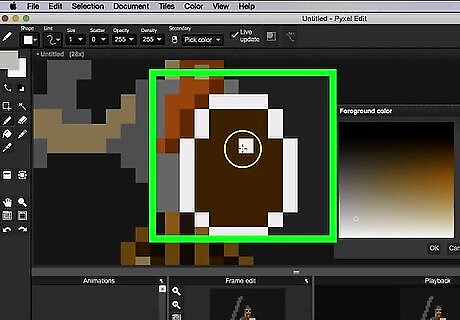
Add more details and color. Erase the sketch and/or the layer where it resided. Add details to the outline, including color. You can either get colors off of your reference picture, or select your own.
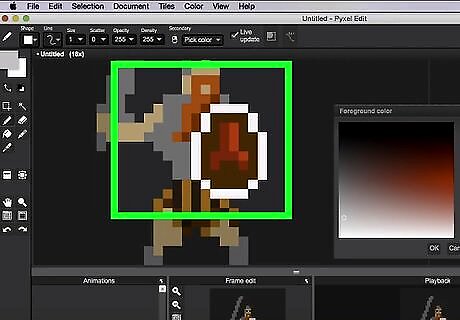
Add shading. Shading helps give your sprite depth and allows it to stand out in a 2D space. First, determine where your “light source” is coming from. This will give you an idea of where your darker colors will go to illustrate shading. Using the colors selected in the previous step, select darker tones of the colors using your paint program’s color selector. Place them based on where your light source is facing; if it is directly in front of the sprite, for example, place them towards the backside of the sprite. Take note of any parts of the sprite that might cast shadow on other parts: these include limbs, branches, and articles of clothing.
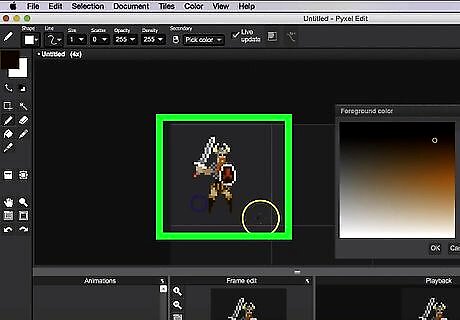
Save your sprite. Once you feel you've hit a good point with the sprite, save it. Go to File, and click Save. Save the image where you can access the sprite again. Make sure to save the file as .PNG; anything else can either ruin the image quality or alter the sprite’s colors.
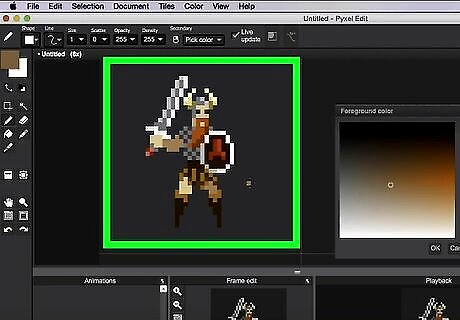
Look over your finished sprite. Make sure everything looks the way you want it to. If you are satisfied with the end result, you have successfully created a base sprite. If you are not satisfied, do not be discouraged. If you continue to practice and improve, your sprite work will improve.





Comments
0 comment