views
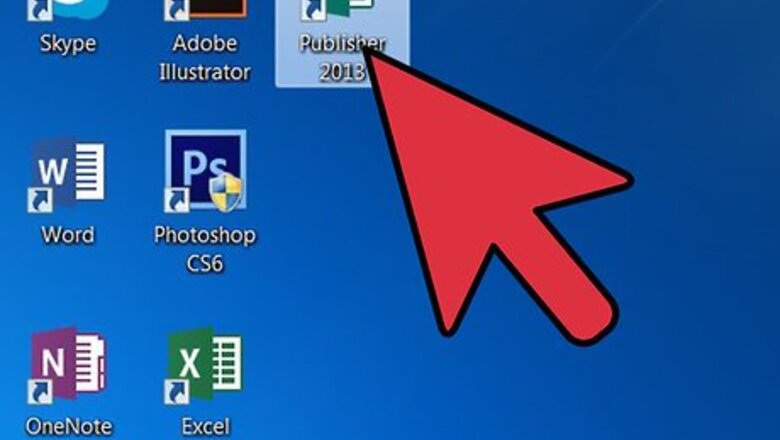
Open a blank Publisher project.

Open Publisher and create a blank project. Choose a paper size for the work area. Select the Blank Page Sizes option from the Publication Types menu in the column on the left. Select the Letter (portrait) option from the available sizes. The work area has been prepared to design a logo in Microsoft Publisher.
Choose a shape for the logo.
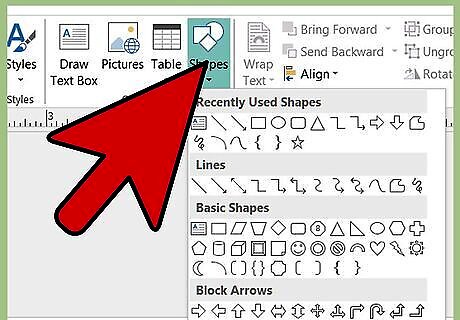
Click the AutoShapes button on the Objects toolbar. Take note of the different submenus that appear in the "AutoShapes" menu. Browse the submenus to find a shape, line, arrows, banner, cutout or connector to use for designing your logo. Click any object to insert it into the document.
Resize the shape to fill the application window.
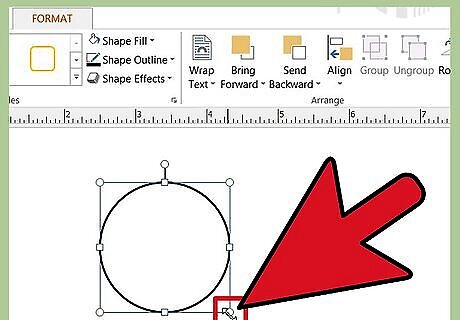
Increase the size of the shape to improve the resolution quality of the final product. Click and drag on an edge or corner to resize the shape. The shape should run to the edges of the application window.
Select a shape color.
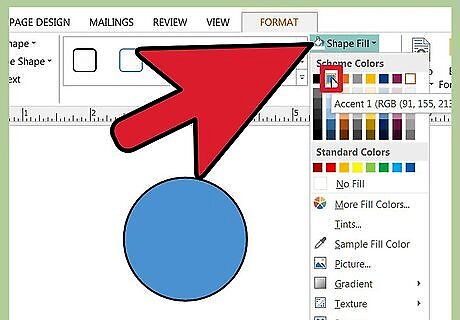
Click the Fill Color button on the toolbar. Select More Fill Colors to choose a color from the Standard color options, or click the Custom tab on the sub-menu to create a custom fill color. Choose a color that will contrast well with the color of the font used. Any possible shade or color can be created in the Custom Colors menu by adjusting the sliders in the color palette or by adjusting the RGB values. The fill transparency can also be adjusted.
Add a different color to the shape outline.
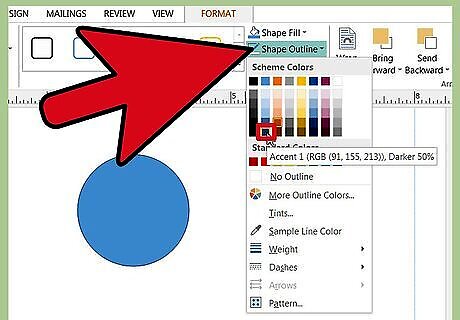
Click the Line Color button on the toolbar. Select the More Outline colors option from the sub-menu to view each of the available line colors or click the Custom tab on the sub-menu to create a custom line color. Any possible shade or color can be created in the Custom Colors menu by adjusting the sliders in the color palette.
Stylize the outline.
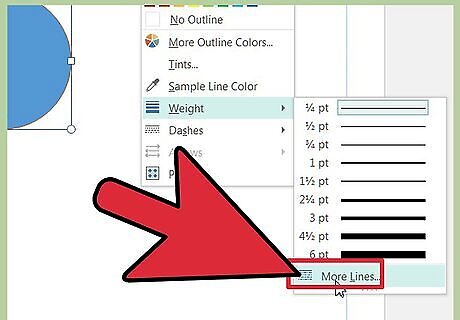
Click Border/Line Style on the toolbar and choose the style and thickness of the outline. Choose from single, double or triple line styles, or choose the More Lines option located at the bottom of the pull-down menu. The shape outline can be adjusted to any width.
Add text to your logo.
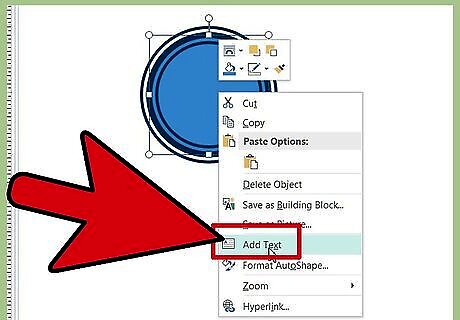
Right-click the shape and select Add Text from the pull-down menu. A cursor will appear in the shape. Type the logo text. Change the font for the logo text. Right-click the design and choose the Change Text option. Choose a font for the text from the Font dialogue box. Choose a font that can be clearly read. Helvetica, Bodini, Garamond and Futura are among the most common fonts used by professional designers. Experiment with different fonts to find the one that most suits your project. Adjust the size of the text. Right-click the text again and choose Font from the pull-down menu. Choose the "AutoFit" Text option from the sub-menu and select Best Fit. The text will adjust to better fit the size of the object.
Save the logo as an image file.
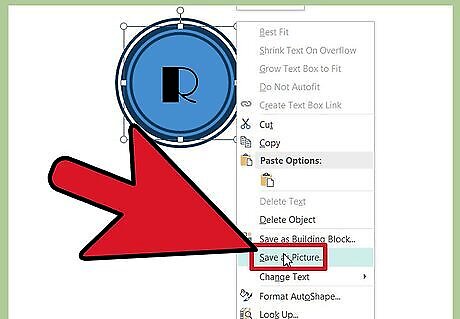
Right click the object and select the Save as Picture option from the menu. Click the Save as Type arrow and choose the Bitmap option from the pull-down menu. In the Save As dialogue box, select the 300dpi setting from the Print Resolution options. An image of the of the Publisher logo design has been saved to your computer.


Comments
0 comment