views
Making Prop Web Shooters out of Craft Foam

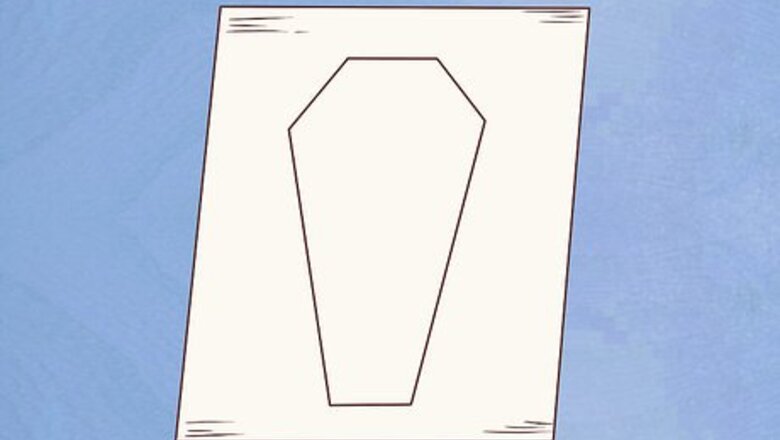
Outline the basic shape of your web shooters on a piece of paper. Think about how you want the main wrist piece of your web shooters to look. Your wrist piece might be a rectangle, hexagon, oval, or a more complex shape. Once you’ve decided on a design, sketch it out on a blank sheet of paper. No matter what shape you choose to make your outline, it should be about the same length of your palm and no wider than your wrist. Take inspiration from your favorite style of web shooters from the comics, or just come with your own original design. Sketch your web shooters in pencil so you can make changes easily if needed.
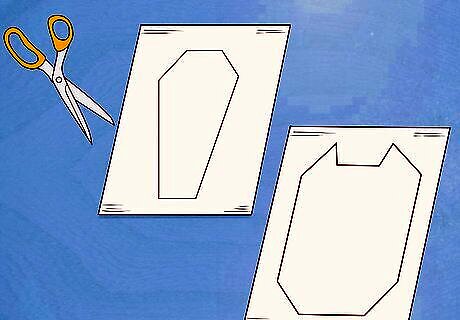
Cut out your design to make a template. Guide your scissors along the lines you just drew, cutting slowly and carefully to avoid mistakes. When you’re done, you’ll have a handy template that you can use to recreate your design with your crafting materials. You can use the same template if you decided to make a second web shooter prop later on.
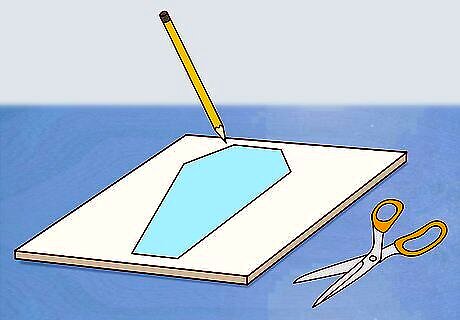
Use your template to cut 2 identical wrist pieces out of 5mm craft foam. Place the design you just cut out in the center of the sheet of foam and run your pencil lightly around the edges. Then, remove the paper and cut along the pencil lines to create the same shape out of foam. Repeat the process with a second piece of foam to make the wrist piece for your opposite hand. You can find craft foam at any craft store, or in the arts and crafts aisle of most major grocery stores and super centers. If possible, use gray or black foam. If you’re unable to find foam in one of these colors, you can always paint it later. You may have trouble getting your scissors through the thick foam. If you encounter a lot of resistance, consider using a utility knife instead. Just be sure to ask your parents before you do!Tip: To give your web shooters more detail, cut a smaller shape or emblem, such as a spider, out of a second sheet of red craft foam and glue this piece on top of the main wrist piece.
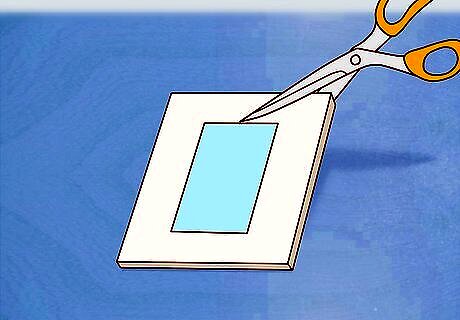
Cut 12-16 3 cm (1.2 in) x 2 cm (0.79 in) rectangles out of 5mm craft foam. The easiest way to do this is to draw a single rectangle on a piece of paper, then cut out the shape and use it as a template for your foam pieces. The foam rectangles will serve as the wrist straps for your web shooters, so make as many as you need to fit around both wrists comfortably. If you’re not sure how many rectangles to cut, measure your wrist in centimeters and divide the number you get by 2. This will tell you exactly how many you need for each web shooter.
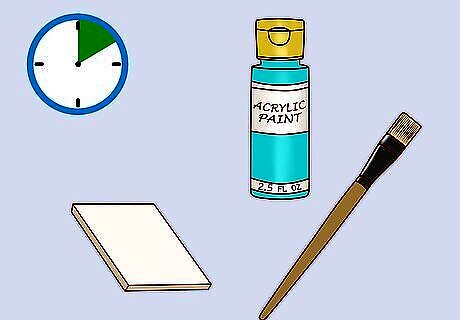
Paint your foam pieces if you want them to be a different color. Brush one side of each piece with a coat of acrylic craft paint and allow them to dry for 5-10 minutes. Then, flip over the pieces and paint the opposite side. In the newer comics and movies, Spider-Man’s web shooters are almost always gray or black. However, you can also add a few accents in red or another color, if you like. Feel free to customize your web shooters however you want. It’s your project, so have fun and use your imagination!
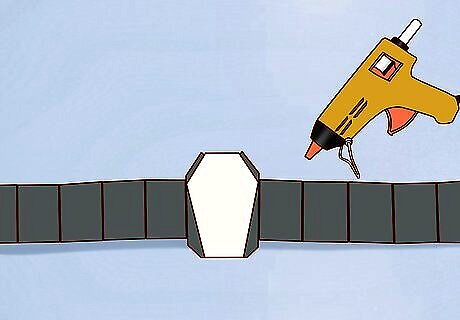
Glue your foam pieces together with the wrist pieces in the center. Lay out your foam pieces side-by-side on your work surface the way they’ll look when the finished web shooters are on your wrists. Squeeze a line of hot glue onto the inside edge of one of the end pieces, then press it to the outside edge of the piece next to it. Keep gluing like this all the way down the line, then let the glue dry for about 5 minutes. Each time you glue 2 pieces, clamp them together for 10-20 seconds to make sure the glue dries securely. Ask a parent or older siblings for help if you’ve never worked with hot glue before.
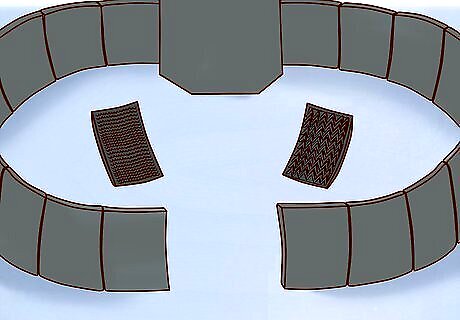
Attach Velcro to the ends of your completed wrist straps. Cut 2 soft strips and 2 rough strip to a length of 3 centimetres (1.2 in) each to match the length of the foam pieces. Dab 2-3 dots of hot glue onto the back of each strip. Press a strip to the inner face of one of the end pieces and the stick the other to the outer face of the piece on the opposite end. Do the same for second web shooter. You should also be able to find Velcro at your local craft store or super center. Make sure you get the uncut kind so you can trim it to the correct length yourself. Make sure the Velcro pieces are facing the opposite direction so your web shooters will fasten properly. Adding Velcro will make it possible to put on and take off your web shooters whenever you want.
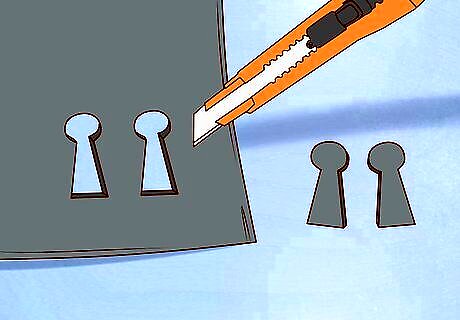
Cut out 2 keyhole-shaped pieces of 3mm foam for the trigger pieces. This piece will be shaped like a thin rectangle with a circle at one end. Measure the rectangle so that it’s just long enough to reach from the wrist strap of your web shooter to your palm. Once you’ve cut out the pieces, glue one to the back of each wrist piece. You can make your trigger piece black like the rest of your web shooters or paint it a contrasting color, like silver. If your trigger piece doesn’t lay across your palm the way it’s supposed to, glue a piece of metal wire to the backside. This will allow you to bend it into a shape that will better fit your hand.
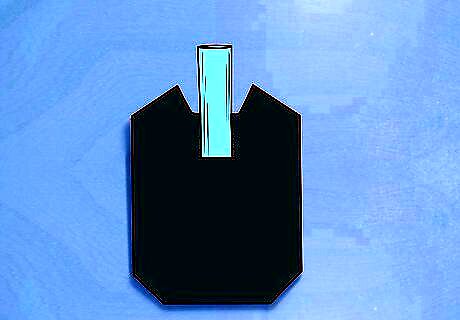
Glue a straw to each wrist piece to make a nozzle for the webbing. Take your scissors and snip two 1 in (2.5 cm) pieces from the end of a plastic drinking straw. Then, cut a rectangular notch at the top of the foam on both of your web shooters just wide enough to fit the straws into. Dab the bottom edge of the straws with glue and slip them inside the notches. Adding a webbing nozzle to your web shooters is optional, but it will give them a more realistic, functional look.
Crafting Classic Web Shooters from PVC Pipe
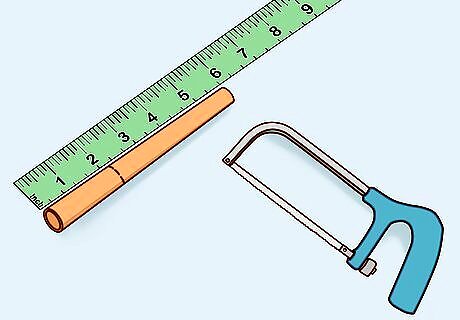
Cut 3-8 5.7 cm (2.2 in) pieces of 1 in (2.5 cm) PVC pipe. Mark the pipe in regular increments to indicate where each piece will begin and end. Then, cut it into individual segments using a hacksaw or similar tool. Work slowly and carefully to avoid accidents. For this style of web shooter, you can either make the pipe segments completely encircle your arm or concentrate them in the area on the inside of your wrist. Be sure to cut an appropriate number of pieces to bring your preferred design to life. The exact number of pipe segments you cut will depend on the size of your wrist and the specific design you go with.Warning: Be extremely cautious when cutting the PVC. It may be a good idea to get one of your parents to help you if you’ve never used a saw before.
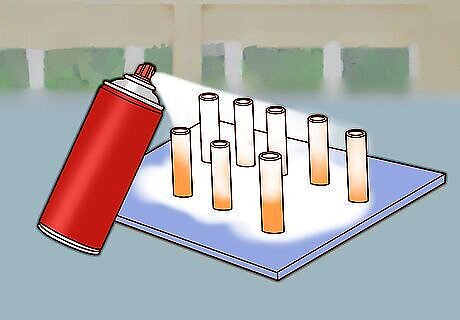
Spray-paint the pipe segments silver. Stand the pieces up on a sheet of scrap cardboard or newspaper. Shake your spray paint can a few times to make sure the paint is thoroughly mixed, then press and hold the button on the back while waving the nozzle over the PVC in smooth, slow strokes. Make as many passes as needed to completely coat the pieces. You could also paint your PVC pieces by hand using acrylic craft paint, though this will take quite a bit longer. Choose a metallic type of paint to give your web shooters a more realistic finish.
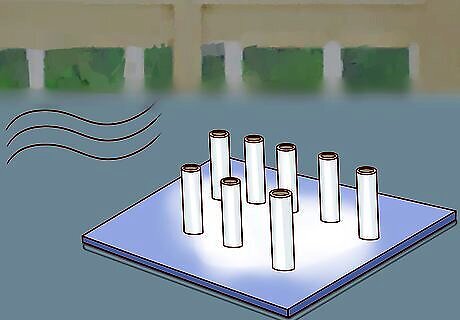
Allow the painted PVC to dry for 30-60 minutes. The pipe segments need to be dry to the touch before you continue working with them. Otherwise, the paint may smudge or rub off on your hands, clothing, or other objects. Situate the freshly-painted pieces in a warm, dry place with good ventilation to speed up their dry time. While the PVC is drying, you can go ahead and begin putting together the other components for your web shooters.
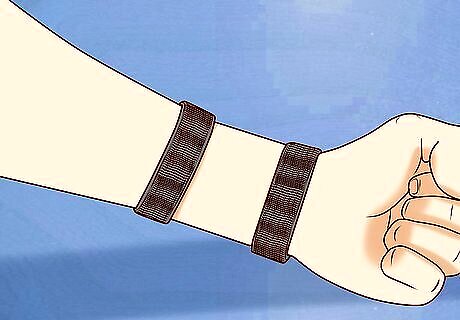
Fashion a pair of wrist straps out of Velcro. Cut a roll of soft Velcro into a strip just long enough to fit around your wrist. Make a second, slightly larger strap to go around the middle of your forearm. When you’re done, cut 2 small squares from a second roll of rough, adhesive Velcro, peel off their backs, and stick them onto the inside of one end of each wrist strap. Attaching the opposing Velcro pieces will allow you to fasten and unfasten your wrist straps quickly. Your wrist straps should be no further apart on your forearm than the length of your PVC segments.
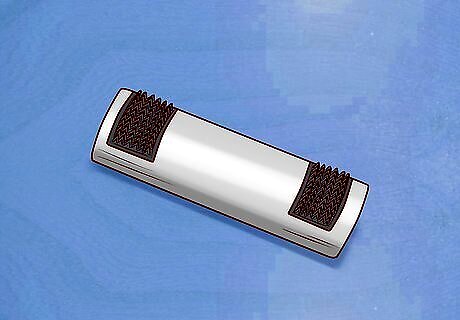
Stick 2 strips of adhesive Velcro to each of the PVC pieces you cut. Snip what’s left of your strip of rough Velcro into ⁄2–1 in (1.3–2.5 cm) squares. Attach a square to the top and bottom of each pipe segment on the same side. All in all, you’ll need double the amount of Velcro squares as the number of pipe segments you cut. If you have 6 segments, for example, you’ll need a total of 12 squares of Velcro. Make sure you have enough Velcro to cut all of the squares you need, along with the wrist straps themselves. It may be a good idea to pick up a little extra just in case.
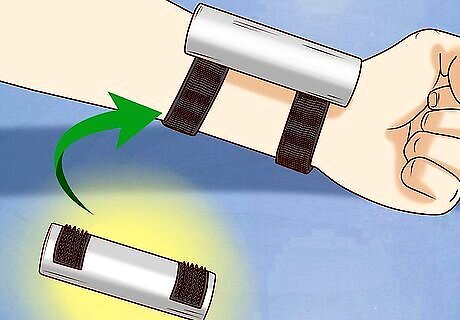
Attach the PVC pieces to the Velcro all around the wrist straps. All you have to do now is press the pipe segments into place around the Velcro straps. As mentioned, you can position them all the way around your wrist or group 3-4 together on the inside of your arm just over your palm. Once you’ve got all your web canisters locked and loaded, you’ll be ready for action! If you want to make a second web shooter prop for your other hand, simply double up on the amount of materials you buy and repeat the preceding steps.




Comments
0 comment