
X
Research source
This tutorial was done with Photoshop, but other advanced image editing programs such as GIMP are acceptable and compatible with this tutorial.
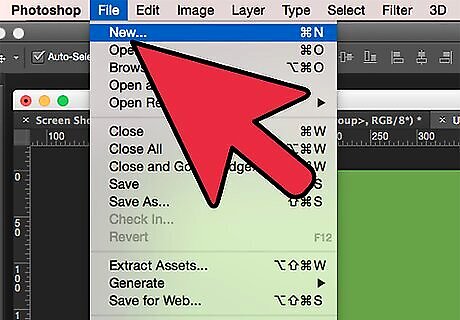
Create a new document. Go to File -> New.
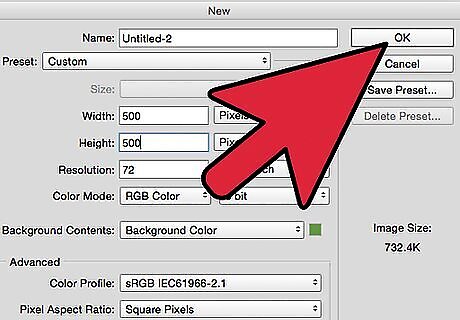
Set the canvas size. Here it's shown as 500x500 pixels, but adjust the size to fit what you want to draw. Press "Ok".
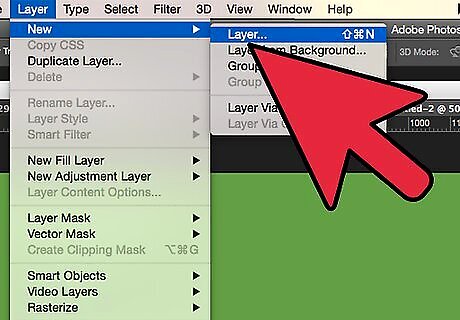
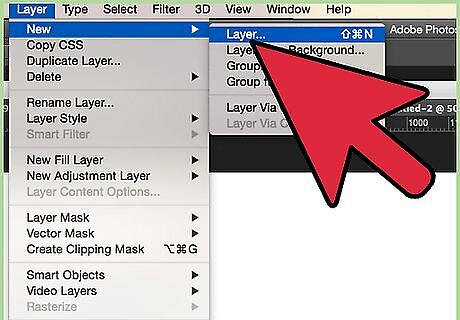
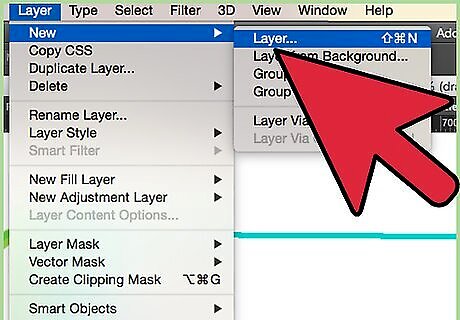
Create a new layer. Click Layer -> New -> Layer.

Pick a color. Choose any color except what you want your final color to be. Preferably a light color.

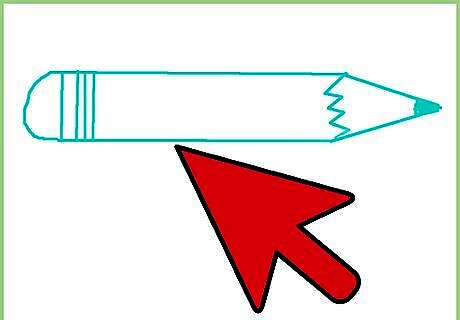
Draw. Use the pencil brush to sketch out your drawing. Don't worry about neatness or making solid lines.
Create a new layer. Click Layer -> New -> Layer.
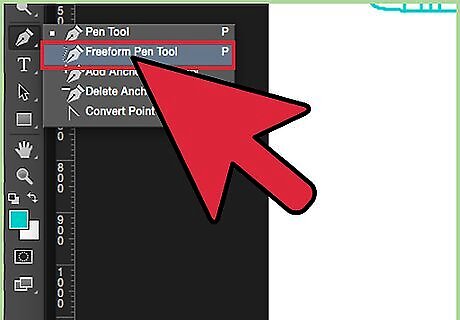
Select the Freeform Pen Tool. However if you are experienced with the conventional pen tool, it is the faster and better quality option.
Trace your sketch. Only trace one line at a time, then do the next two steps, then trace the next line.
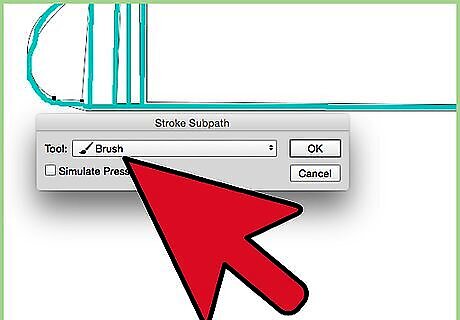
Stroke path. Right click the pen tool outline and click "Stroke Path". Select "paintbrush" for the tool to stroke the outline. Make sure your paintbrush tool is set to a 1 px brush (unless you have a very large image or are going for a different style), and your final color is selected.
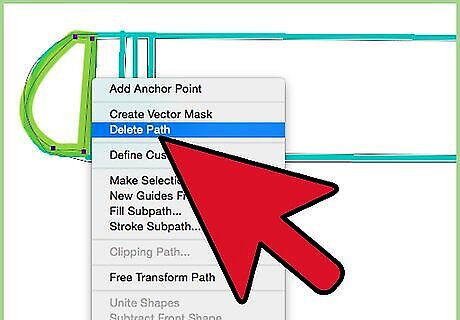
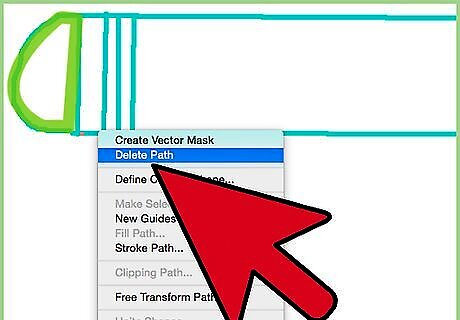
Delete Path. Right click the pen tool path and select "Delete Path". Only the paintbrush line should remain.
Repeat until your entire drawing is outlined.
Delete or hide the sketch layer and view your final product.


Comments
0 comment