
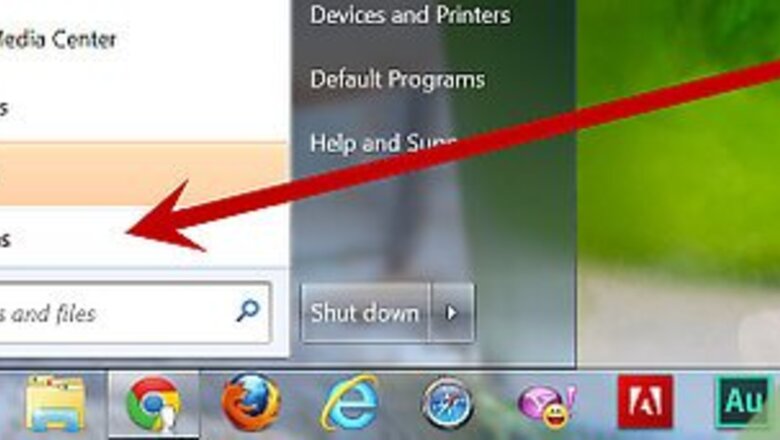
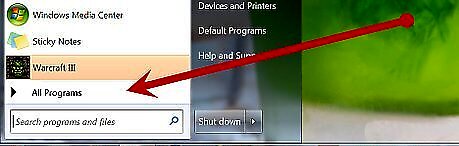
Go to start> all programs> Ea games> Sims 2(What ever your newest game is)> the Sims 2 body shop.
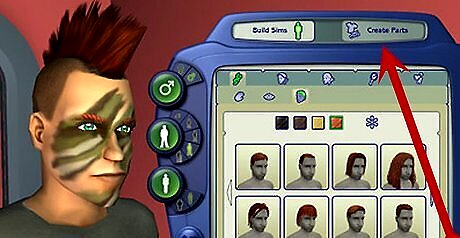
Wait for it to load then click create parts> start new project> Create clothing. (It might take a long time for it to load>)
Pick the outfit you wish to alter then click on the folder with the arrow and give your project a name. (no Spaces,\ / ? | : * " < >)
Now open Photoshop or something like that. (If you don't have Photoshop you can use something such as paint)
Once paint is open go to file> open> My Documents> EA Games> Sims 2> Projects. Then select you project. You will see 2 (maybe more if it's a complicated outfit) Files. The plain black and white one decides the shape of the outfit. Covering the white up with black will make there be no texture there, but it only really works on the bits where the clothes are flat with the body of the Sim (for example the stomach). You could put a black bit on the stomach, and then in the game the Sim's stomach would show through. You can't use it to make a dress shorter, for this would involve editing the actual mesh and that is very advanced. This black and white bit is called the "alpha". The other one is the color for your out fit so open it up and go wild! then save.
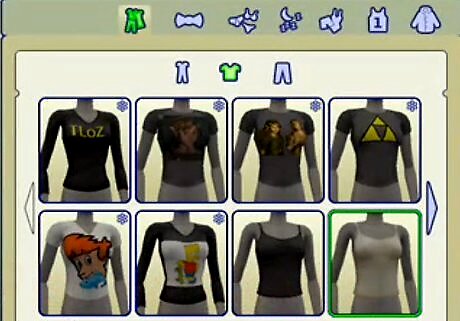
when you are finished, go back to Bodyshop and click on the circle arrow to see your outfit on the model. Then select the categories you want your outfit to be in (i.e. Everyday, Formal, Swimwear, etc.). Then call it what you want. When you are finished, click on the folder to import your outfit into the game. Then you will be able to use it just like any other outfit. And you're done!


Comments
0 comment