views
Making a Beard from Craft Fur
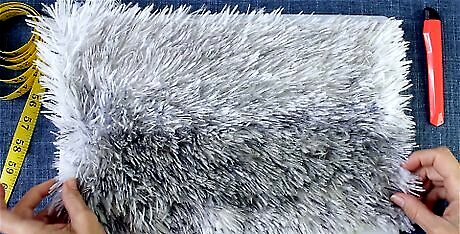
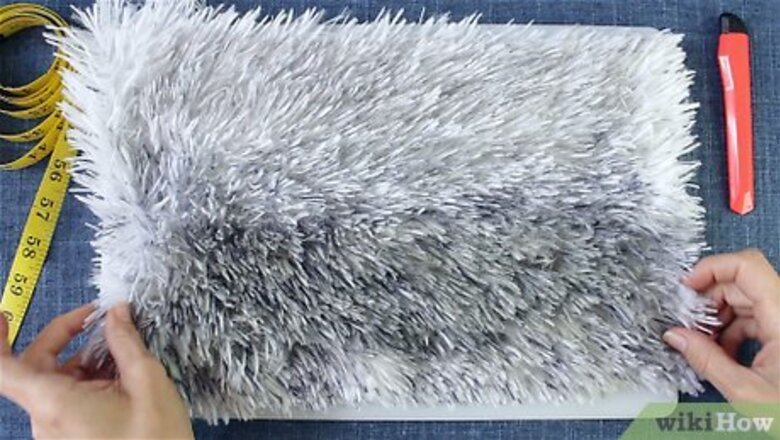
Lay the craft fur face-down on your work surface. White or grey craft fur will look the most like a gnome’s beard, but get creative and choose whatever color you prefer. Set your craft fur in front of you so the flat backing faces up and the hair naturally points toward you. That way, you know the beard will lie correctly when you attach it to your gnome. You can buy craft fur online or from your local art supply store. If you cut the fur against the hair’s natural direction, it won’t lie cleanly when you attach it to your gnome.
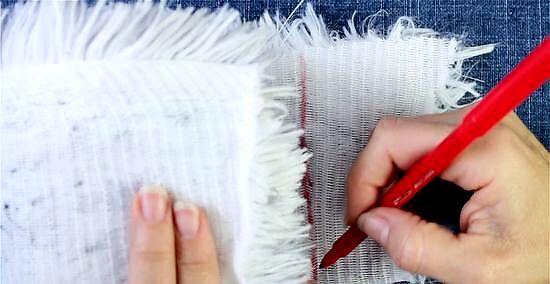
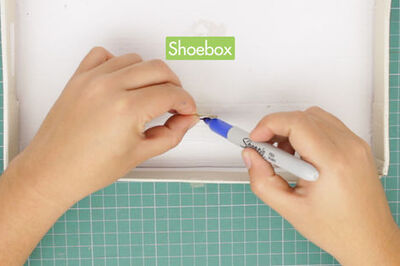
Wrap your craft fur around the gnome’s head and mark where the fur overlaps. Set the body you’re using for your gnome along the right edge of the craft fur. Pull the other end of the fur tightly around the gnome’s body, being careful not to stretch the fur out. Find where the fur overlaps and mark the backing with a fabric marker or a pencil. You may also wrap a flexible measuring around your gnome’s body and see where it overlaps. Straighten the tape out and hold it against the top edge of the craft fur so you can transfer the measurement.
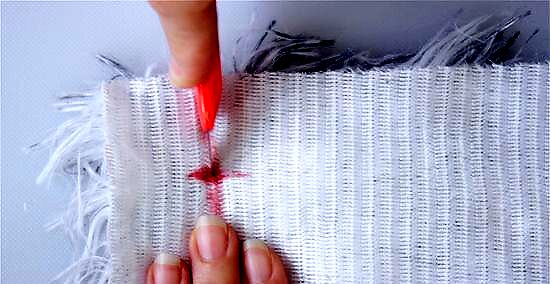
Cut a 1 in (2.5 cm) slit into the fur’s backing with a razor blade. Use a fresh, new blade so it can easily slice through the backing without tearing it. Find the mark you made for your measurement and cut a 1 in (2.5 cm) vertical slit. This can help the beard lay more naturally and allows you to wrap it around your gnome easier. If you didn’t start your measurement on the edge of the fur, then cut slits on each of the beard.Warning: Be careful not to cut through the fur on the front since it will shorten the hairs and make them look unnatural later on.
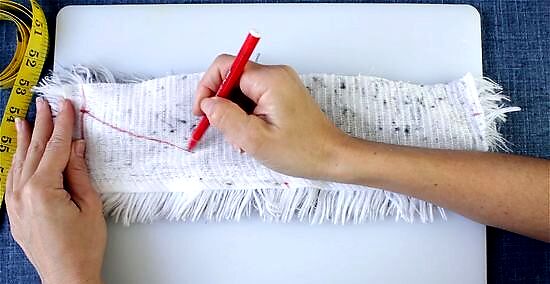
Sketch in the shape of a pointed beard so the tip is in the center. Draw with a pencil or a fabric marker starting from the bottom of the slit. Since a gnome’s beard usually comes to a point, make a downward angle or curve from the slit toward the center of your measurement. When you’ve reached the middle of the beard, start angling it back up toward the other side. Try to keep the beard as symmetrical as possible so it looks even. This beard will come to a sharp point at the tip, but try cutting a gentle curve if you want the beard to look rounded. Keep your gnome’s height in mind when you’re sketching in the beard. The fur will hang down from the backing so it will appear longer in the front.
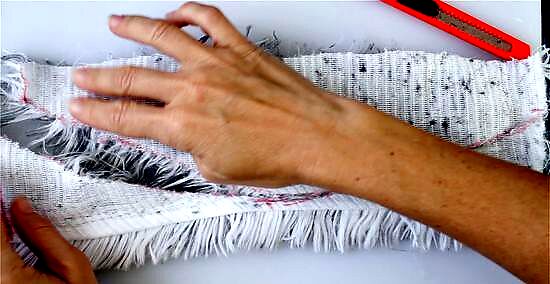
Slice through the backing with your razor blade. Carefully cut through the fur’s backing along the line you drew to cut out the beard. Be careful not to trim any of the fur on the front side so the beard looks full. As you cut further along the line, lightly separate the pieces of fur so they’re easier to work with. Save scrap pieces of fur since you can use them to make rectangular eyebrows for your gnome.
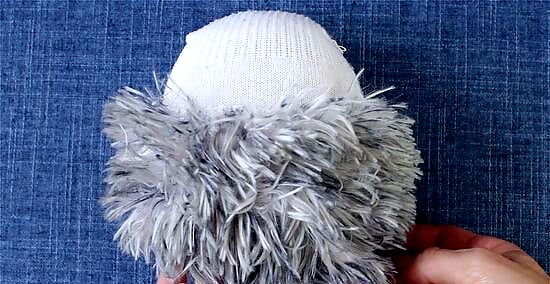
Secure the beard halfway up the gnome’s body with hot glue. Hold your beard against your gnome’s body and position it so the ends of the fur just touch your work surface. Apply a zigzag line of hot glue on the fur’s backing and press it onto the gnome’s body. Smooth out the backing as best you can so the beard lays flat against the gnome. Hold the beard in place for about 5 seconds so the glue has time to dry. If your craft gnome has a separate head, secure the beard so it’s ⅓ of the way up from the bottom of the head.
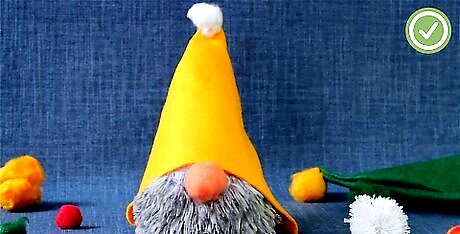
Comb the fur down so it looks neat. Run a fine-toothed comb through the ends of the fur to help groom and straighten the hairs. Avoid placing the comb against the backing since you could rip some of the fur out and leave bald spots in the beard. Shape the fur however you like it so it stays in place. If you don’t have a comb, simply run your fingers through the hair instead.
Attaching a Yarn Beard
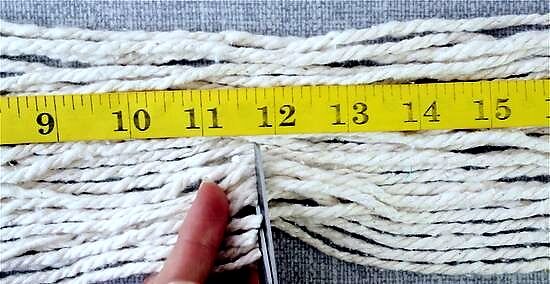
Cut chunky yarn into 12 in (30 cm) pieces. Work with chunky yarn since it will fill in the most space so you don’t use as much material. Measure out lengths of yarn that are 12 inches (30 cm) and cut them off with a pair of scissors. Lay the pieces side by side so you can see when you have enough to cover your gnome’s body. You can use thinner yarn, but it will use up more material and may be more expensive in the long run. It’s okay if the ends of the yarn fray after you cut them.Variation: You can also cut off a mop head to use instead of yarn. Be sure to use a clean, new mop so you don’t spread any germs or bacteria.
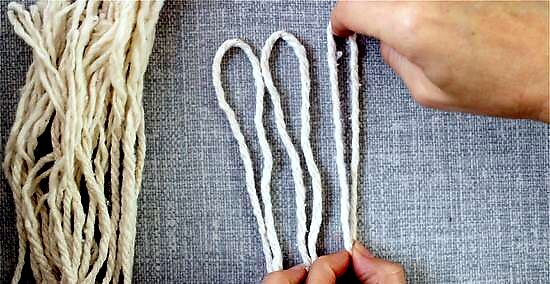
Fold each strand in half to make the beard look fuller. Lay a piece of yarn flat on your work surface so the ends are touching. Hold the ends together and straighten out the piece so it’s about 6 inches (15 cm) long. Continue folding the rest of the yarn pieces so they have a side with a loop and a side with loose ends. Folding the yarn uses less material so you don’t have to waste any.
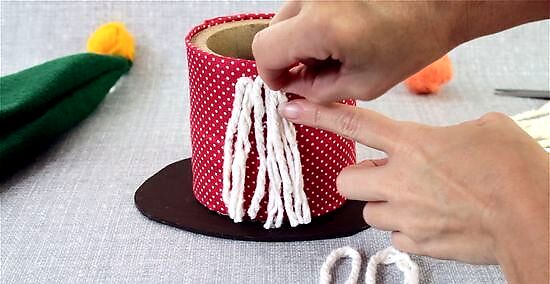
Glue the looped sides of the yarn around the gnome’s body with hot glue. Hold a folded piece of yarn against your gnome so the loose ends hang down and touch the tabletop. Mark the spot on the gnome with a pencil so you don’t forget it. Place a dot of hot glue on the folded end of the yarn and press it onto the gnome. Hold the yarn there for about 5–10 seconds so it stays in place before you move on to the next piece of yarn. Keep attaching yarn around the gnome so the beard covers the bottom half of its body and all of the yarn pieces look the same length. The glued ends of the yarn won’t be visible once you put a hat on your gnome. Avoid using school glue or a glue stick on yarn since it won’t stick very well or dry as quickly.
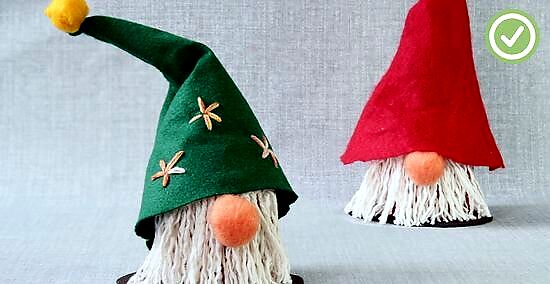
Separate the ends of the yarn to help fill in empty gaps. Twist the loose ends of the yarn until they start to fray into separate strands. Carefully pull apart each strand halfway up the beard’s length so it looks more frizzy. Unravel the rest of the yarn pieces to fill in your gnome’s beard even more. While you can leave the bottoms of your yarn squared off, it may make your gnome’s beard look flat.
Constructing a Paper Beard for a Paper Gnome
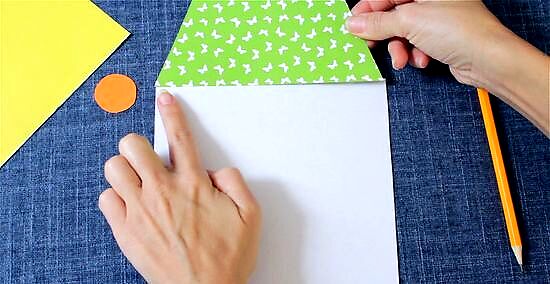
Draw a line 1 in (2.5 cm) down from the top edge of your paper. Use a white piece of construction paper that’s as wide as your gnome’s body. Measure in 1 inch (2.5 cm) from the top of the sheet and make a mark with a pencil. Sketch in a horizontal line that goes through your mark so you know not to cut above it. The 1 in (2.5 cm) strip at the top of your paper will be where you apply glue so you can attach the beard to your gnome.
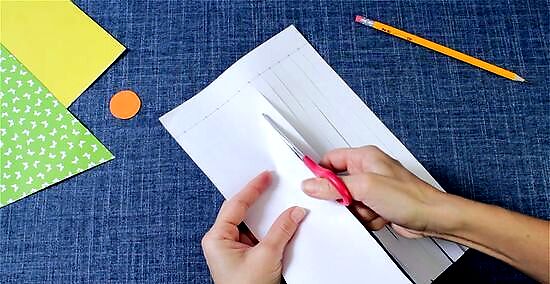
Cut strips that are ⁄2 in (1.3 cm) thick up to the line you drew. Measure in ⁄2 inch (1.3 cm) from the bottom left corner of your paper so you know where to make your first cut. Start cutting a vertical line from the bottom edge of the paper up to the line you just made. After you finish the first strip, move your scissors over by another ⁄2 inch (1.3 cm) and make another. Keep cutting strips until you reach the other edge of the page. It doesn’t matter if your strips are slightly different sizes since it may add a natural look to the beard. Be careful not to bend or fold the strips of paper, or else it may affect how the beard looks.Tip: If you need to, draw light guide lines using a pencil and straightedge so you know where to make your cuts.
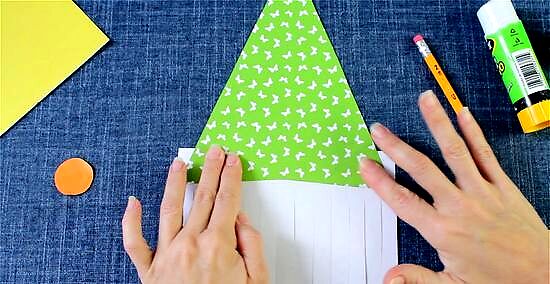
Glue the top edge of the beard to the bottom of a triangular piece of paper. Cut a piece of construction paper into a triangle to use for the gnome’s hat so one side is the same width as your gnome’s beard. Apply glue with a glue stick to the top edge of the beard. Position the hat so it just covers the line you drew and press it down firmly. Rub the paper with your fist so the glue adheres. If there are small corners of the beard sticking out from the sides of the hat, trim them down with your scissors.
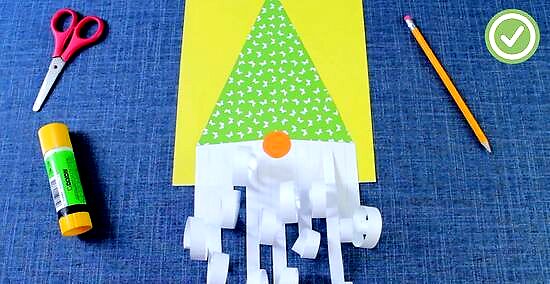
Curl the ends of each strip by rolling them with a pencil. Set a pencil against the bottom edge of the strip on the left side and hold it loosely against the pencil. Roll the pencil up toward the line so the paper strip wraps around it. Once you get halfway up your beard. Let go of the strip so it unravels back toward the bottom and has a curl. Roll each strip so they curl up and make the beard look more 3D. Try rolling the strips to different lengths to make them look more random. This beard will have a rounded shape with curly hair.



Comments
0 comment