
views
Annealing the Tempered Glass

Gain access to a kiln that you can use to anneal the glass. The intense heat of a kiln is required to soften the tempered glass's coating and begin the annealing process. Kilns are most commonly housed in rooms used for art classes. You may be able to access a kiln through a community college art program. The annealing process will uniformly heat up the tempered glass so that all the stresses from the tempering process will be removed. These stress points are the reason that tempered glass shatters into countless small pieces when cut. Without these stress points, annealed glass can be cut without shattering.
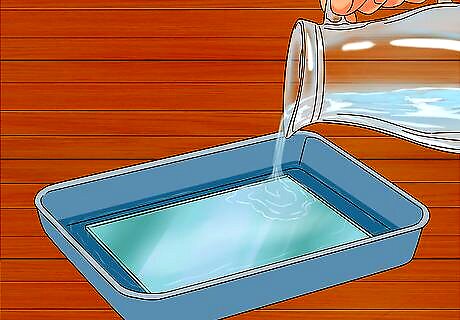
Place the tempered glass in a heat-proof vessel and cover it with water. Then cover the glass with enough warm water to fully cover the sheet of glass. Unless you're working with an unusually thick section of glass, ⁄4 in (1.9 cm) of water should suffice. If you don't have a flat, heat-proof vessel, ask the art studio manager if they have one you can use. If you're not in an art studio, speak to whoever oversees or owns the kiln you're using. You can also purchase such a vessel at an art store or a glass store.
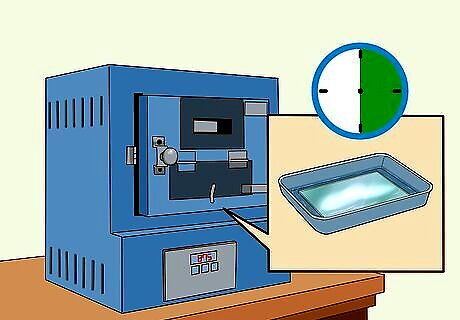
Soak the tempered glass in the kiln for 30 minutes. The glass needs to reach a high enough temperature in order for the tempering to be undone. So, turn the kiln to at least 875 °F (468 °C) and soak the glass until it reaches the temperature at which it will anneal. The heating time will vary based on the size of the glass you are annealing, but most types of glass will take about 30 minutes in the kiln. After this time has passed, the sheet of glass will have reached a uniform temperature. Soak Effetre (Moretti), Bullseye, and Lauscha glasses at 940 °F (504 °C). Soak Borosilicate glass at 1,050 °F (566 °C). Satake tempered glass is best soaked at 890 °F (477 °C). Use the built-in temperature controller to keep the temperature inside the kiln constant. Soak glass beads smaller than 1 inch (2.5 cm) for 20 minutes to anneal them. This will undo the tempering. If you want to anneal beads larger than this, soak them for 8 hours. If you're annealing a large paperweight, soak it for up to 12 hours. Very large pieces of glass weighing 100 pounds (45 kg) or more can take months to anneal.
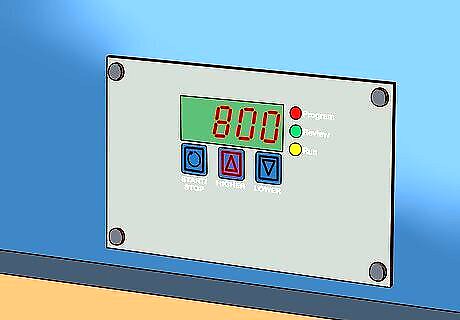
Cool the glass slowly until it is below its strain point temperature. If you don’t know the type of glass you’re working with, lower the temperature of the kiln to 800 °F (427 °C). A cooling temperature of 750 °F (399 °C) works well for Satake glass. Cool the tempered glass in the kiln for 2-3 hours. Cooling the glass too quickly will cause additional stresses to develop and weaken the annealed glass. The strain point is the temperature at which the internal pressure within a sheet of glass decreases. Once the glass has cooled below its strain point, it’s stable and won’t break.
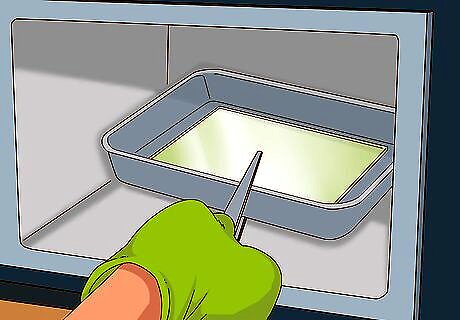
Remove the glass from the kiln once it’s cooled. Once the glass has remained at its cooling temperature for 2-3 hours, remove the glass from the kiln. It will still be incredibly hot, so use tongs to remove the glass from the kiln. For the sake of safety, wear thick gloves while opening the kiln and handling the tongs. Set the glass on a cooling rack. Let the glass cool overnight before you attempt to cut it. Cutting the glass while it’s still hot could result in serious injury. As the newly annealed glass cools in the kiln, the outside will cool faster than the inside. Just because the outside feels cool does not mean the inside is ready. Cooling the glass slowly allows less stress to build up and will result in a better cut. EXPERT TIP Douglass Brown Douglass Brown Glassblowing Expert Douglass Brown is a Glassblowing Expert based in Half Moon Bay, California. He has over 25 years of experience as a glass artist, and is the owner and operator of 2 glass blowing studios in the San Francisco Bay Area, Half Moon Bay Art Glass and Mare Island Art Glass. Douglass believes in sharing hot glass experiences with anyone who wants to learn about the processes of blowing and sculpting glass. When not teaching, Douglass creates glass art that is a mix of his takes on nature and functional glassware. He has also created the Glass Troubadours, which is a mobile glass blowing studio that hosts parties, events, and visits craft shows. Douglass Brown Douglass Brown Glassblowing Expert Glass annealing is the process of heating and cooling tempered glass to a point where you can cut it. It will effectively undo the tempering process, weakening the glass to the point where you can cut it. Once it cools back down, it will be a regular sheet of glass again.
Cutting the Annealed Glass
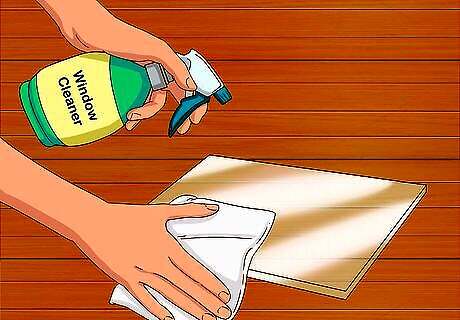
Clean the surface of the annealed glass with a window cleaner. Spray the glass 4-5 times with cleaning solvent. Wipe it dry with a clean, lint-free cotton cloth. Cleaning the glass will ensure that the cut is smooth and accurate. You can purchase window cleaner at any hardware store or supermarket.

Put on a pair of safety goggles and leather gloves for protection. After the glass has been annealed, it's no longer safety glass. If you shatter the glass, it will break into sharp and potentially dangerous pieces. Safety glasses will protect your eyes from being damaged by glass shards. If you don't already have safety glasses or gloves, purchase them at a nearby hardware store. EXPERT TIP Douglass Brown Douglass Brown Glassblowing Expert Douglass Brown is a Glassblowing Expert based in Half Moon Bay, California. He has over 25 years of experience as a glass artist, and is the owner and operator of 2 glass blowing studios in the San Francisco Bay Area, Half Moon Bay Art Glass and Mare Island Art Glass. Douglass believes in sharing hot glass experiences with anyone who wants to learn about the processes of blowing and sculpting glass. When not teaching, Douglass creates glass art that is a mix of his takes on nature and functional glassware. He has also created the Glass Troubadours, which is a mobile glass blowing studio that hosts parties, events, and visits craft shows. Douglass Brown Douglass Brown Glassblowing Expert Wear gloves when handling cut glass. Protect yourself from injury when handling cut glass. Industrial or gauntlet gloves provide better protection than disposable gloves.
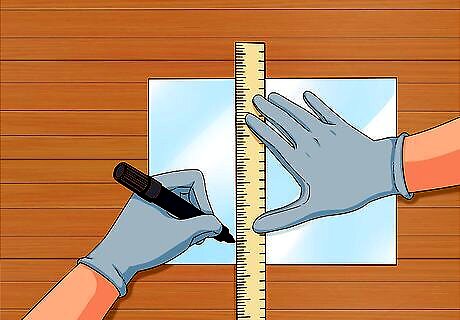
Mark the line you’d like to cut with a straight edge. A metal ruler works well. Measure the precise spot you’d like to cut the glass, and hold the straight edge along this line. Then use a permanent marker to trace a straight line along the edge. Purchase a straight edge at a hardware store.
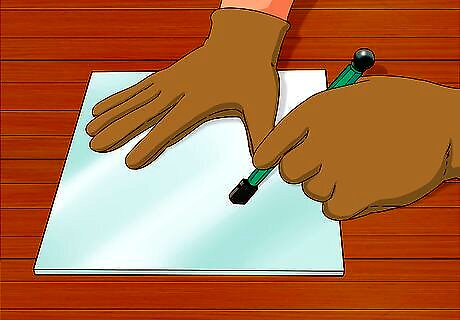
Score the surface of the glass with a glass cutter. Keep the straight edge in place while you’re cutting to guide your glass cutter. Press your glass cutter into the glass at the beginning of the line, and run the cutter along the entire length of the line you marked. Maintain medium pressure along the entire line to create a scratch. Purchase a glass cutter at any large hardware store or home-improvement store. Do not run the glass cutter along the line more than once.
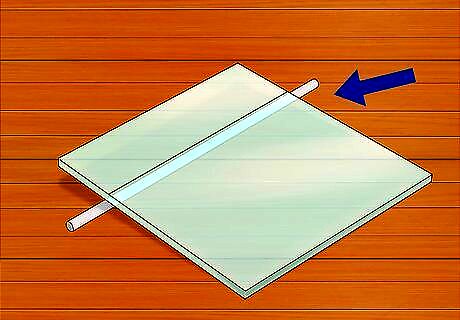
Put a ⁄4 inch (0.64 cm) wooden dowel under the line you just cut. Line the dowel up exactly beneath the scored line. Otherwise, you may shatter the glass when pressing down. Do not use a larger dowel, as it may cause the glass to break with jagged, imprecise edges. You can purchase a dowel at your local hardware store or home-improvement store.

Apply sharp, sudden pressure on both sides of the dowel. Press down with both hands at the same time, and apply an equal amount of pressure with both hands. The glass will now snap at the line into 2 cleanly cut pieces. Do not place your hand directly on top of the dowel when pressing down. If you do, you may end up with sharp pieces of glass in your palm. For the sake of safety, keep your leather gloves and safety goggles on for this step.
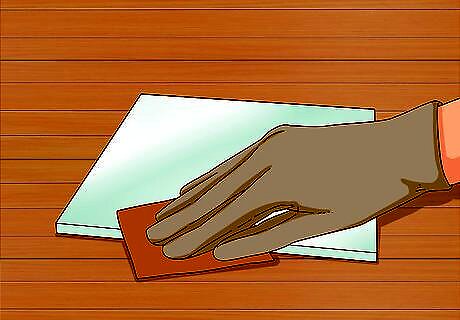
Sand the edge of the freshly cut glass. Use a piece of coarse 10-grit sandpaper to take any rough edges off of the cut sheet of glass. This will make the glass stronger and safer to handle and touch. If you skip this step, you could easily slice your hand open on the jagged edge of the cut glass. To avoid getting bits of sand in your eyes, make sure that you’re still wearing your safety goggles at this point.


Comments
0 comment