

X
Expert Source
Amy GuerreroArts & Crafts Specialist
Expert Interview
After all the decorative pieces are affixed, you can varnish over the entire surface so that the decorations have an inlaid appearance. Learning how to decoupage a coffee can is a good way to get started with this technique; you can even start with two coffee cans and teach this technique to a child.
Preparing the Coffee Can
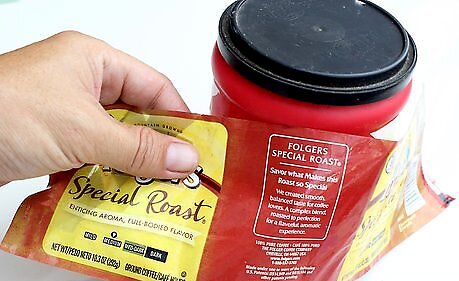
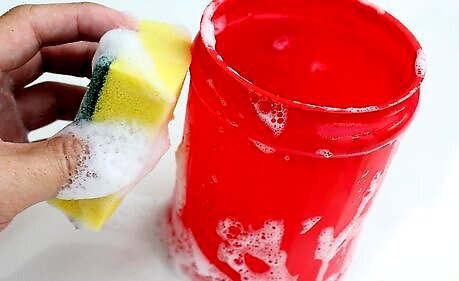
Remove the label and adhesive from the coffee can. The coffee can's label can be easily torn away with your fingers. To remove any remaining adhesive, soak the coffee can in hot soapy water. Then scrub the glue away with a scouring pad.
Sand down the sharp edges of the can. Metal coffee cans tend to have a sharp edge along the circular opening where the lid was removed. Use a sanding sponge to sand this sharp edge until it is dull enough to safely handle.
Adding the Decoupage
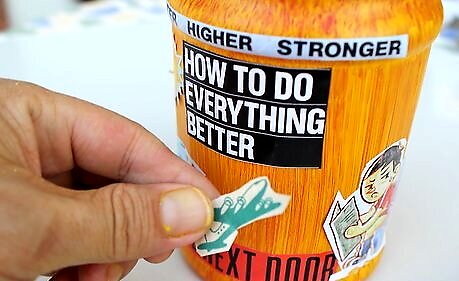
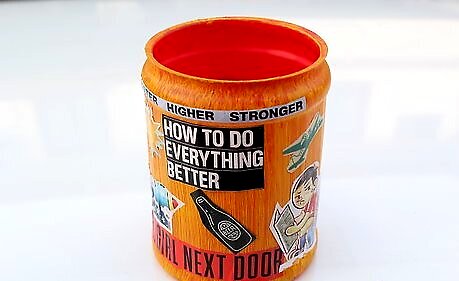
Affix decorative cutouts to the coffee can. After painting the background, you can begin applying your cutouts. Images or shapes cut from magazine pages work well, as do cutouts from photographs or craft paper.
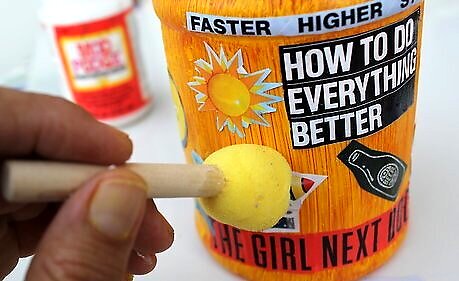
Coat with an adhesive. The easiest way to apply the cutouts to the painted coffee can is by dabbing a bit of all-in-one decoupage glue, such as Mod Podge, to the back of the cutout. Then, carefully press the cutout onto the can to affix it. If you do not have a decoupage glue, you can mix regular white all-purpose glue with water until it reaches the consistency of thin paint. This glue mixture can even be used as a final varnish, as it dries almost completely clear.
Seal the decoupaged coffee can. After you have finished decorating the can, you can leave it as-is or you can seal it to give it a more inlaid, professional appearance. If you are using Mod Podge or a similar decoupage glue, apply several thin coats of the glue over the entire surface of the coffee can. Check the product packaging for recommended wait times between coats. You can also seal the coffee can using a thinned mixture of craft glue and water. If you are worried about a hazy, translucent finish using this method, test the glue mixture first on another surface.


Comments
0 comment